
 Pin it
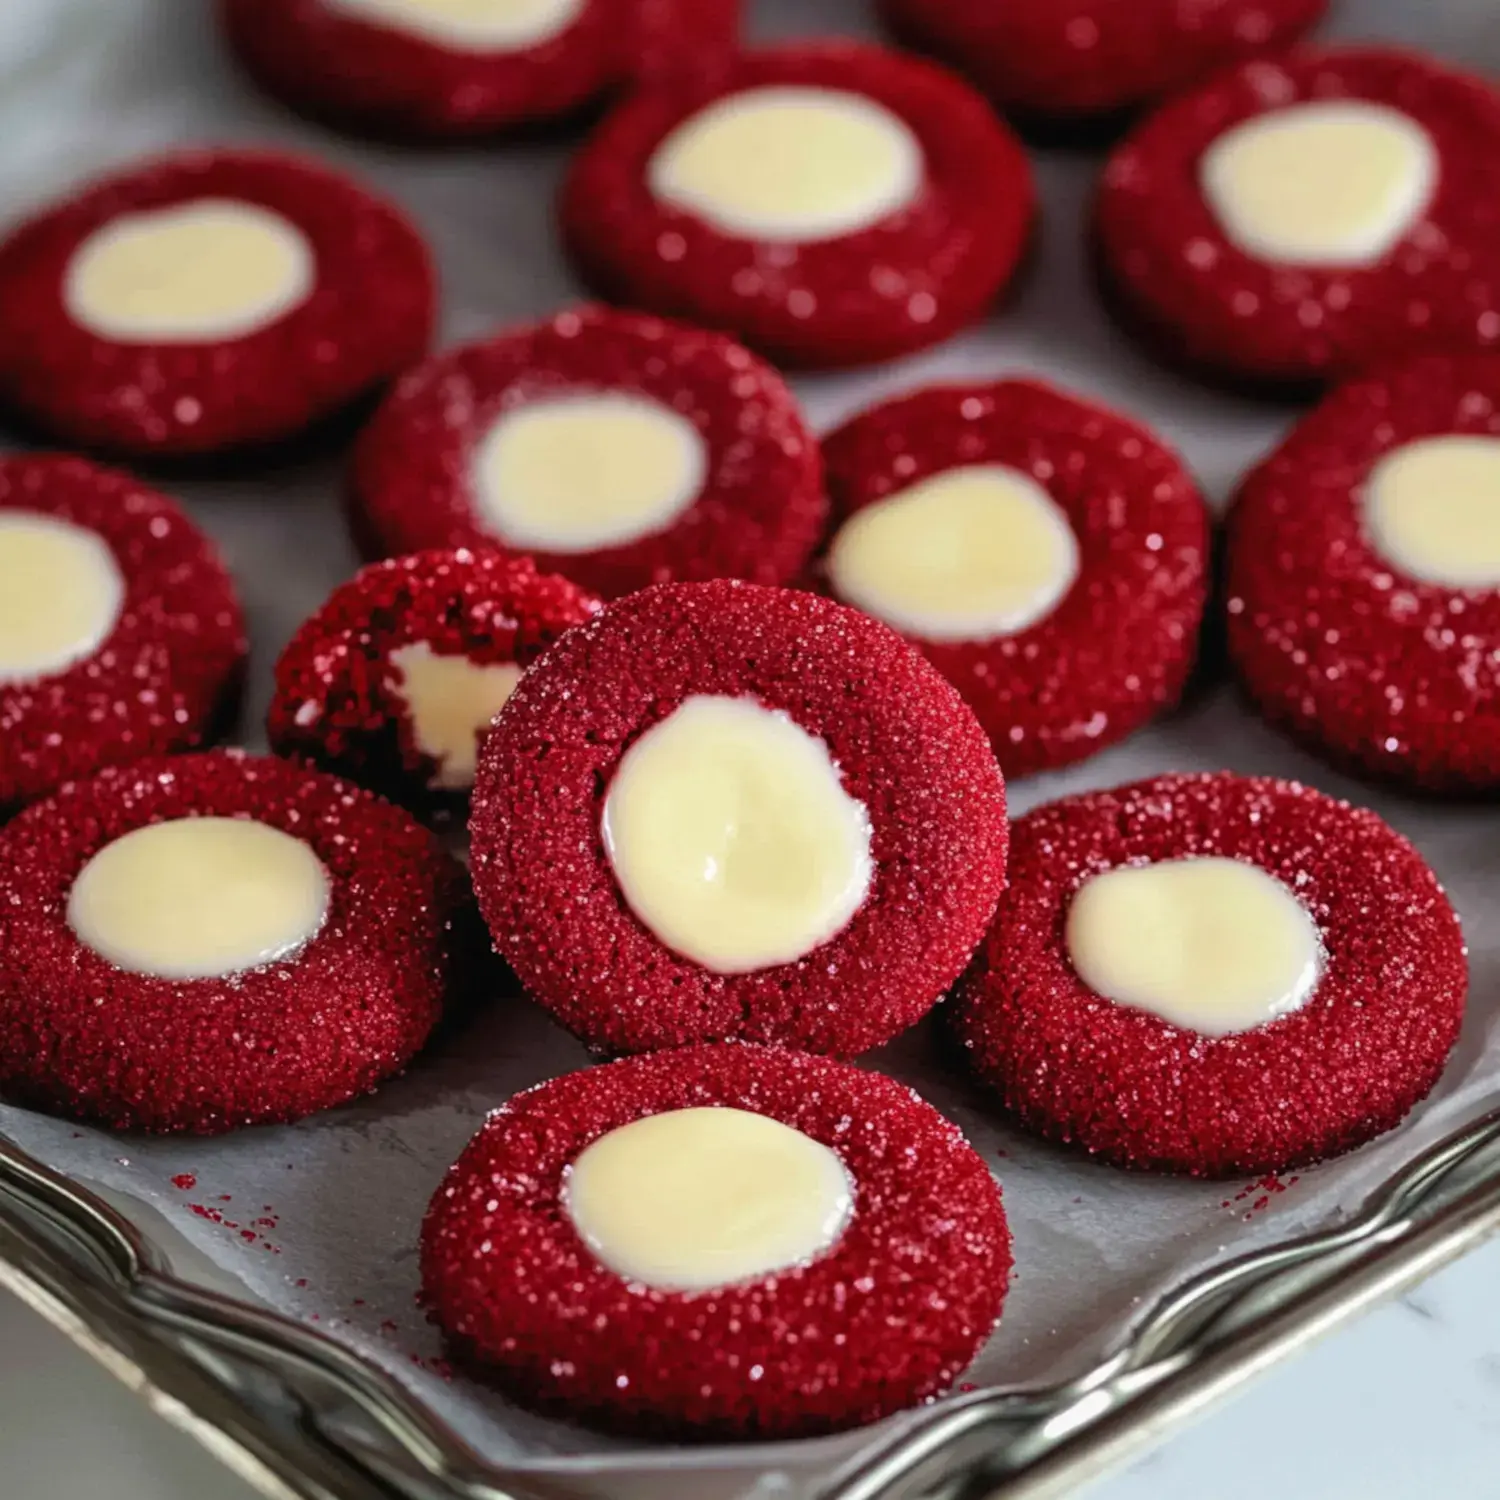
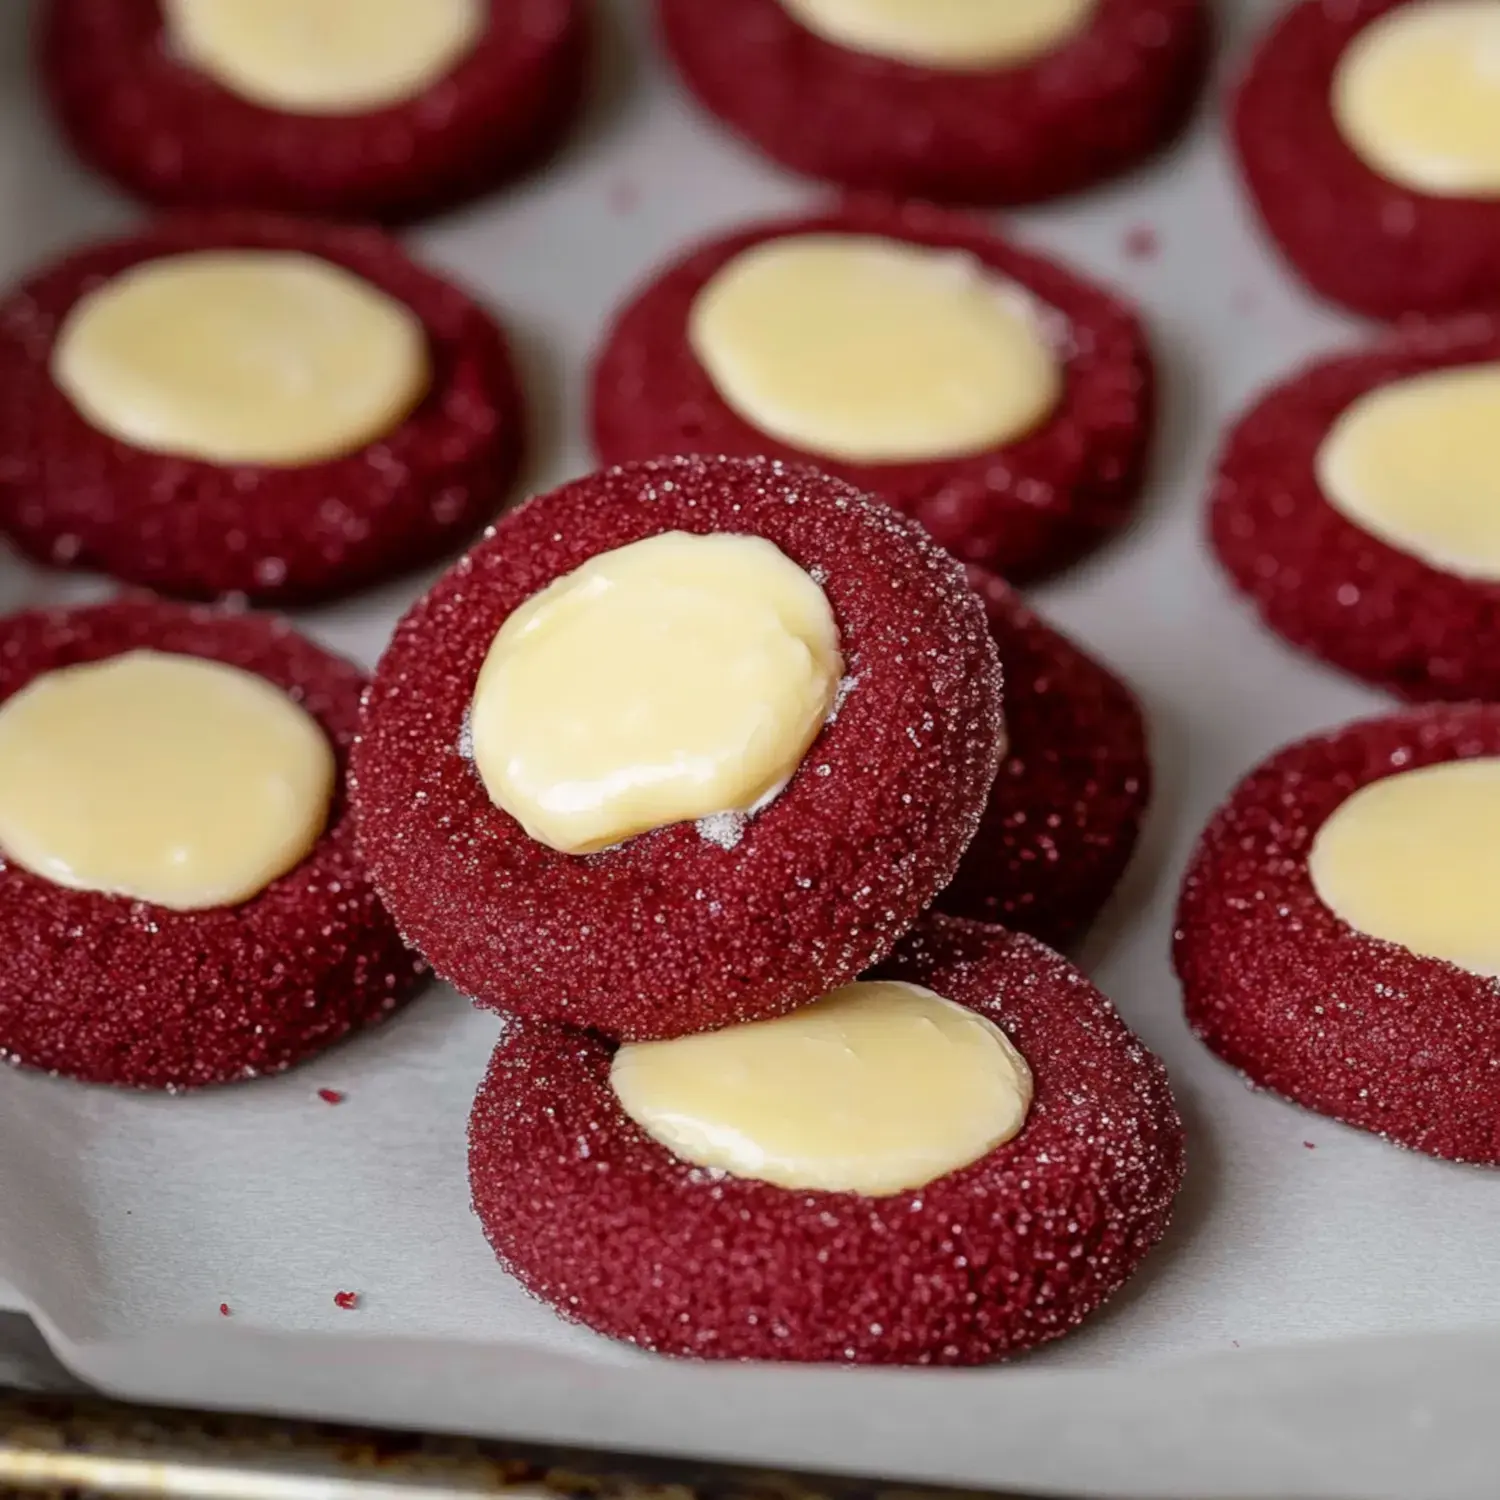
I'm thrilled to pass along these Cherry Red Velvet Stuffed Cookies! They've become the most asked-for treat when holidays roll around, and there's a good reason why. Imagine biting into a vibrant red, pillow-soft cookie with an amazing cream cheese surprise inside. My kitchen turns into this wonderful smelling space whenever I bake them, and they're snatched up quicker than I can say 'cookie swap!' Take my word for it, after one taste, these will be your holiday go-to forever.
The Magic Behind These Irresistible Cookies
You ever had a sweet treat that makes people gasp when they see it? That's what happens with these cookies! The cherry-red base has this subtle chocolate flavor that works so well with the zingy cream cheese center. I first whipped these up for family Christmas gatherings, but now folks want them all year long. My daughter took some to school last Valentine's Day, and I got a text from her teacher asking how to make them!
Everything You'll Need
- Flour: Standard all-purpose works perfectly just don't pack when measuring!
- Cocoa Powder: Splurge on premium quality here you'll taste the difference.
- Salt: A tiny bit brings out all the flavors.
- Butter: Set it out ahead so it softens completely.
- Brown Sugar: This gives us that melt-in-your-mouth texture.
- Egg: Let it come to room temp alongside your butter.
- Vanilla: Pure extract makes these extra tasty.
- Cream Cheese: Don't grab low-fat we need the richness here!
- White Sugar: This sweetens our creamy filling.
- Sour Cream: My hidden trick for extra zing!
- Red Food Coloring: Try to find the gel type.
- Sanding Sugar: Not must-have, but adds such a pretty sparkle!
The Step-by-Step Process
- Start With The Filling
- Tackle the cream cheese mixture first since it needs to chill and set up. Mix everything till it's silky smooth. I always sample a tiny bit who wouldn't?
- Base Cookie Fundamentals
- Combine those dry stuff first to get rid of any lumps. Then whip your butter and sugar until it gets really fluffy. You want it looking almost like whipped cream.
- Color Transformation
- Now comes the exciting part as you drop in that red coloring! My little ones always crowd around for this. Blend till it's beautifully red, but don't overdo it we want soft cookies.
- Creating The Cookies
- Form dough into balls roughly ping-pong sized. I sometimes coat them in sparkly sugar for a festive look! Press a small indent in each for the cream cheese mixture.
- Two-Stage Baking
- They'll need to bake twice first to set the cookie shape, then again after adding filling. Your whole house will smell wonderful!
Tricks I've Learned
After cranking out countless batches, I've picked up some wisdom! Hunt down gel food coloring the regular liquid kind can mess up your dough texture. Make sure your cream cheese is completely soft or you'll battle with bumps. And here's my number one tip: don't skimp on mixing time. Those extra moments beating the butter and sugar really transform these cookies!
Storage Smarts
Since we've got cream cheese in these treats, they need to hang out in your fridge. I stack them in my favorite cookie box with parchment paper between each layer. They'll stay yummy for around 4 days if they stick around that long! Want to plan ahead? You can totally freeze them just let them thaw in the fridge overnight before serving.
Holiday Table Stunners
These cookies practically shout celebration! Their bright color looks amazing on any party spread. They're my go-to for Christmas cookie exchanges nobody leaves without asking how I made them. For Valentine's Day, I sometimes mold them into heart shapes so adorable!
Questions People Ask
I hear lots of questions about these treats! Yes, you can make the dough a day ahead just wrap it tight and chill it. Can you skip the filling? Technically yes, but you'd miss out on the best part! And about that food coloring gel works way better I figured that out after ending up with pink cookies a few times!
Fun Variations
I like playing around with this recipe sometimes. Throwing in tiny chocolate chips? So good! Last December, I added green sparkles to some for a Christmas vibe. Once I mixed some Nutella into the cream cheese filling it was absolutely incredible!
How To Enjoy Them
These treats practically beg for a big glass of cold milk! I love putting them out at holiday get-togethers next to a hot chocolate station they vanish in minutes. They make wonderful gifts too just pack them in a cute box and watch someone's face light up!
The Secret To Their Popularity
There's something truly magical when red velvet meets cream cheese it's like they were meant for each other! These cookies hit that perfect sweet spot between flavors, they look stunning, and they just feel special. Whenever I bake a batch, they bring smiles to everyone who tries them. And isn't sharing joy what holiday baking should be about?
 Pin it
Frequently Asked Questions
- → Why should I cool the cheese filling?
- Cooling makes the filling sturdier, so it's simpler to handle and keeps its form while baking. This stops the filling from running too much as the cookies heat up.
- → Can I prepare these cookies beforehand?
- Sure, you can keep these cookies at room temp for 2-3 days or in the fridge for up to 5 days. Since they have cheese filling, keeping them cool is better for longer storage.
- → Why pick gel coloring over liquid?
- Gel coloring gives stronger colors with less moisture, which might change the cookie's feel. You'll need just a tiny bit of gel to get that nice red look.
- → Can I put these cookies in the freezer?
- While you can freeze the plain dough before adding filling, complete cookies with cheese centers don't do well in the freezer. The filling might turn gritty when it thaws out.
- → Why push down the middles twice during cooking?
- The first push makes a space for the filling, while the second push after they've partly baked makes sure the well stays deep enough to hold all that cheese filling as they finish cooking.