
 Pin it
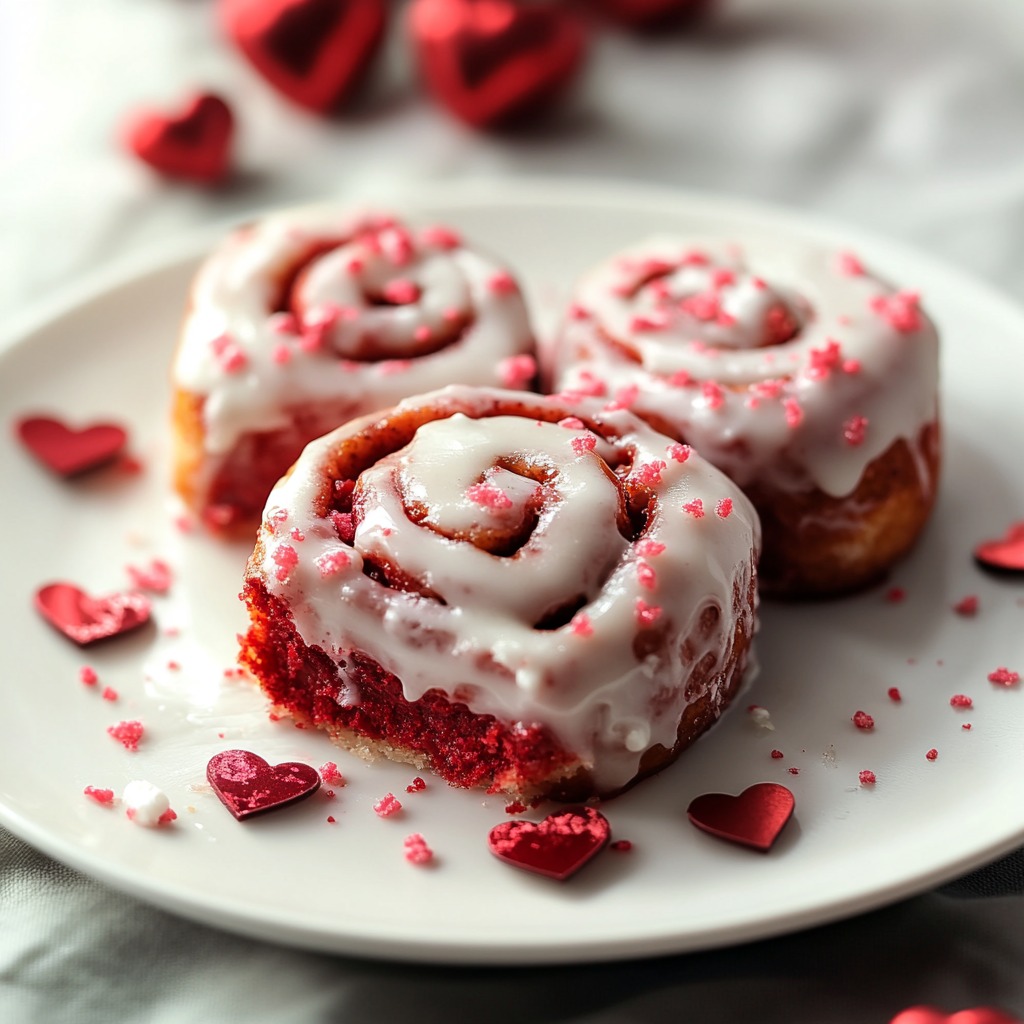
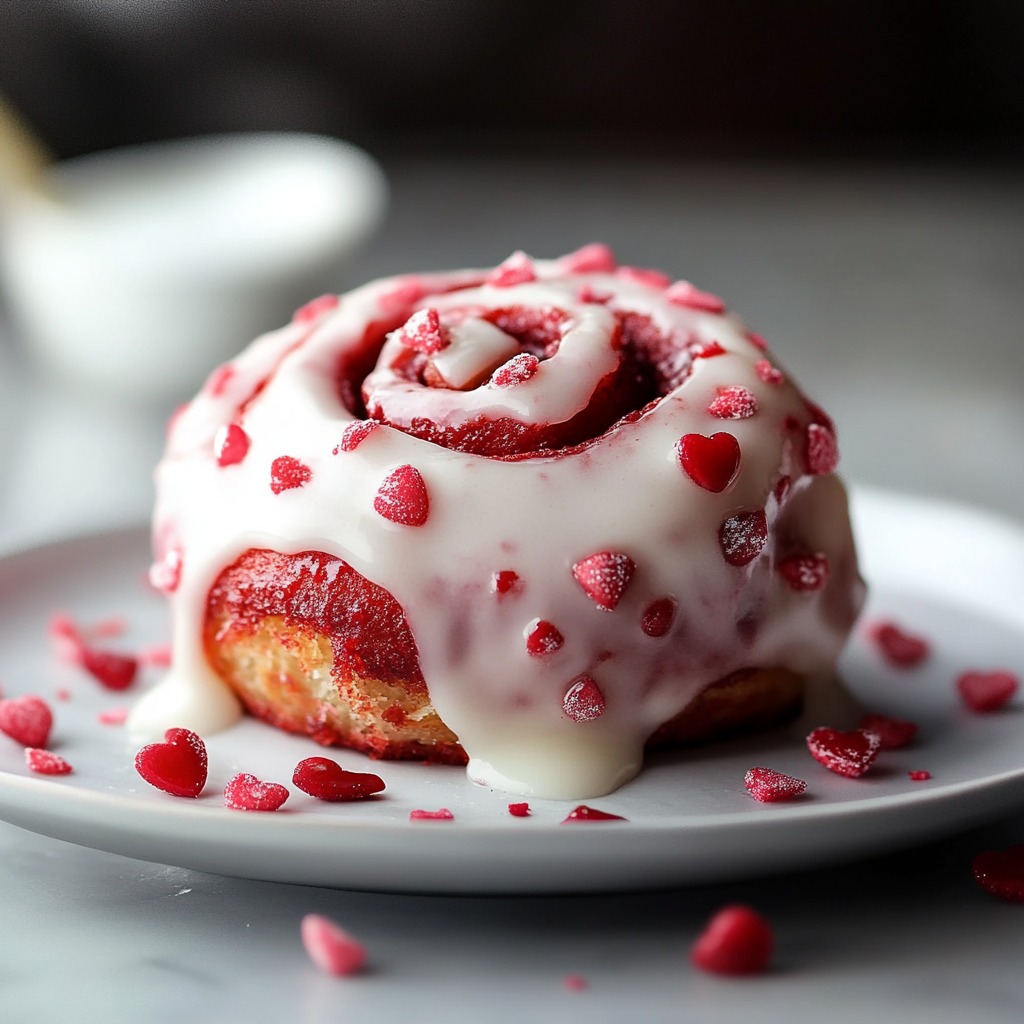
Take a bite of these swirled treats that blend chocolate-y red velvet goodness with warm cinnamon flavors, all drizzled with tangy cream cheese topping. These bright crimson rolls aren't just gorgeous to look at—they'll fill your home with mouth-watering smells that make the wait almost unbearable.
I tried countless batches with different amounts of cocoa and cinnamon until I got the mix just right. Now my folks ask for these at every family breakfast get-together, and their vivid red color works perfectly for Valentine's morning treats.
Key Ingredients Breakdown
- Active dry yeast (2¼ teaspoons): make sure it's not expired for good rising
- All-purpose flour (4 cups): go for unbleached if you can for better results
- Cocoa powder (2 tablespoons): pick unsweetened, natural kind for authentic flavor
- Red gel food coloring (2 teaspoons): gel gives much better color than liquid stuff
- Cream cheese (4 ounces): use full-fat at room temp for the creamiest topping
- Brown sugar (1 cup, packed): either light or dark works fine for the filling
- Ground cinnamon (3 tablespoons): fresher cinnamon means tastier rolls
Crafting Your Delightful Red Rolls
- Step 1: Prepping Your Dough
- Warm milk to 110°F exactly and check with a thermometer since this really matters for the yeast. Mix it with yeast and a touch of sugar, then wait for foam to bubble up showing your yeast is good to go. Mix all dry stuff thoroughly so the cocoa spreads evenly throughout.
- Step 2: Working the Dough
- Combine wet ingredients with your yeast mixture, then slowly add in your dry mix. You'll notice the dough changing as you work it—it should pull away from the bowl but still feel a bit sticky. Keep kneading until it's smooth and stretchy, about 8-10 minutes by hand or 5-6 minutes in a mixer.
- Step 3: First Rising Time
- Put your dough in a lightly oiled bowl, flip it once to coat all sides. Cover with a damp cloth and let it sit somewhere warm until it doubles, around 90 minutes. To check if it's ready, press two fingers in gently—if the dents stay, you're good to move on.
- Step 4: Making Those Swirls
- Roll out the dough into a rectangle with nice square corners for even rolls. Spread filling all the way to the edges except leave one long side with a ½-inch bare strip for sealing. Roll it up tightly from the long side and pinch the seam closed. Try using dental floss without flavor for the cleanest cuts.
- Step 5: Second Rise and Baking
- Put your cut rolls in a buttered dish with space between them to grow. Let them puff up until they're touching, about 45 minutes. Bake at 350°F until they hit 190°F inside, roughly 25-30 minutes.
 Pin it
My grandma showed me how to check if dough is the right temp by touching it with my knuckle—it should feel like the inside of your wrist. This tiny trick really helps get your dough to rise perfectly.
Getting The Most From Your Yeast
How well your dough rises really depends on how warm the room is. During cold months, you can make a warm spot by turning your oven on low for a minute, switching it off, then putting your dough inside with the door shut.
Spreading Filling Just Right
Getting that filling spread evenly makes all the difference in how your swirls look. I grab an offset spatula to make sure every bite has the same yummy mix of cinnamon sugar and dough.
Prepare Them Ahead
You can shape these rolls the night before and stick them in the fridge. Just take them out for about 30 minutes to warm up before the final rise and baking.
 Pin it
I've made these rolls for years now and learned that you can't rush good things. Taking your time with rising and careful rolling gives you soft, tasty, and beautiful results. Whenever I bring these out and see people's first happy bites, I'm reminded why spending time on homemade goodies is totally worth it.
Frequently Asked Questions
- → Is it okay to prepare them early?
- Definitely! Make them the night before, then chill before the second rise. Let them warm up to room temp before baking.
- → What if my dough doesn’t puff up?
- Check if your yeast is fresh, and ensure your milk is warm—not too hot or cold—so it activates properly.
- → Can I keep these in the freezer?
- Yup, just freeze them without frosting for up to 2 months. Defrost overnight and warm up before glazing.
- → No food dye? What can I do?
- Skip the red coloring if needed. The taste won't change, but they won't have the classic red velvet look.
- → How do I save leftovers?
- Keep frosted ones in the fridge in an airtight box for up to 5 days. Heat them gently before eating.