
 Pin it
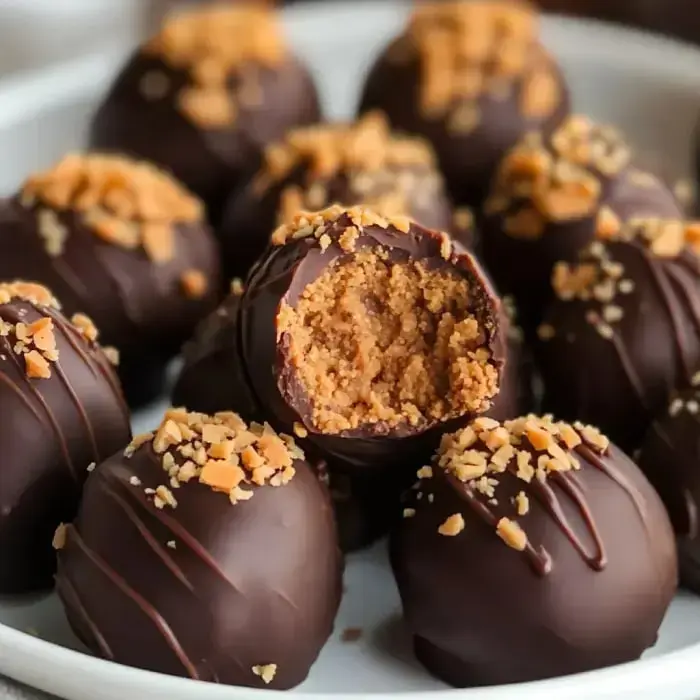
My kitchen always smells amazing when I whip up these Butterfinger treats - that mix of nutty peanut butter with sweet chocolate just can't be beat. Every single bite gives you that amazing combo of velvety centers packed with candy chunks all wrapped up in silky chocolate. I first made them for a holiday gathering but now my friends bug me for them all the time.
The Delightful Treat Journey
These goodies drive my family wild because they blend everything good about peanut butter snacks with that signature Butterfinger crackle. What I love most is how easy they come together - no oven needed! It's always fun watching someone's expression when they take that first bite and find the yummy surprise waiting inside.
What You'll Need
- 2 cups peanut butter: Smooth works great, but go with chunky if that's your thing. If you're using the natural kind, just throw in more graham crackers to get it firm enough.
- 1 stick unsalted butter: Make sure it's nice and soft before you start mixing.
- 2 cups crushed graham crackers: These help our treats hold their shape perfectly.
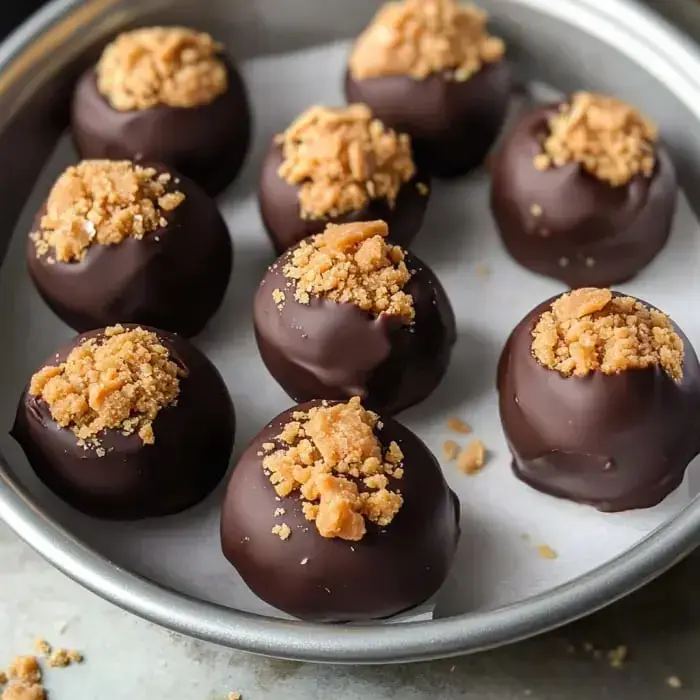
- 6 full size Butterfinger bars: Don't use all the crushed bits in the mix - keep some for decoration on top.
- 2 packages chocolate bark: It melts super smooth and hardens just right.
- 1 teaspoon vanilla extract: A tiny bit makes everything taste so much better.
How To Make Them
- Create Your Base
- First, whip the peanut butter with the softened butter until it's light and airy. Drop in that vanilla, then stir in your powdered sugar, graham bits, and smashed Butterfingers until it all comes together nicely.
- Form Your Balls
- Scoop good-sized spoonfuls and roll them up, then stick them in the freezer. They'll need around 30 minutes to get firm.
- Give Them A Chocolate Bath
- Get your chocolate all melted and smooth, then dunk each ball, letting extra chocolate fall back in the bowl.
- Finish With Flair
- While the chocolate's still wet, scatter those leftover Butterfinger pieces on top. I sometimes add a tiny bit of sea salt too for extra flavor.
Mix Things Up
I don't always stick to the script - sometimes I'll swap in Snickers or Heath bars instead. Adding seasonal sprinkles makes them perfect for any celebration. If you want to make them look fancy, just drizzle a bit more chocolate on top and they'll look like they came from a high-end candy store.
Storage Secrets
Pop these tasty treats in your fridge in an airtight container and they'll stay good for weeks. Want to keep them even longer? Just put them in the freezer with parchment paper between layers and they'll last for months. Just let them warm up a little before you serve them.
Pro Pointers
I always use my food processor to crush the candy bars in seconds. Don't let any water near your melting chocolate or you'll ruin the batch. After dipping each ball, give it a little tap to knock off extra chocolate and you'll get a really nice finish.
 Pin it
Frequently Asked Questions
- → Why skip natural peanut butter?
Stick with brands like Jif or Skippy for a smoother texture. Natural peanut butter is too runny and might cause the mixture to fall apart.
- → Why freeze before dipping?
Freezing makes the bites hold together in the warm chocolate, giving them a neater look.
- → What kind of chocolate works best?
Chocolate bark melts evenly and is super easy to work with. If you're using chips, temper them to avoid clumping.
- → How far ahead can I make these?
They're fine in the fridge for up to a week if kept in a sealed container. Great for pre-planning events.
- → What do the graham crackers do?
They add a crumbly texture and subtly sweet taste that complements the peanut butter and candy.