
 Pin it
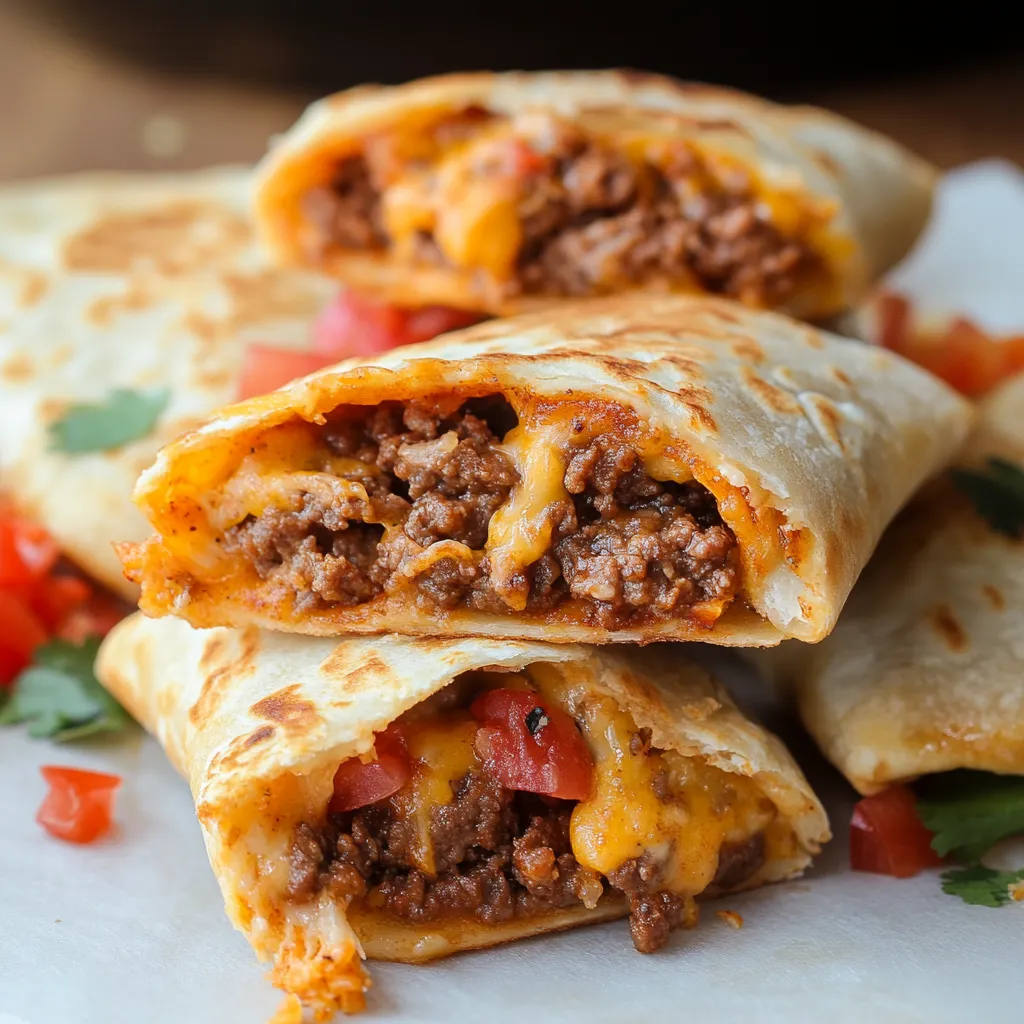
Spicy taco-flavored ground beef mixes with melty cheese and zesty salsa, all tucked into soft tortillas and baked until golden brown. These tasty taco bundles bring amazing flavor with minimal fuss, making them perfect for busy weeknights. The handy pocket design makes eating super easy and keeps all the yummy juices and flavors locked inside the neatly folded wrap.
I came up with this idea during a crazy busy sports season when we needed food we could eat on the go between games and practices. After trying lots of different versions, this one became the family favorite. My kids ask for these all the time now because they can enjoy all the taco flavors without making a huge mess like they do with regular tacos.
Key Ingredients
- Ground beef: Forms the tasty foundation that soaks up all the seasonings—go for a leaner mix for less fat or swap in ground turkey if you want something lighter.
- Cream cheese: Adds amazing creaminess and helps keep everything stuck together so the filling stays put—let it sit out to soften first for easier mixing.
- Flour tortillas: They bend without breaking and turn beautifully golden in the oven—make sure to get fresh ones as they fold much better than stale tortillas.
How To Make Them
- Cook The Meat:
- Get your ground beef browning in a pan over medium heat, breaking it into tiny bits with your spoon. Make sure to drain off the fat really well so your pockets don't end up soggy. Mix in the taco seasoning with water, then let it bubble away until the liquid is mostly gone and the meat is packed with flavor.
- Make The Creamy Base:
- Stir your room-temperature cream cheese until it's totally smooth with no lumps anywhere. Slowly mix in small spoonfuls of salsa, stirring well each time until everything's evenly blended and the same color throughout.
- Put Them Together:
- Lay out each tortilla flat and spread the cream cheese mix right down the middle to create a sticky base that'll hold everything else. Add some seasoned meat on top, then pile on plenty of shredded cheese. Fold the bottom up over the filling, then fold in both sides before rolling the whole thing up to make a sealed package that keeps everything inside.
- Line Them Up:
- Put your rolled-up pockets on a baking sheet with the seam facing down, leaving enough space between them so they can brown properly. Gently brush the tops with melted butter, being careful not to tear the tortillas.
- Bake Until Golden:
- Stick the baking sheet in your preheated oven, right on the middle rack where the heat circulates best. Keep an eye on them during the last few minutes since they can go from perfect to too brown really fast.
 Pin it
When my neighbor came over for an unexpected dinner, she wasn't sure if baked tortillas would taste good. But after one bite, she couldn't stop talking about how the butter made the outside so crispy while keeping the inside nice and soft.
Keeping Leftovers
Any extras will stay good in a sealed container in your fridge for up to three days. When you want to eat them again, warm them up in a 325°F oven until they're heated through, or toss them in an air fryer if you want them extra crispy. Don't use the microwave though—it'll make the tortillas too soft and floppy.
 Pin it
Frequently Asked Questions
- → Can I prep these early?
- You can make them a day ahead. Just wait to add butter until right before baking.
- → Is freezing an option?
- Sure! Freeze before cooking. Bake straight from frozen, adding a little more baking time.
- → What pairs well with this?
- Serve with dips like guac, sour cream, or sides like Mexican-style rice.
- → Can other meats work?
- Absolutely—ground turkey or chicken seasoned the same way works well.
- → Why put in cream cheese?
- It makes the filling creamy and helps the ingredients stick together.