 Pin it
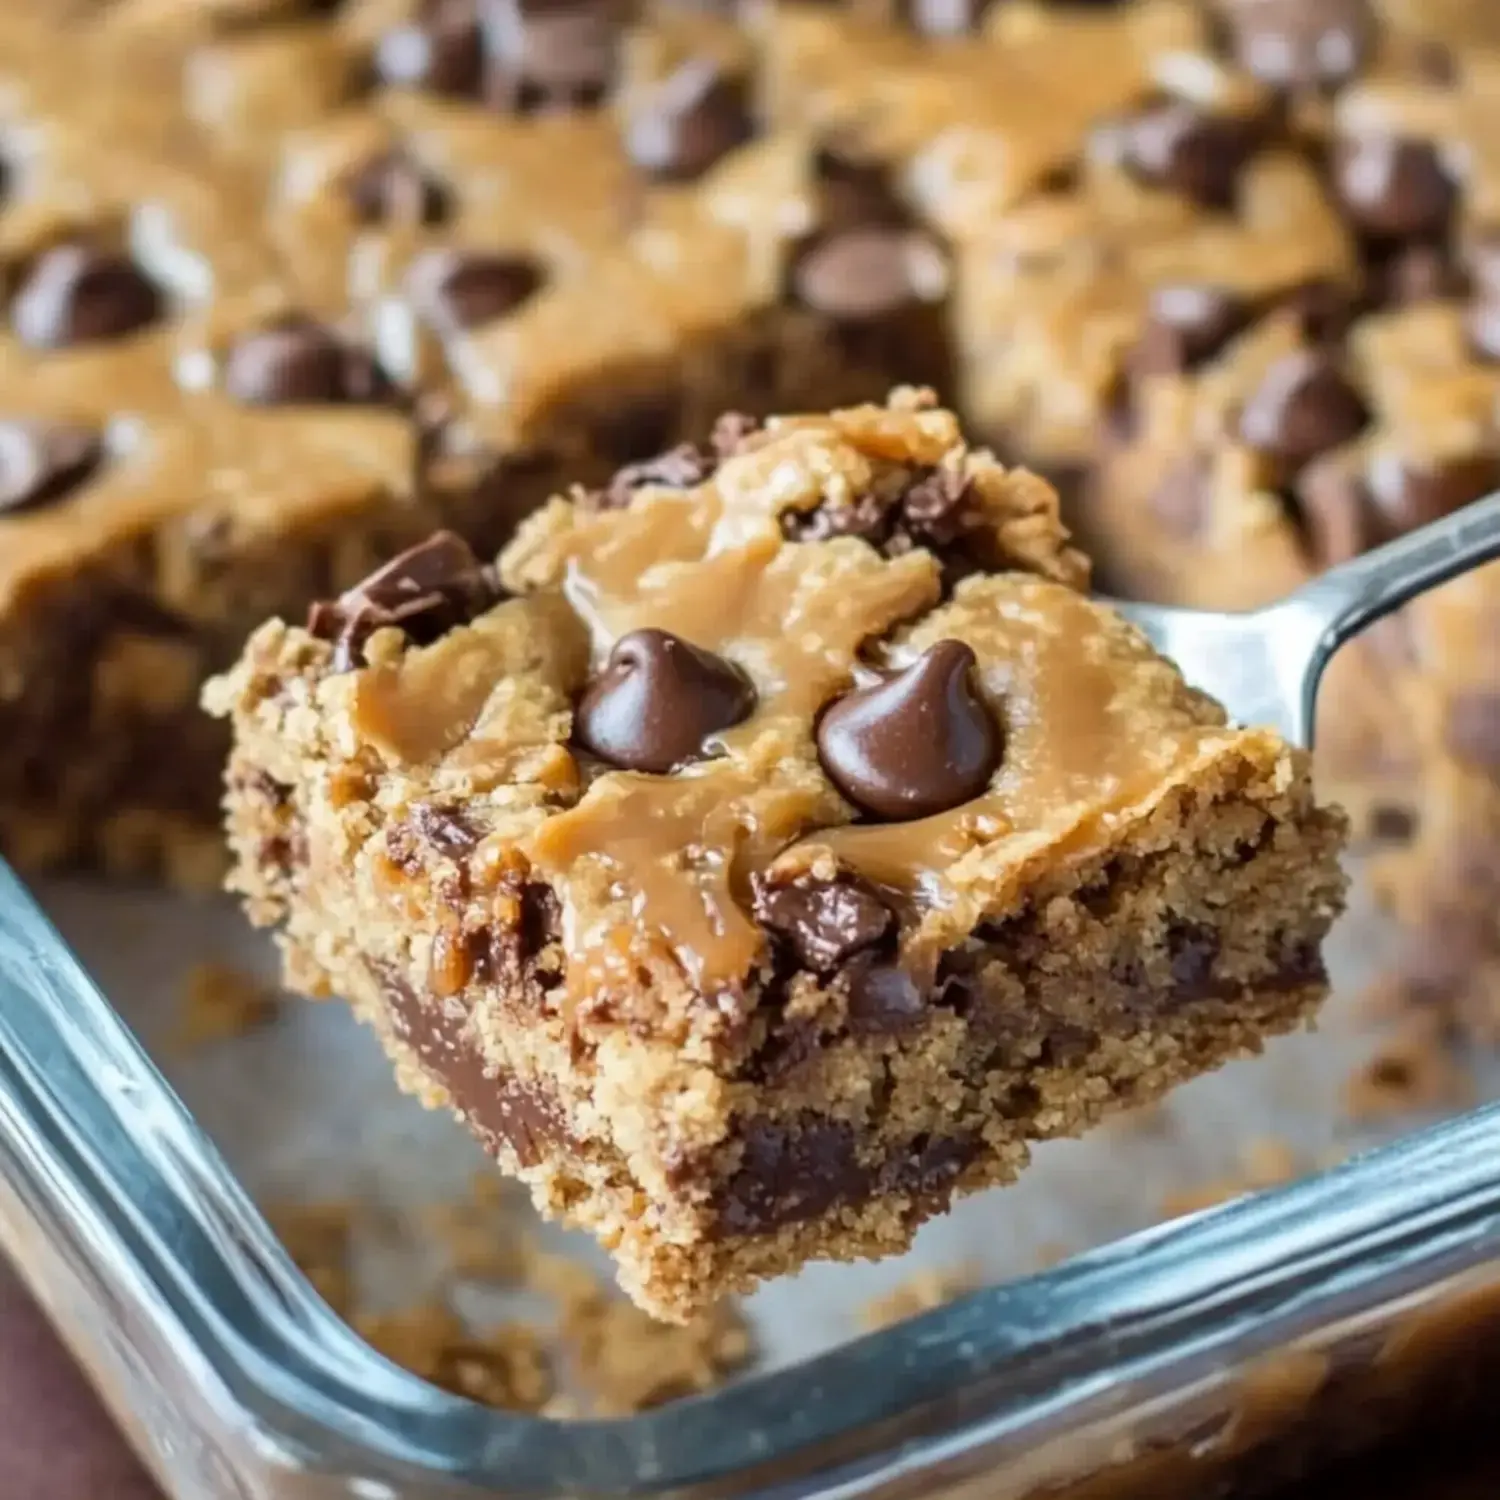
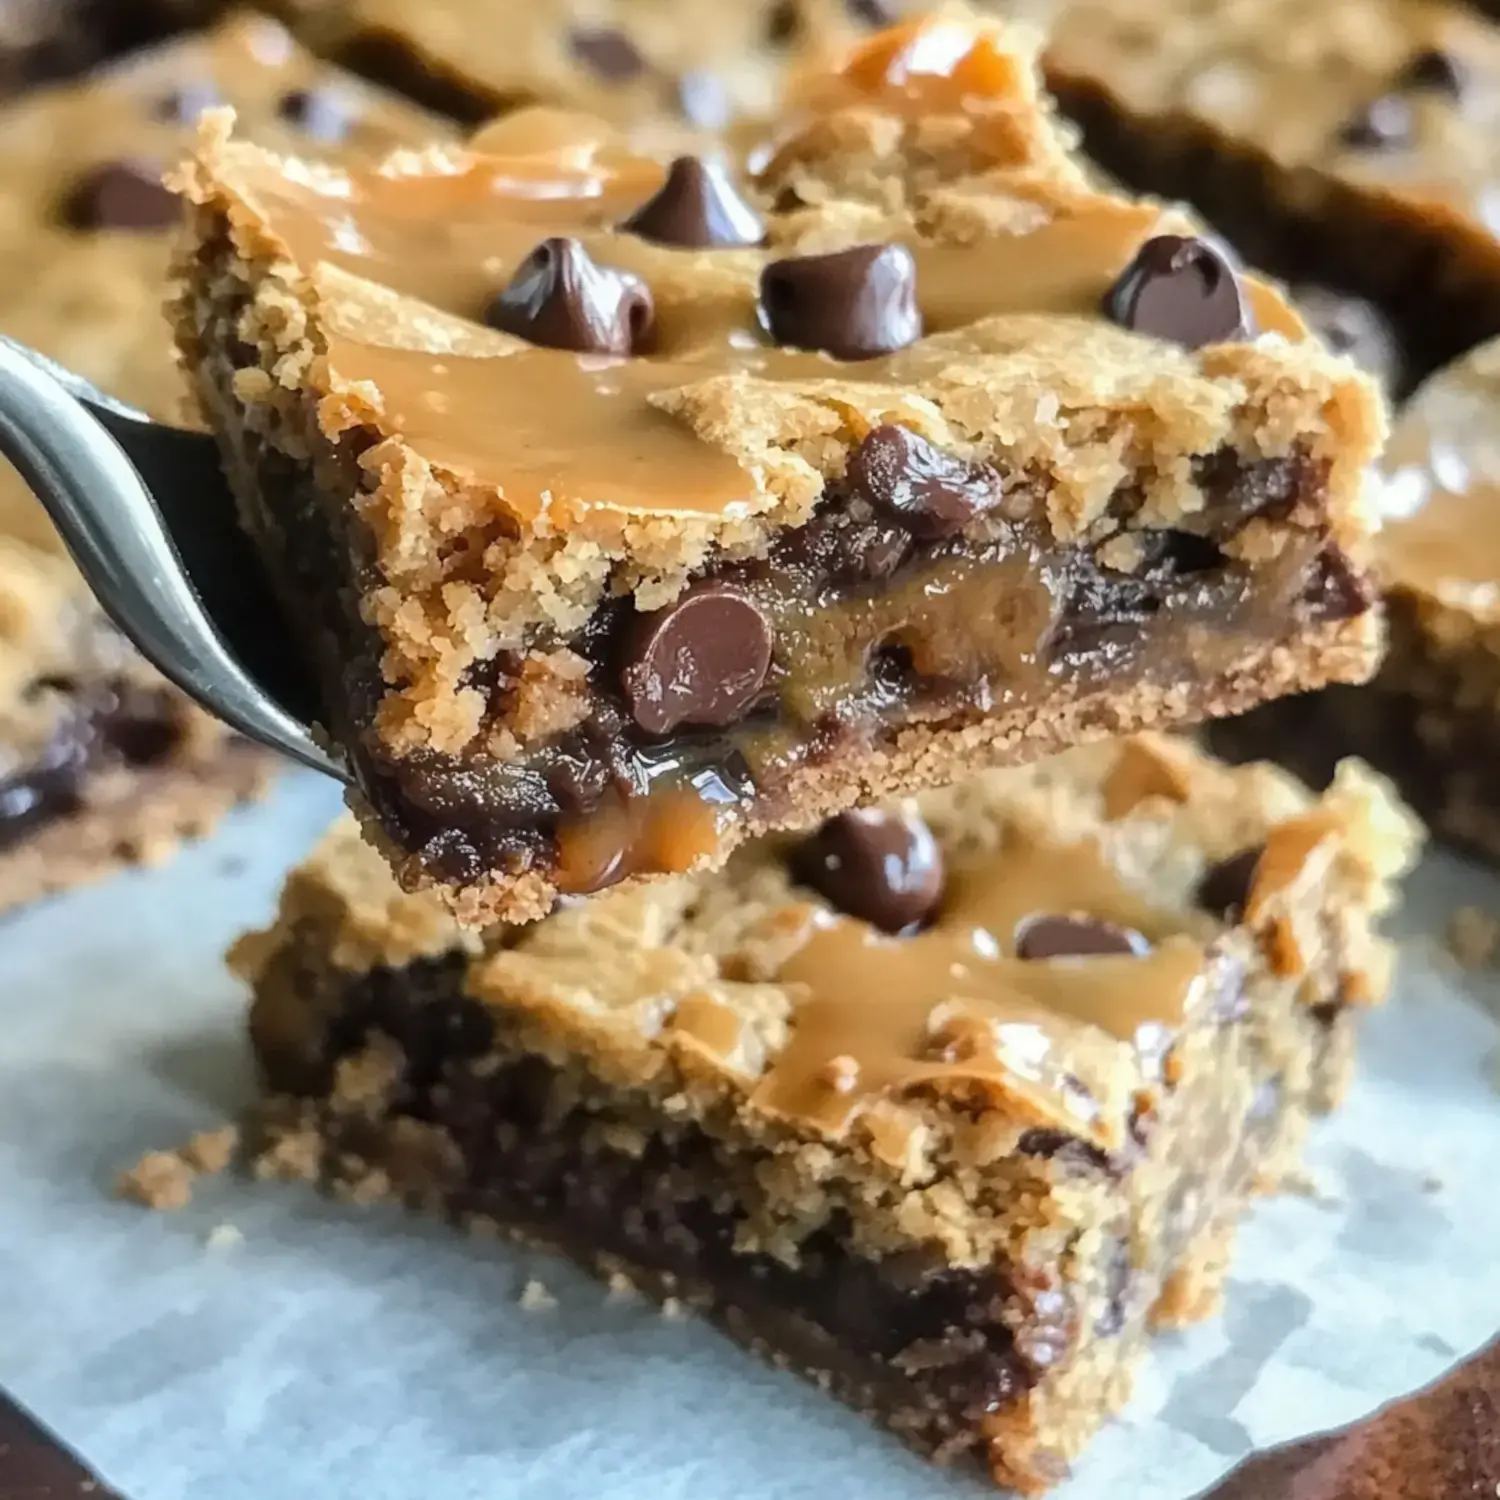
My Irresistible Temptation Bars blend ooey-gooey caramel, peanut butter, and chocolate in every mouthwatering bite. The title isn't kidding - these treats are so incredibly tasty they'll leave you speechless. I've been whipping these up for ages and still debate whether to keep the whole batch for myself or actually let others try them.
Why These Bars Are Unforgettable
I adore how these bars combine everything you want - gooey, crunchy, sweet and a bit salty too. The caramel just sinks right into the cookie layer while those chocolate chips create pockets of deliciousness. They're supposedly for sharing at gatherings, but honestly, they rarely make it out my front door. Lucky for me, they freeze really well on those rare occasions I don't finish them all.
What You'll Need to Grab
- Flour: The foundation for that wonderful chewy base I can't get enough of.
- Baking Soda: Gives that subtle rise we need.
- Salt: Enhances every single flavor in the mix.
- Butter: Adds that luscious richness we all crave.
- Sugar: Creates that beautiful golden color on top.
- Brown Sugar: Brings those lovely deep caramel undertones.
- Vanilla Extract: Adds depth to every single layer.
- Eggs: Works as the perfect binding agent throughout.
- Semi-Sweet Chocolate Chips: Creates those dreamy melted spots.
- Evaporated Milk: The secret to ultra-smooth caramel.
- Caramels: The showstopper in our middle layer.
- Peanut Butter: Adds that subtle nutty flavor we love.
Creating Your Temptation Bars
- Set Up Your Baking Space
- Get your oven going at 350°F and make sure you really grease that 9x13 pan well you'll thank me later.
- Combine Your Dry Stuff
- Mix up your flour baking soda and salt in a bowl and put it aside for now.
- Whip Up Your Cookie Mix
- Cream together the butters and sugars until light beat in eggs and vanilla then fold in your dry mix and chocolate bits.
- Cook The First Layer
- Push about half your dough into the bottom of the pan and bake just until it firms up around 8 10 minutes.
- Mix The Filling
- Heat those caramels with your evaporated milk mix in the peanut butter until it's all smooth then pour this over your warm base.
- Add The Top Layer
- Plop spoonfuls of the leftover dough across that amazing caramel and gently flatten it out.
- Finish Baking
- Put it back in the oven for about 15 20 minutes until it turns golden then comes the toughest part letting them completely cool down.
Where These Treats Came From
Whenever I serve these bars folks always ask about their funny name but after one taste they totally get it. That magical blend of cookie caramel and chocolate creates something truly unforgettable. They've become my favorite treat when I want to see happy faces around the table.
Try These Twists
You can leave out the peanut butter if someone's allergic or swap in white chocolate bits for something different. Just don't use condensed milk instead of evaporated these bars are plenty sweet without it.
Storage Tips
Make sure they cool all the way before cutting them you'll get much cleaner squares this way. They'll stay tasty in a container for about 3 days if nobody finds them. You can stick them in the freezer for up to 3 months and they'll thaw perfectly.
Level Them Up
I love eating these with a scoop of vanilla ice cream or some tart berries for balance. They go perfectly with a steaming mug of coffee or tall glass of cold milk. When I'm feeling fancy I'll drizzle some extra caramel on top pure heaven on a plate.
 Pin it
Frequently Asked Questions
- → What's the best type of caramel to use?
- Soft caramel candies in wrappers work great, usually found where candy is sold. Don't use liquid caramel sauce as it won't set properly.
- → Why should I use a double boiler for melting?
- A double boiler melts the caramel mix gently and evenly, keeping it from burning and making sure it stays nice and smooth.
- → Can I make them before I need them?
- Absolutely, you can make these bars early and keep them in a sealed container. Put parchment between layers so they don't stick together.
- → Why cook the bottom part first?
- Cooking the bottom layer first gives you a firm foundation that'll hold up the thick caramel filling without collapsing.
- → How can I tell when they're ready?
- Look for a light golden color on top and firm edges, though the middle might still look a bit soft when you take them out.
