
 Pin it
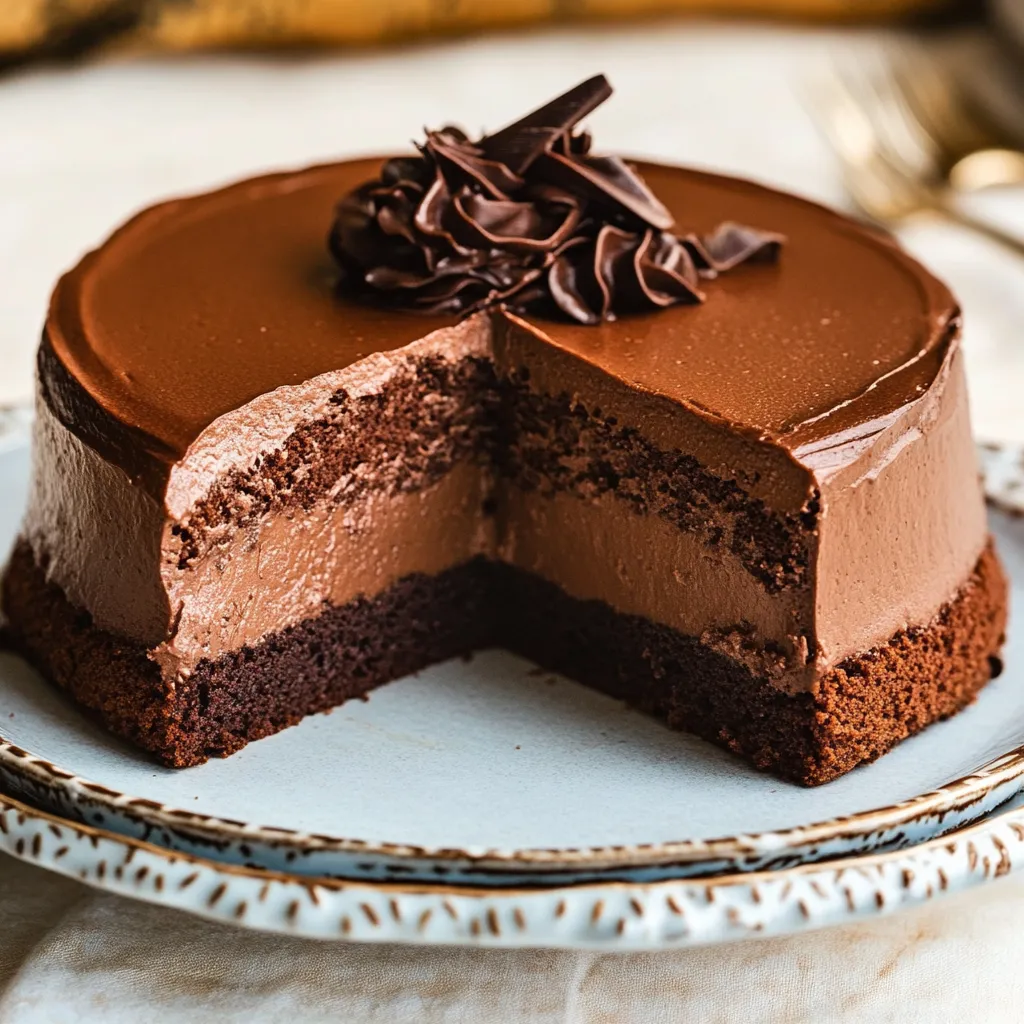
I'll show you how to whip up a decadent three-layer chocolate showstopper that'll knock your socks off. This tri-chocolate sensation blends a soft, rich cake foundation with velvety mousse in the middle and a shiny chocolate coating on top for a mind-blowing dessert.
I've tried tons of mousse cakes over the years, and this one hits the sweet spot between deep flavor and airy texture. The first time I brought this out after dinner, my friends thought I'd sneaked out to a pastry chef's kitchen.
Key Ingredients and Smart Picks
- Dark Chocolate: Go for good 70% cocoa stuff for big flavor. Look for that shine when you break it.
- Milk Chocolate: Don't cheap out here - better brands melt nicer and taste better.
- Dutch Process Cocoa: It's darker and tastier than the regular kind.
- Fresh Eggs: Split them when they're cold but let them warm up before using.
- Heavy Cream: You need the fat-heavy kind (36%+) or it won't whip right.
Step-by-Step Baking Guide
- Step 1: Nailing the Base Layer
- Check your oven's real temp first - it matters. Mix all the dry stuff super well to break up cocoa clumps. Hot coffee goes in last to wake up the cocoa flavors. Pull it out while there's still a tiny bit of stickiness on your tester.
- Step 2: Getting the Mousse Just Right
- Melt your chocolate without rushing or it'll turn grainy. Warm those egg yolks carefully so they don't turn into scrambled eggs. Make sure your gelatin completely dissolves. When mixing, go gentle to keep all those air bubbles.
- Step 3: Topping It Off
- Cut your chocolate into same-size bits for even melting. Warm cream till it just starts to bubble but don't let it boil. Leave it alone for 3 full minutes before you touch it. Pour when it's just the right warmth for pretty dripping.
 Pin it
I spent hours watching my grandma work her magic with chocolate treats, and she always said you can't rush greatness. This cake isn't quick, but every minute you spend builds up amazing flavors that make it special.
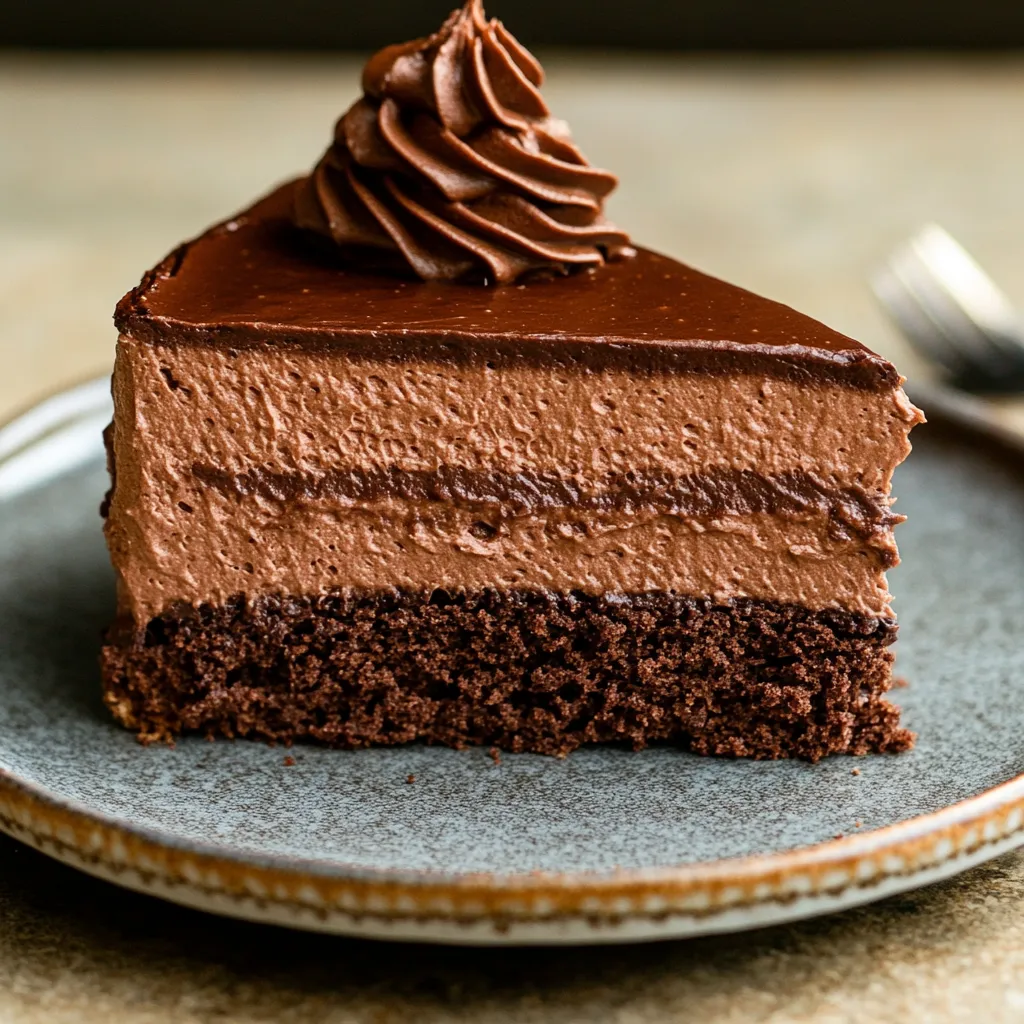
What really makes this cake work is keeping track of temperature. I've learned that giving each section proper time to set creates those awesome distinct layers that make every mouthful exciting.
 Pin it
This cake has turned into my go-to wow dessert for big moments. Combining three different chocolate techniques creates something that chocolate fans will daydream about long after the last crumb is gone.
Frequently Asked Questions
- → What's the purpose of the acetate or cake collar?
- It lets you build perfectly neat, straight edges for the mousse section.
- → Can I make this dessert beforehand?
- Absolutely, you can fix it up to 2 days early and store it in your fridge.
- → What's the point of the coffee soak?
- Coffee adds juiciness and boosts the chocolate taste without making it taste like coffee.
- → Is gelatin really necessary?
- Yes, you can't skip it as it helps your mousse stay firm when you cut slices.
- → How many days will this cake last?
- It'll keep in your fridge for up to 5 days, but it's tastiest if eaten within 3 days.