
 Pin it
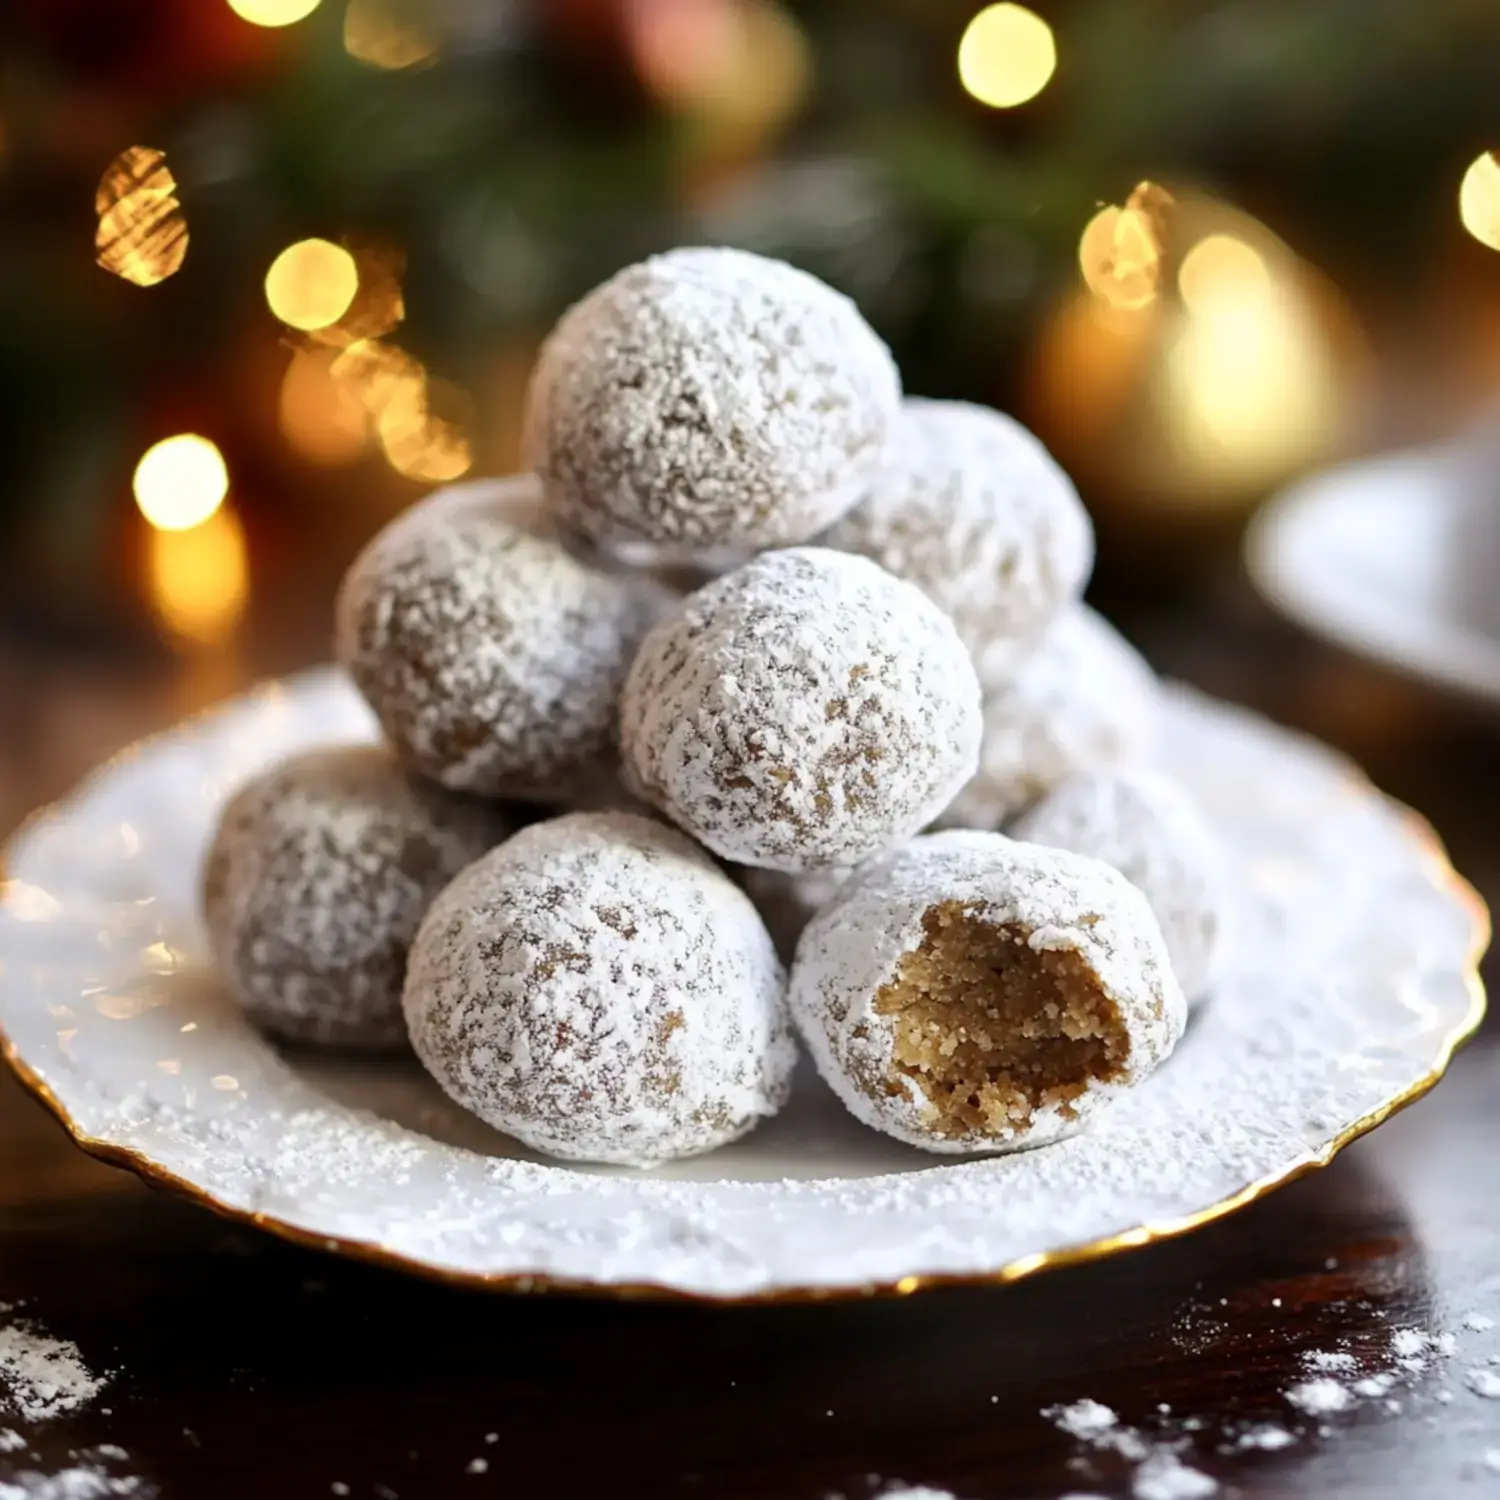
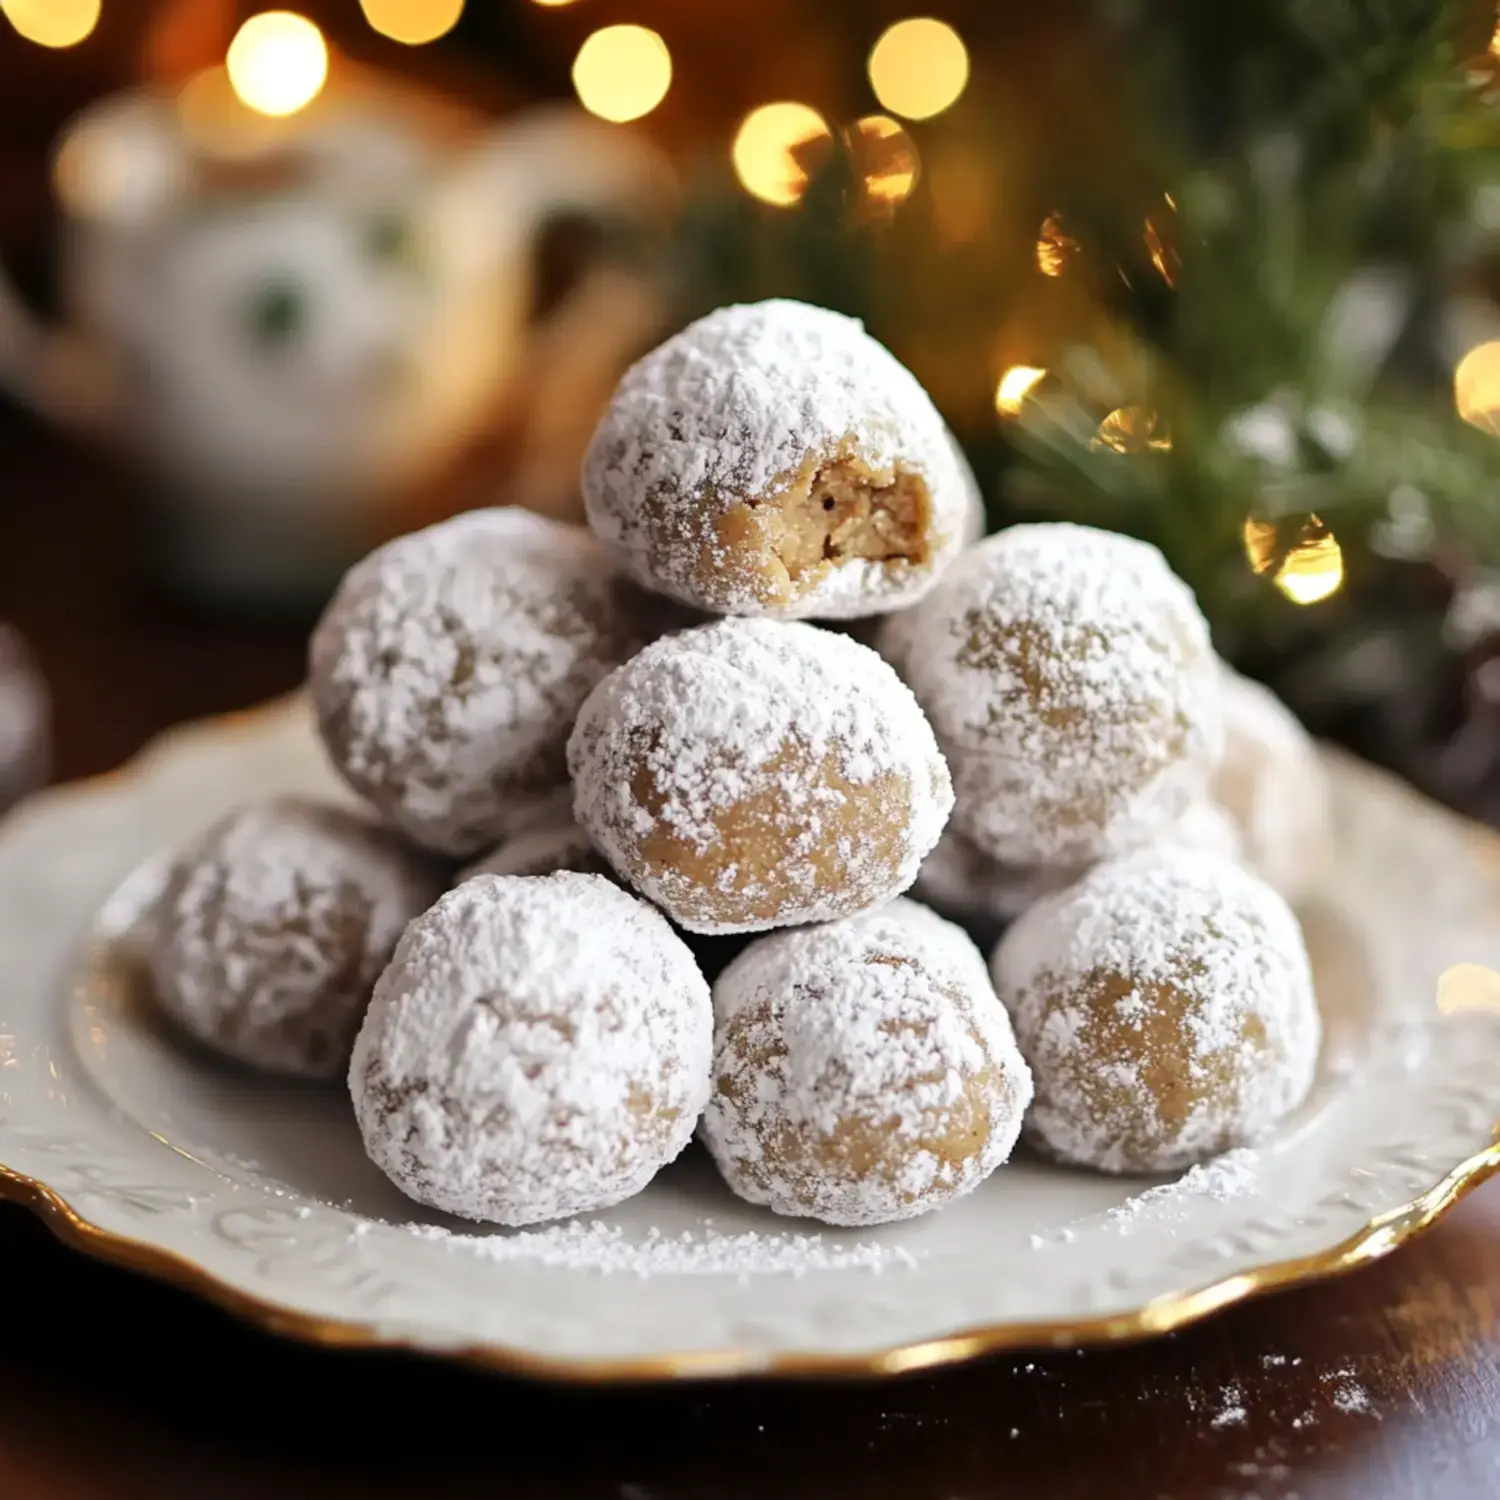
I've spent countless holiday seasons perfecting these Gingerbread Snowballs and let me tell you - they're absolutely wonderful. They bring together the buttery goodness of classic snowball cookies with warm, festive gingerbread spices that capture the holiday spirit. When these are in the oven, my home fills with the most amazing smell, and they always get big smiles from everyone who tries them.
What Makes These Cookies Remarkable
The best thing about these treats is how they blend two holiday classics into one tasty bite. The molasses adds such rich flavor, and the spices make them feel so seasonal. They're also super quick to whip up, which comes in handy during the busy holiday rush when you want something impressive but can't spend all day baking.
Your Ingredient List
- Butter: Get it properly softened for the best results.
- Powdered Sugar: We need this for the cookie mix and that pretty white coating.
- Vanilla Extract: A small amount brings out all the spice flavors.
- Salt: This tiny addition makes everything taste better.
- Gingerbread Spice Mix: My unique combination that gives these cookies their charm.
- Molasses: This brings the authentic gingerbread taste.
- All-purpose Flour: Be exact with this measurement for perfect cookies.
Baking Steps
- Mix Your Foundation
- Seeing the butter turn airy and soft reminds me of making little fluffy clouds in my bowl.
- Form With Care
- Try to make each cookie ball roughly identical so they bake evenly. I use my tablespoon to check the size.
- Watch The Oven
- Don't let them cook too long. You want just a hint of gold on the bottom.
- Sugar Transformation
- Rolling them in sugar while warm is key, then we'll dust them again for extra snowy appearance.
Creating Custom Spices
Making my own spice blend is so rewarding. The smell is wonderful and you can tweak it however you want. Adding extra ginger gives more kick, while more cinnamon creates warmth. It's totally up to you. This personal adjustment makes each batch feel unique.
Helpful Baking Advice
Having everything at room temperature really matters. They'll mix together smoothly. The good news is you don't need to cool this dough first, which really saves time. Just be careful with your flour amounts as too much will dry them out.
Personal Touches
I sometimes add a bit of orange peel for freshness or coat them in colored sugar for fun. During the holidays, I love having these with a mug of hot chocolate topped with fresh whipped cream. It's the coziest combo of cookie and drink.
Storage Solutions
These cookies stay good for a week in a sealed container. When I'm planning ahead, I often make twice as many and freeze some for later. They thaw out great. Just wait until they're totally cooled before you put them away.
Perfect For Giving
These make such wonderful presents. I like to pack them in cute tins with tissue paper or see-through bags tied with holiday ribbons. People always smile when they get them. It's like giving a small package of holiday happiness.
Festive Treats For Everyone
These cookies have a certain magic to them. They're easy but fancy, classic but different. Whether you bake them for your family, friends, or just yourself, they'll quickly become a treasured part of how you celebrate the holidays.
 Pin it
Frequently Asked Questions
- → Why does the dough seem so crumbly at first?
- The dough starts off crumbly because it has lots of butter and not much liquid. Just keep mixing and it'll come together as the butter works into the dry stuff.
- → Why do we coat the cookies in sugar twice?
- The first sugar coating sticks while they're warm. The second layer goes on after they cool down to make them look extra snowy and finished.
- → Can I bake these cookies before the holiday?
- Sure thing. They stay fresh for about a week in a sealed container. You might want to add a fresh dusting of sugar right before you serve them so they look their best.
- → Why should I use butter without salt?
- Unsalted butter lets you control how salty your cookies turn out. If you've only got salted butter, just cut back on the extra salt in the recipe.
- → Is it okay to freeze these treats?
- Absolutely. They'll keep in the freezer for up to 3 months. Freeze them after baking but before the sugar coating. Let them thaw completely, then roll in sugar when you're ready to eat them.