
 Pin it
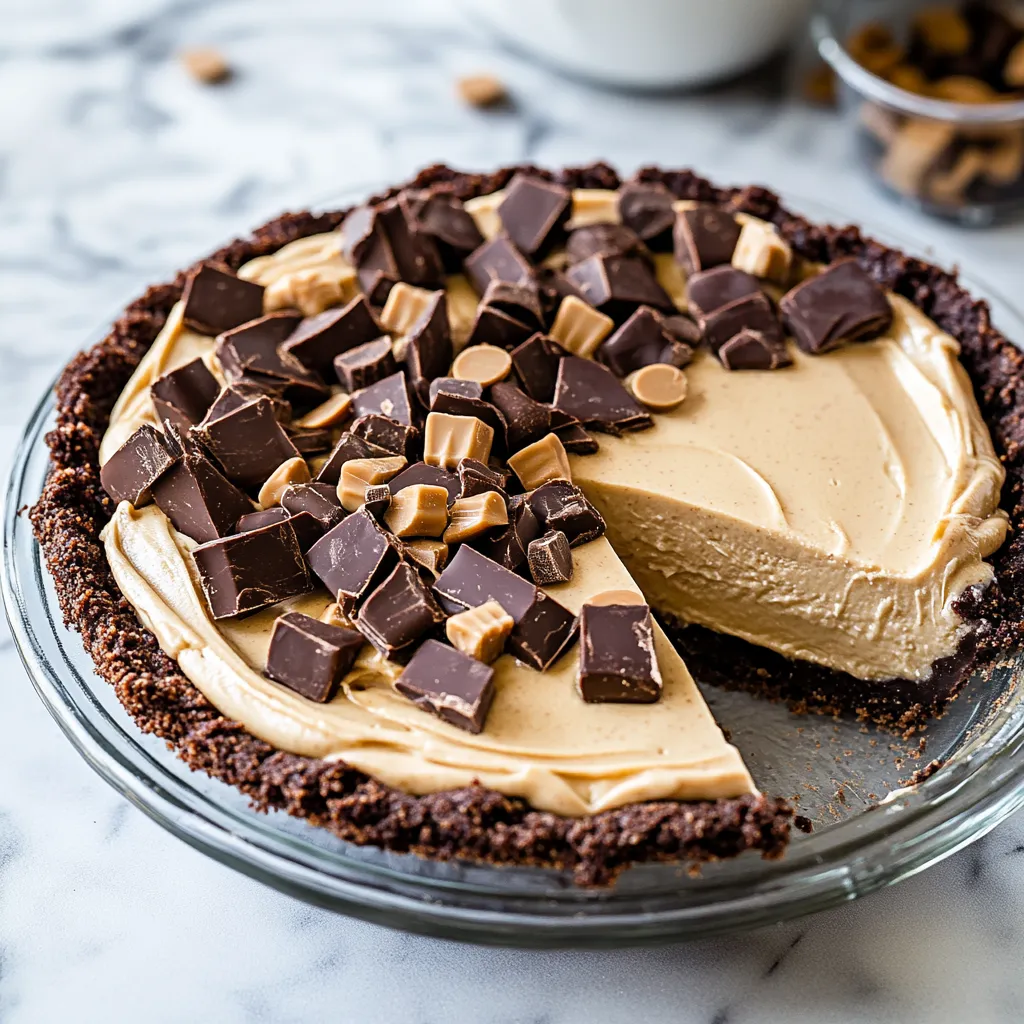
A velvety peanut butter pie that skips the oven makes this treat a hit all year long. The mix of smooth filling and crispy Oreo base creates an amazing contrast that takes me back to those classic peanut butter cups, but with a fancy, adult twist.
When I first whipped up this pie for my kid's party, it was gone in minutes so I started doubling the recipe. These days it's the dessert everyone asks for at family events, particularly during hot summer cookouts when nobody wants to heat up the kitchen.
Key Components
- Oreos: Standard ones work best - they break down into the right texture
- Cream Cheese: Get the regular kind and let it warm up for that perfect smoothness
- Peanut Butter: Stick with mainstream options like Jif or Skippy for best results
- Heavy Cream: Keep it super chilled before you start whipping
- Powdered Sugar: Blends in completely without any gritty feeling
- Vanilla Extract: Boosts the peanut butter's natural flavor
 Pin it
Step-by-Step Process
- Step 1:
- Give your cream cheese about 2 hours to soften completely - even slightly cool cream cheese will make your filling lumpy.
- Step 2:
- When breaking down the Oreos, stop when they're fine bits but not completely powdery.
- Step 3:
- Add butter to your crumbs bit by bit, stopping once it feels similar to damp sand.
- Step 4:
- Push the crust down firmly with a measuring cup bottom, focusing on the corner where sides meet bottom.
- Step 5:
- Cool the crust until it's solid to touch - this helps it stay intact when the filling goes in.
- Step 6:
- Whip your cream in a cold bowl until peaks start forming, then add sugar and continue until stiff.
- Step 7:
- Mix cream cheese by itself first until totally smooth before mixing in anything else.
- Step 8:
- Mix peanut butter into cream cheese slowly, scraping the sides often.
- Step 9:
- Add the whipped cream with gentle folding moves to keep all the air bubbles.
- Step 10:
- Cool completely for neat slices.
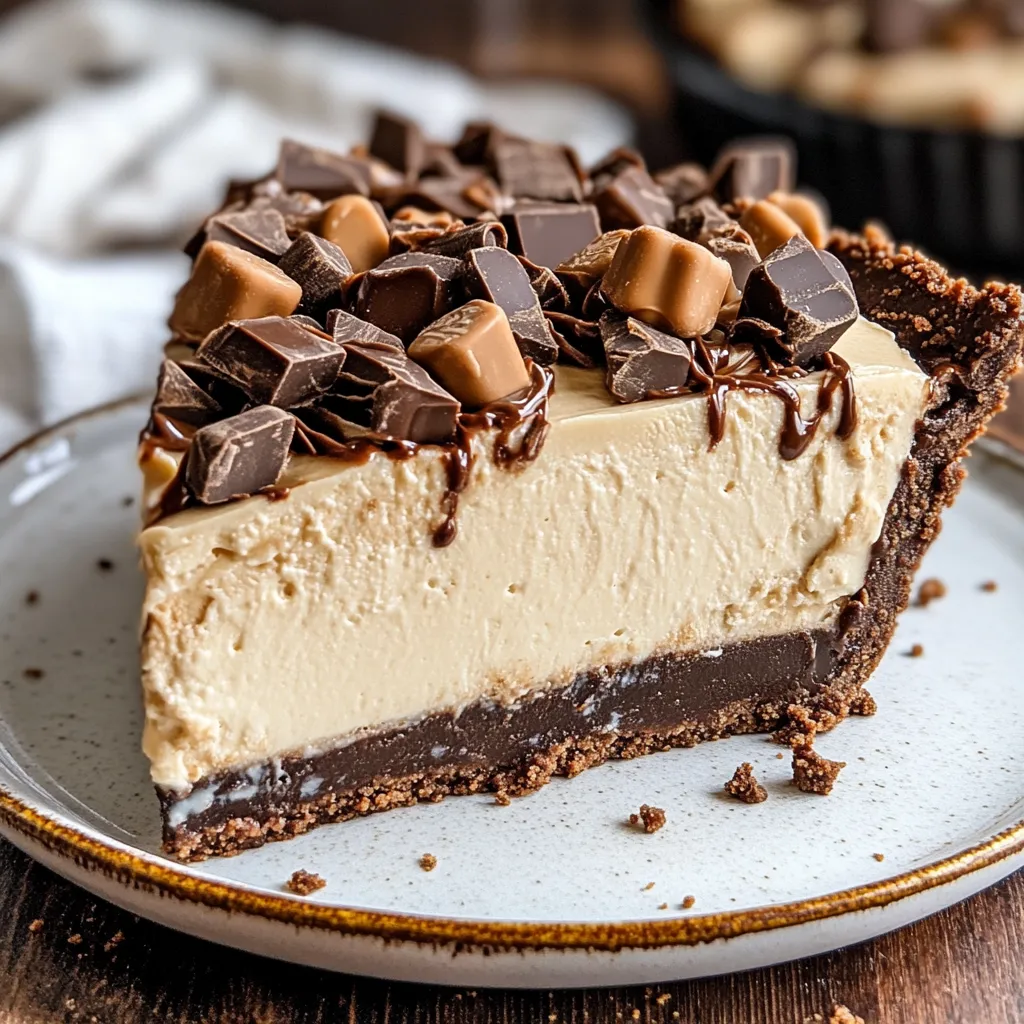
We found out that slightly frozen pieces taste incredible during hot weather. My grandkid calls it "peanut butter ice cream pie" and it's always his birthday dessert pick.
Fantastic for Parties
Making this pie beforehand takes away party planning stress. The filling holds its shape for hours, and the base stays nice and crunchy.
Weather-based Variations
In summer, try the frozen version with chocolate drizzled on top, while winter gatherings might call for hot butterscotch and sprinkled nuts.
 Pin it
Prep-Ahead Wonder
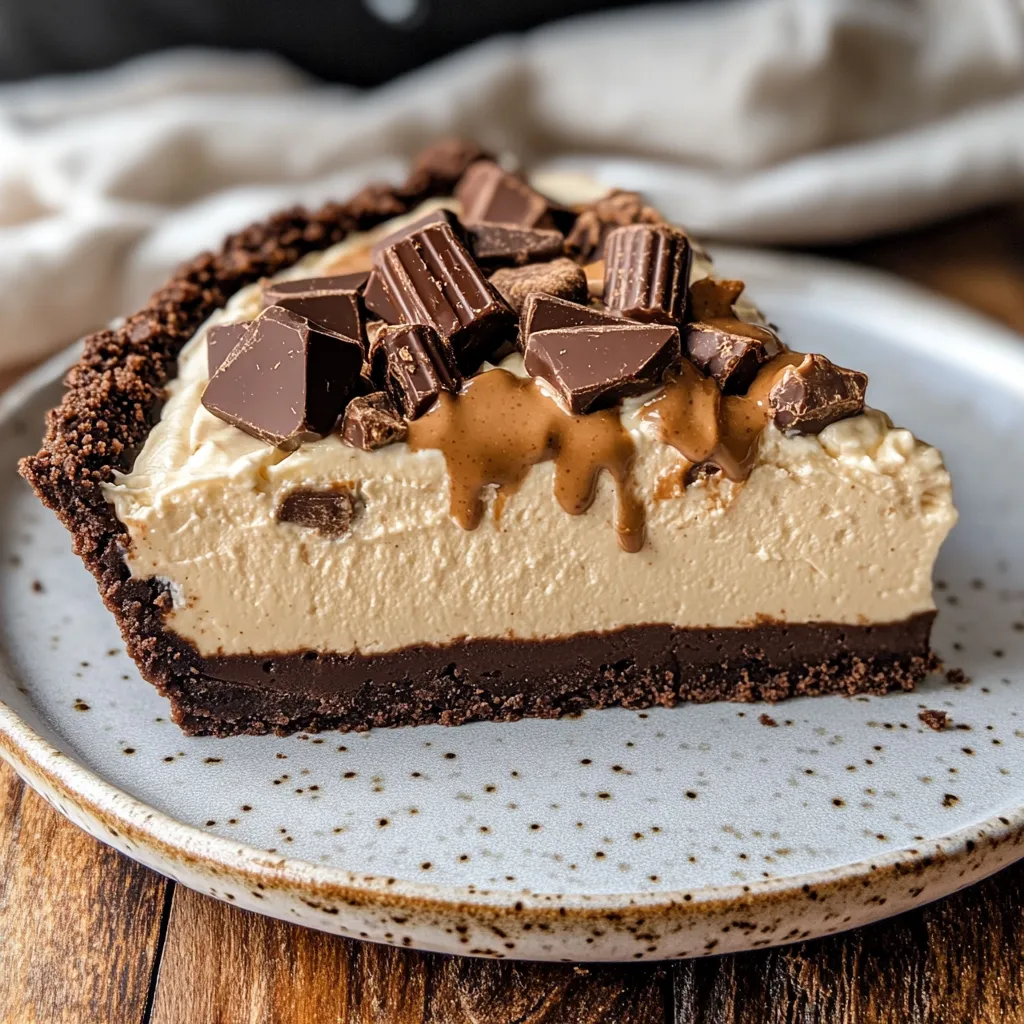
This pie actually gets better after sitting in the fridge overnight as everything blends together and sets just right.
This no-bake peanut butter pie has turned into my go-to dessert, the one everyone expects me to bring along. It's easy and reliable enough for any get-together, and the rich, creamy texture means plates are always cleaned and faces are always smiling.
Frequently Asked Questions
- → Is this pie good for making in advance?
- Absolutely, you can make it up to 3 days early and keep it refrigerated, or pop it in the freezer for up to a month.
- → What's the reason cream cheese needs to be at room temp?
- When cream cheese isn't cold, it mixes up without any lumps in your filling.
- → Will chunky peanut butter work for this?
- Go with smooth peanut butter for the creamiest filling texture.
- → What can replace chocolate graham crackers?
- Chocolate Teddy Grahams or crushed Oreos make great substitutes for the base.
- → Can I skip the peanut butter?
- Sure, just swap in some almond butter and check out the recipe notes for tweaks.