
 Pin it
Easter chocolate nests bring springtime joy with their cute, festive look. I've tweaked this fun treat over many years to get just the right bite - not too hard, not too soft. The mix of crunchy cereal and smooth chocolate makes little homes for bright candy eggs that everyone loves at Easter gatherings.
Things might get a bit sticky when you're making these, but watching family and friends decorate their own little nests makes the cleanup totally worth it.
Main Components
- Cereal Base: Shredded wheat makes nests look super realistic, but you can't go wrong with cornflakes too
- Chocolate Selection: Mix dark and milk chocolate for the best taste balance
- Unsalted Butter: You'll need this to get everything to the right texture
- Golden Syrup: This binds everything while adding a lovely sweet touch
 Pin it
Tasty Creation Process
- Getting the Chocolate Ready
- Use low heat to melt your chocolate with butter and syrup. Keep stirring until you've got a smooth, shiny mixture.
- Handling the Cereal
- Crush your cereal but don't go overboard - keep some bigger bits for that nest-like look.
- Putting It All Together
- Mix your melted ingredients with cereal until everything's covered. Shape them into little nests on your lined tray, making dents in the middle for candy.
Every Easter, families come together around these sweet treats, keeping this baking tradition alive year after year.
Chocolate Know-How
Don't rush the melting process. Keep the heat low and watch carefully so your chocolate stays silky smooth.
Crafting Your Nests
Using a spoon to shape each nest gives them that handmade, natural look with all the right bumps and ridges.
Make-Ahead Options
You can make these up to 5 days early and keep them in sealed containers. Just add the decorations right before you serve them.
Decoration Ideas
Try mini eggs, colorful sprinkles, or even pastel chocolate chips to make your nests extra special.
These sweet little nests blend old-school Easter baking with your own creative touch, which is why they've stayed a holiday favorite for so many families.
 Pin it
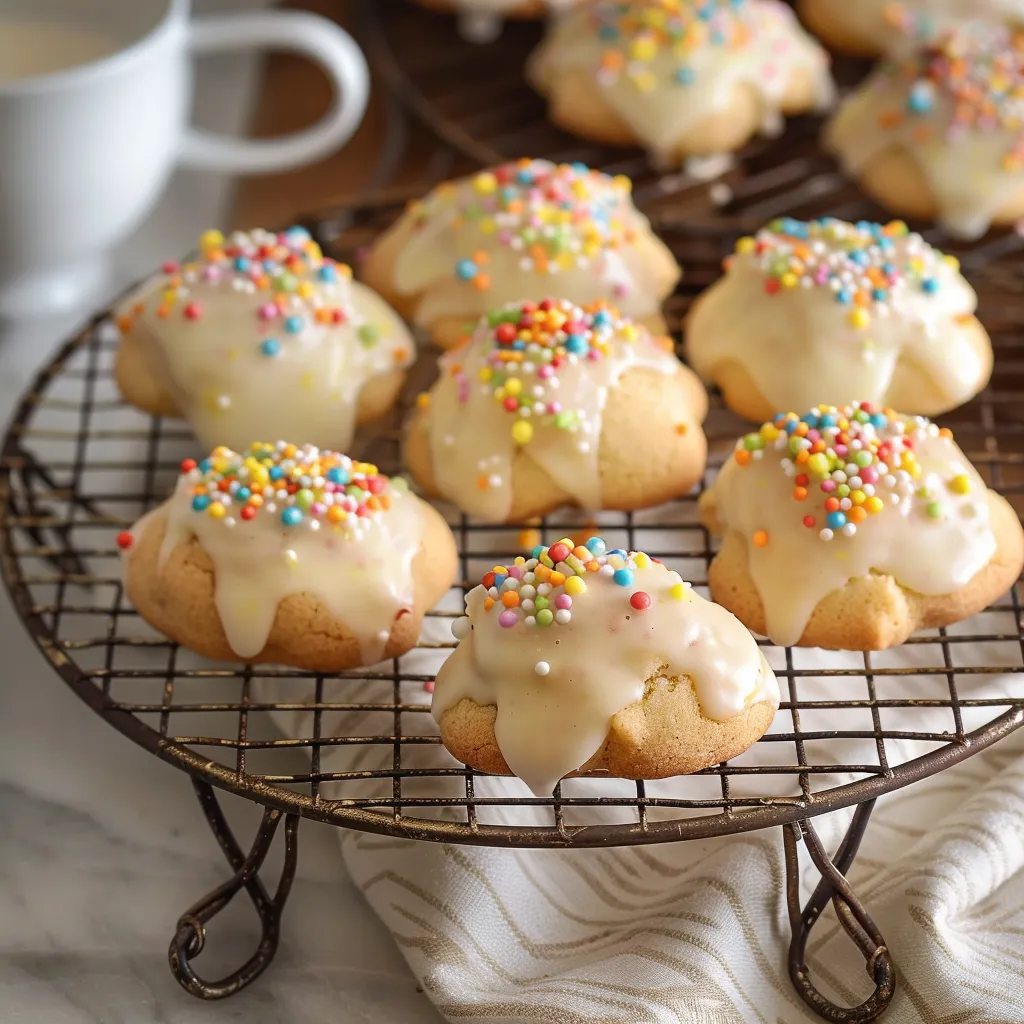
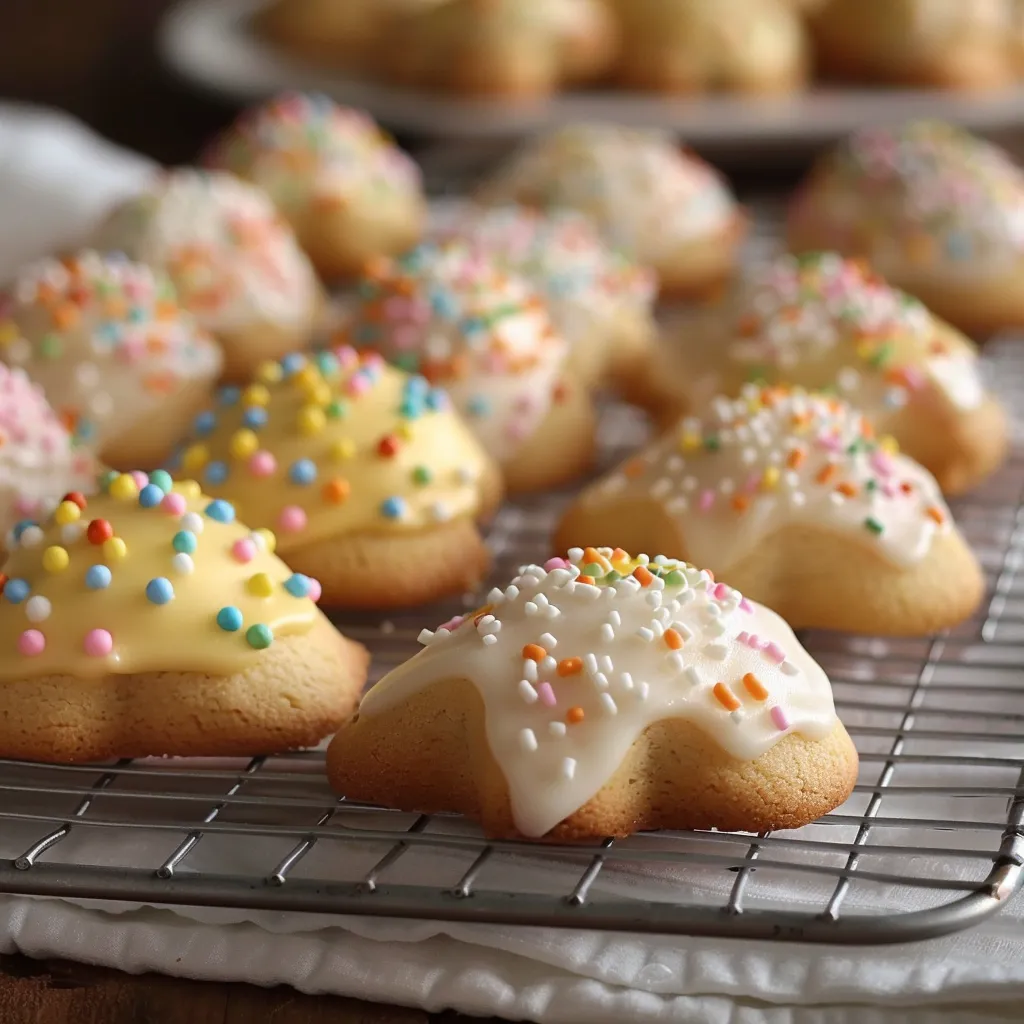
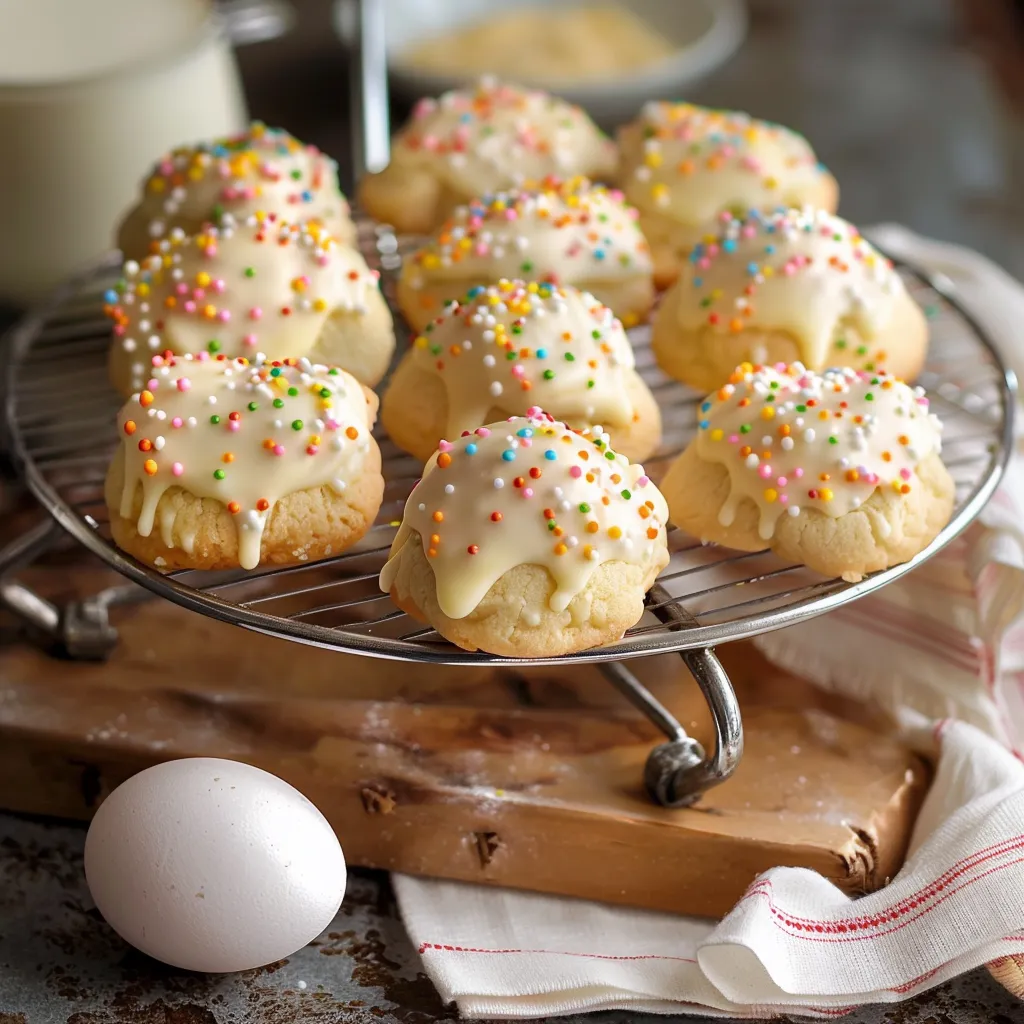
Frequently Asked Questions
- → How early can I prepare them?
- You can store baked cookies in an airtight container for up to a week or freeze the dough for 3 months.
- → Can butter be substituted?
- Yes! Try a mild olive oil instead if you want a traditional option.
- → How do I shape the dough?
- Cut into thin strips around 5-6 inches long. Tie into knots or circle the ends to create a ring.
- → Is the glaze necessary?
- Nope! You can skip the glaze and dust with powdered sugar for a simpler version.
- → What oven temperature works best?
- Bake at 300°F for 15-18 minutes or go hotter at 350°F but shorten to about 13 minutes.