
 Pin it
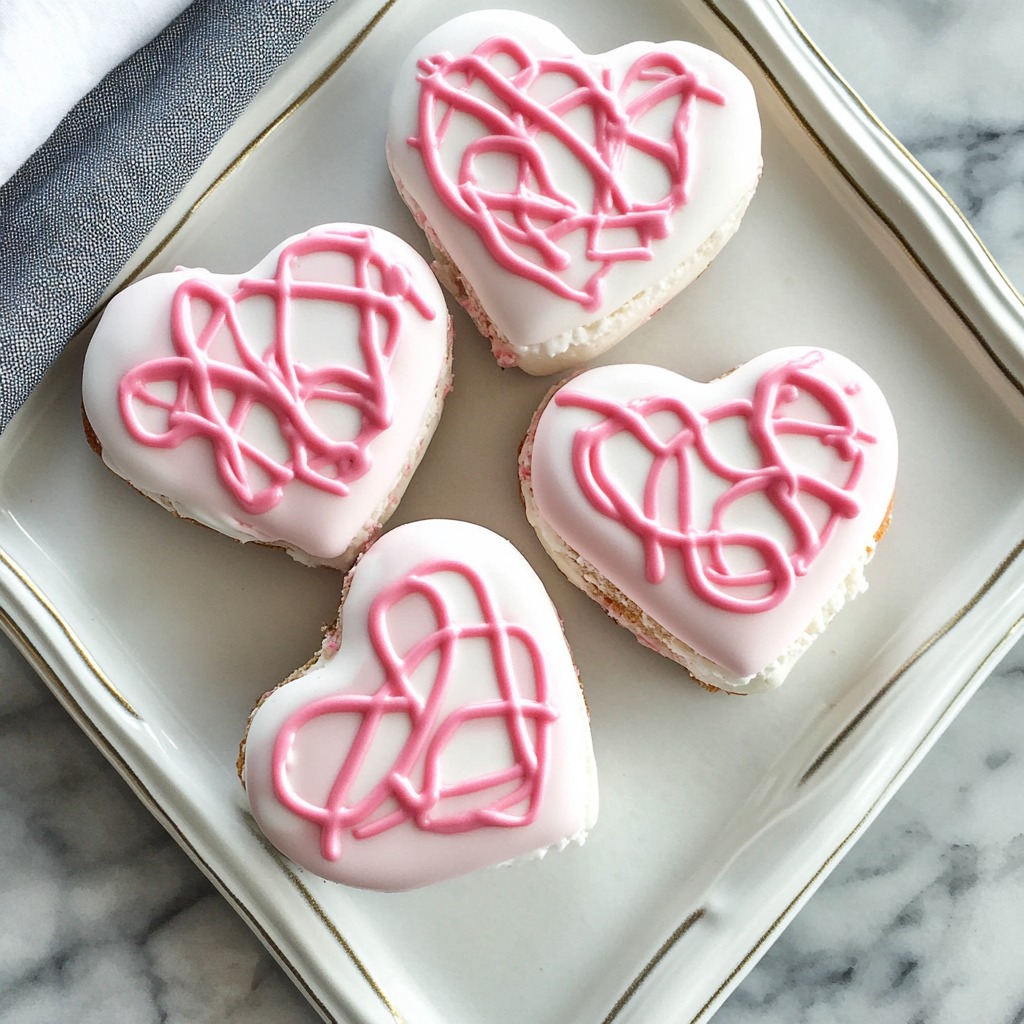
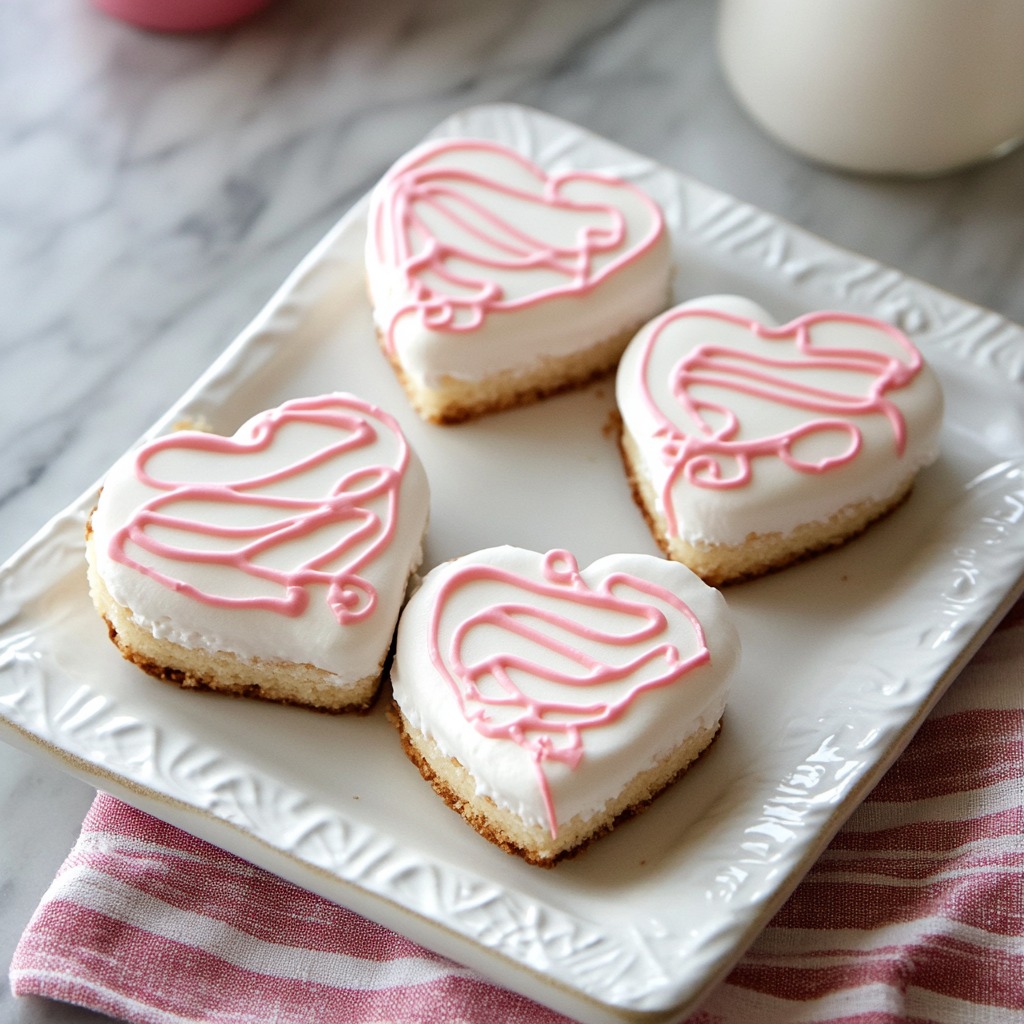
Your favorite childhood sweet gets a homemade makeover with these look-alike heart-shaped treats. Soft vanilla cake surrounds a fluffy marshmallow center, all wrapped in a crisp pink coating that breaks with a satisfying crunch when you take a bite. This DIY version brings back those warm childhood feelings while you pick all the ingredients yourself.
When I first whipped these up with my little girl, she was shocked we could make her store favorites right in our kitchen. It's now our yearly Valentine's tradition, and we've got our own little production line with specific tasks for each of us.
Complete Ingredients Breakdown
- White cake mix (1 box): forms the ideal foundation for your snack cakes
- Sour cream (1 cup): keeps everything soft and prevents the cake from drying out
- Marshmallow creme (7 ounces): delivers that iconic soft middle
- Almond bark (32 ounces): gives you a trouble-free, even coating
- Eggs and butter at room temperature: needed for everything to blend properly
- Pink gel food coloring: won't mess up your coating like liquid colors can
Crafting Your Sweet Treats
- Step 1: Preparing The Base
- Start by heating your oven to 350°F exactly. Put parchment in your pans with extra hanging over for easy grabbing later. Mix your cake mix, sugar, and wet stuff until barely combined. Throw in flour and sour cream at the end, mixing until your batter looks glossy. Spread it out evenly - thinner layers will make your treats taste more like the real thing.
- Step 2: Whipping The Center
- Whip your marshmallow creme and butter for about 3 minutes until it's super airy. Slowly add powdered sugar bit by bit, letting it mix in completely. Stir in vanilla and salt, then adjust with cream until it's smooth enough to pipe but still holds its shape.
- Step 3: Putting It All Together
- Cut heart shapes from your cooled cake, starting at the edges to get as many as possible. Make a spiral of filling on half your hearts, leaving a tiny space around the edge. Put the other hearts on top, pressing down gently so filling spreads. Stick them in the freezer until they're rock solid.
- Step 4: Creating The Shell
- Melt almond bark slowly, using short microwave bursts and stirring often. Add a bit of shortening for extra shine. Keep some white for later, and color the rest pink. Let it cool slightly - if it's too hot, it'll melt your filling.
- Step 5: Adding Finishing Touches
- Dunk each frozen cake completely, letting extra coating drip off. Put them on parchment to harden. Once they're set, drizzle the white coating you saved in zigzag lines across the top.
 Pin it
My mom always taught me to check if coating's ready by dipping a spoon back - it should set in about 30 seconds for just the right thickness.
Smart Assembly Tricks
Getting everything at the right temp makes putting these together so much easier. Cold cake cuts clean, room temp filling spreads without trouble, and frozen assembled cakes won't fall apart when dipped.
Mastering The Coating
Getting that perfect outer layer comes down to timing and temperature. If your coating's too hot, it'll run thin and see-through. Too cold and it'll be chunky. You want it flowing like warm honey for best results.
Keeping Them Fresh
These treats stay good on your counter for up to a week if you keep them in something airtight. That outer coating works like a seal to lock in moisture and keep the cake soft.
 Pin it
After making these treats for years, I've found that taking your time and watching temperatures gives you the best-looking results. Everyone's always shocked when I tell them they're homemade. There's something really special about bringing back a childhood favorite while making new memories in your own kitchen.
Frequently Asked Questions
- → Can these be made in advance?
- Sure! They stay fresh up to 5 days in a sealed container at room temperature or 2 weeks in the fridge.
- → What’s the purpose of chilling the cakes before coating?
- Chilling ensures the cakes keep their shape and don't break apart in the warm coating.
- → Is regular chocolate okay instead of almond bark?
- You can, but almond bark is sturdier at room temp and gives better results.
- → Why use gel food coloring?
- Liquid coloring contains water that messes up almond bark's texture, while gel blends smoothly without issues.
- → Can finished cakes be frozen?
- Yep, freeze them in an airtight box with wax paper between layers for up to 2 months.