
 Pin it
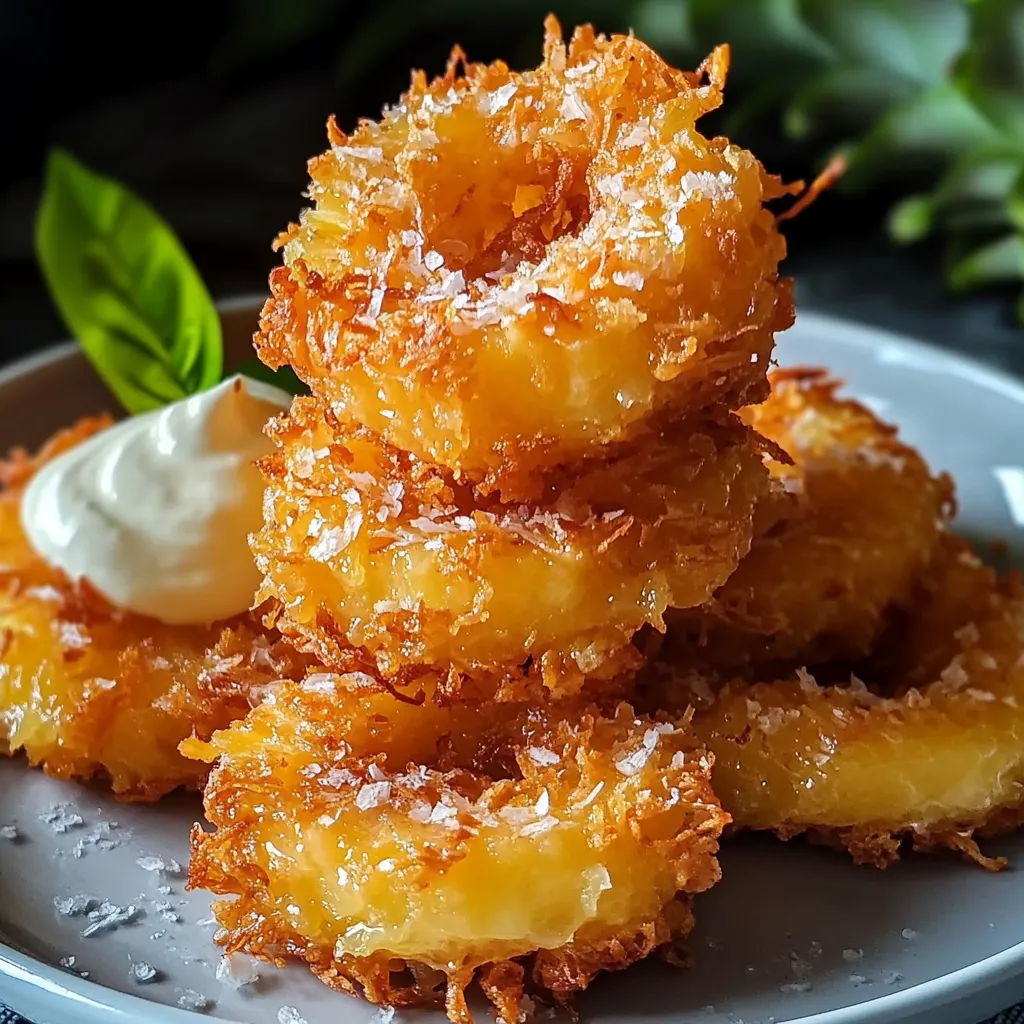
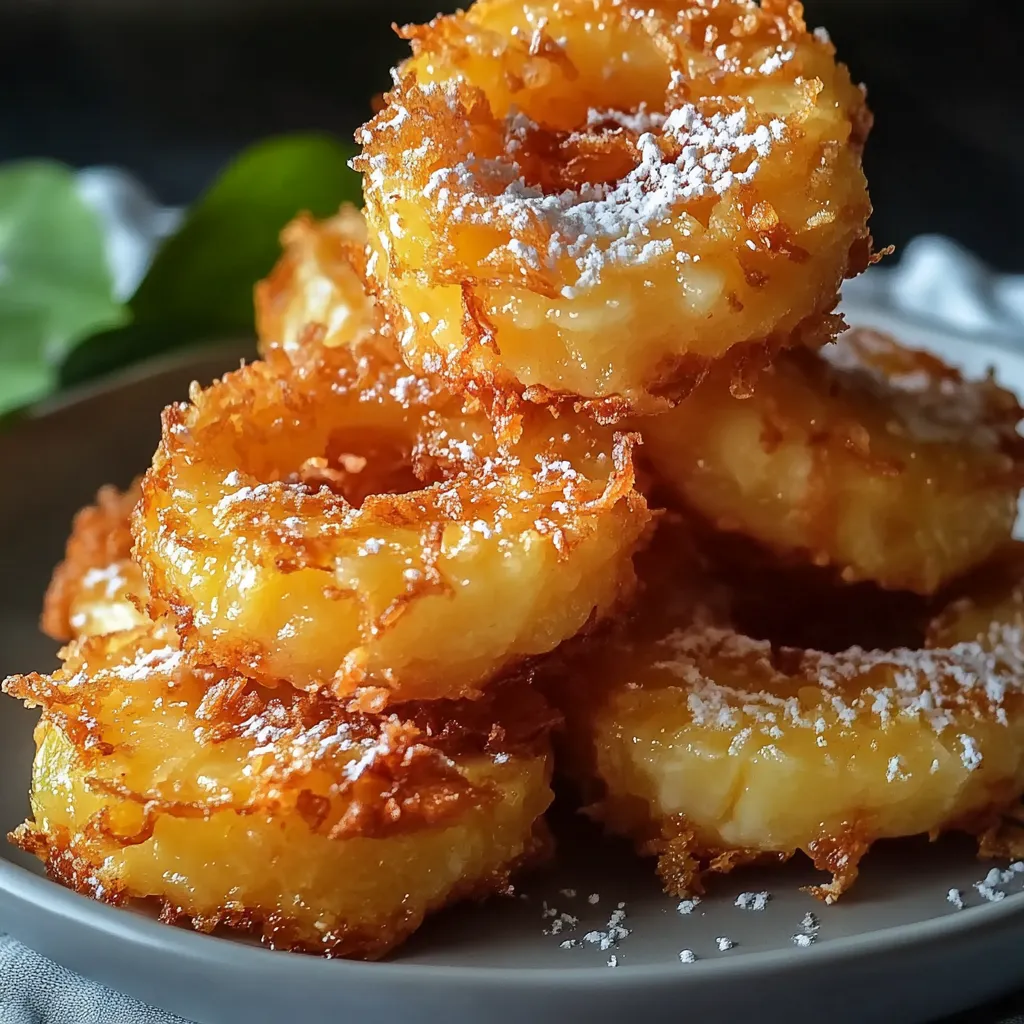
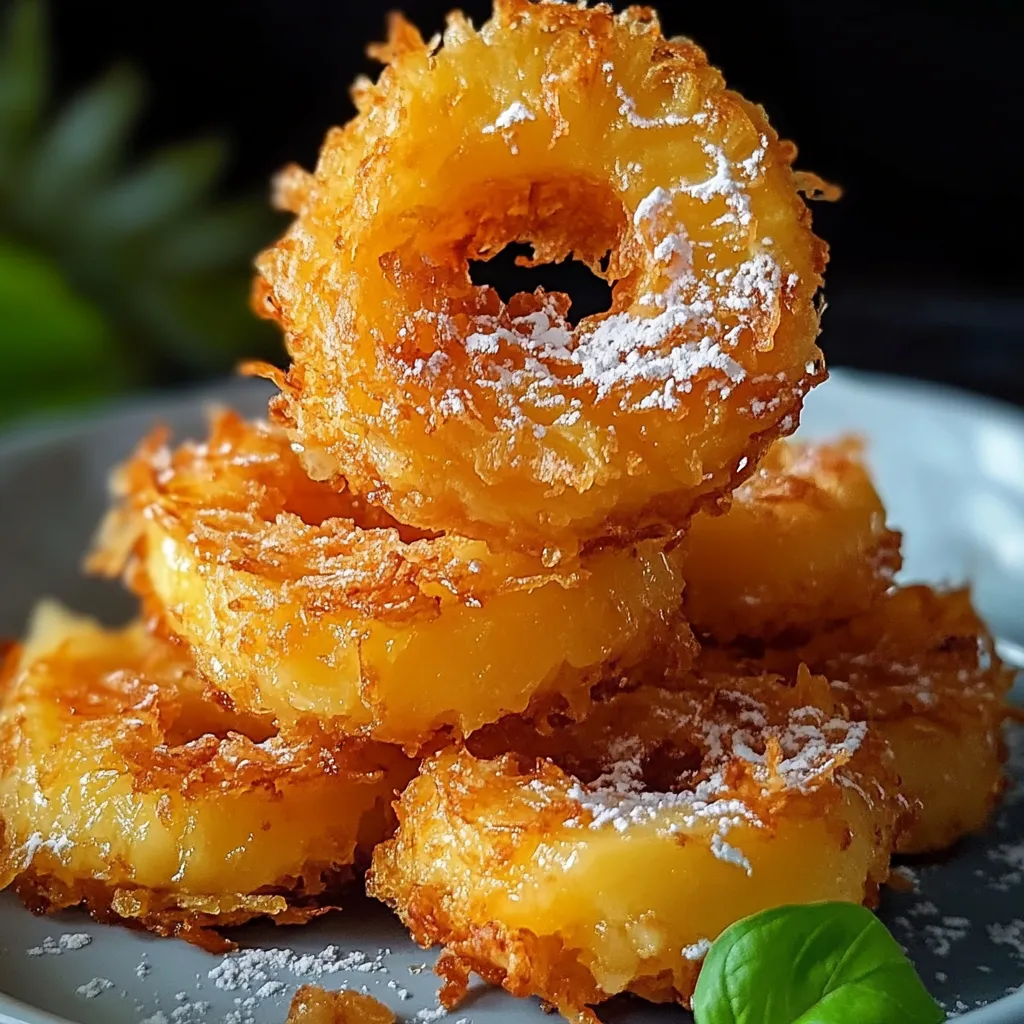
The mix of hot, golden coconut-coated pineapple rings paired with smooth, rich dipping sauce makes an amazing tropical treat that feels fancy yet fun. Each crunchy ring gives you that perfect mix of sweet fruit inside a crispy coconut shell, while the velvety sauce adds that final touch that makes every bite feel like you're on a beach somewhere far away.
I made these during our recent family get-together with some tropical drinks on our deck. My sister-in-law took one bite, her face lit up, and she grabbed my arm asking how I made them. Even my fussy nephew who "hates pineapple" couldn't stop himself from sneaking back for more.
Key Ingredients and Shopping Advice
- Fresh Pineapple: Look for one that's slightly soft when squeezed and smells sweet at the bottom. It should be golden-brown with bright green leaves on top. Stay away from ones with mushy spots or that smell like alcohol.
- Sweetened Coconut Flakes: They turn a nicer color and get crunchier than unsweetened ones. Any brand works fine, just make sure they're not dried out or stale.
- Cream Cheese: Go with full-fat for the smoothest sauce. Leave it out for an hour before using so it gets nice and soft.
- Coconut Milk: Grab the full-fat canned stuff, not the drinking kind. You need that thick, rich texture for both coating the fruit and making the sauce.
Your pineapple choice really makes all the difference. I've made this tons of times and learned that spending extra minutes picking a perfectly ripe fruit pays off with naturally sweet rings that turn golden and caramelized when fried.
Step-by-Step Cooking Guide
- Getting Your Pineapple Ready:
- First, cut off the top and bottom of your pineapple, stand it up, and slice away the outer skin. Check for any brown spots (eyes) and cut them out with your knife tip. Lay it down and slice into half-inch rings. Then cut out the middle core from each ring. Take your time here—rings that are the same thickness will cook evenly.
- Flavor Soak:
- Put your rings in a shallow container. Cover them with your soaking liquid (juice or rum), making sure they're all underwater. I like to turn them over halfway through soaking to get flavor everywhere. After an hour, lift them out and dry them really well with paper towels—this helps the coating stick better.
- Setting Up Your Coating Station:
- Line up three dishes: first with flour and a tiny bit of salt, next with eggs and coconut milk beaten until smooth, and last with a pile of coconut flakes. Pie plates work great for this because they're wide and flat. Have a wire rack nearby for your coated rings.
- Coating Your Rings:
- Use your left hand for dry stuff and right for wet. Roll each ring in flour and shake off extra. Dip in egg mix and let drips fall off. Last, press it into coconut flakes, using fingers to cover it completely. Place on your rack and wait 5 minutes—this helps everything stick together when frying.
- Getting Your Oil Ready:
- Pour about 2 inches of oil in a heavy pot. Heat it to exactly 350°F—this temperature isn't flexible if you want perfect rings. No thermometer? Drop in a few coconut flakes—they should bubble gently and turn gold within half a minute.
- Frying Your Rings:
- Carefully drop 2-3 rings into the hot oil, giving them plenty of space. They'll turn golden in about a minute per side. Flip them gently with tongs. When done, move them to a paper towel-covered plate. Always check your oil stays at the right temperature between batches!
- Making Your Sauce:
- While rings cool slightly, whip the soft cream cheese until it's light, about 2 minutes. Add sugar gradually, mixing until smooth. Stir in vanilla and slowly pour in coconut milk while mixing until it looks right. For the boozy version, stir in your saved rum at the very end.
 Pin it
We first tried this dessert during a family trip to Hawaii, and I've spent so much time tweaking it to get it just right. The beach restaurant chef who showed me the basics kept saying that being patient while coating each ring makes them turn out perfect.
Beautiful Presentation Ideas
These golden treats look awesome on a plate, making them perfect for company. I like to lay them out on a platter with fresh mint leaves underneath for a pretty color pop. One of my favorite party tricks is setting up a little topping bar where everyone can add their own sauce and extras. People always have fun creating their own perfect bites.
Getting The Heat Just Right
These rings taste best when they're warm but not super hot. Let them sit for about 5 minutes after frying so the coating firms up while the pineapple stays juicy inside. I figured this out through lots of family parties, watching how they change as they cool down.
Prep Ahead For Easy Entertaining
While you should fry the rings right before eating, you can do lots of prep work earlier. Cut and soak your pineapple up to 4 hours ahead, just keep it covered in the fridge. The sauce can be made a whole day before—just let it warm up a bit and stir it well before serving.
Saving Leftovers
If you end up with extras, put them in a sealed container in the fridge for up to 2 days. To warm them up, put them on a wire rack in a 350°F oven for 5-7 minutes. An air fryer works even better—just 2-3 minutes at 350°F brings back that nice crunch.
Foods That Go Well Together
These rings fit perfectly in a bigger dessert spread. I often serve them with fruit skewers and coconut ice cream for a themed sweet table. For grown-up parties, they taste amazing with tropical drinks like piña coladas or mai tais—the flavors really match up nicely.
 Pin it
This treat means so much to me, always taking me back to warm nights in the tropics with family around. Every time I cook these, my kitchen fills with that amazing smell of toasted coconut and sweet pineapple, reminding me of that first taste in Hawaii. They look fancy but aren't really that hard to make—it's all about following each step carefully and paying attention to small details. Whether you go with the kid-friendly version or add a splash of rum for the adults, these fried rings always get people asking for the recipe. They show how simple ingredients can turn into something magical with a little cooking love.
Frequently Asked Questions
- → How do I make it alcohol-free?
- Swap the rum soak with a mix of pineapple juice and rum extract for a booze-free option.
- → What’s the best timeframe for soaking?
- An hour or two is ideal, but don’t go past four hours to keep the pineapple firm.
- → Should I use fresh or canned pineapple?
- Either works. If using canned, dry them off before soaking.
- → How do I handle leftovers?
- Eat them fresh! But if needed, pop them in the oven briefly to get some crisp back.
- → What oil works best for frying?
- A neutral choice like canola, peanut, or vegetable oil is great since it can handle the heat well.