
 Pin it
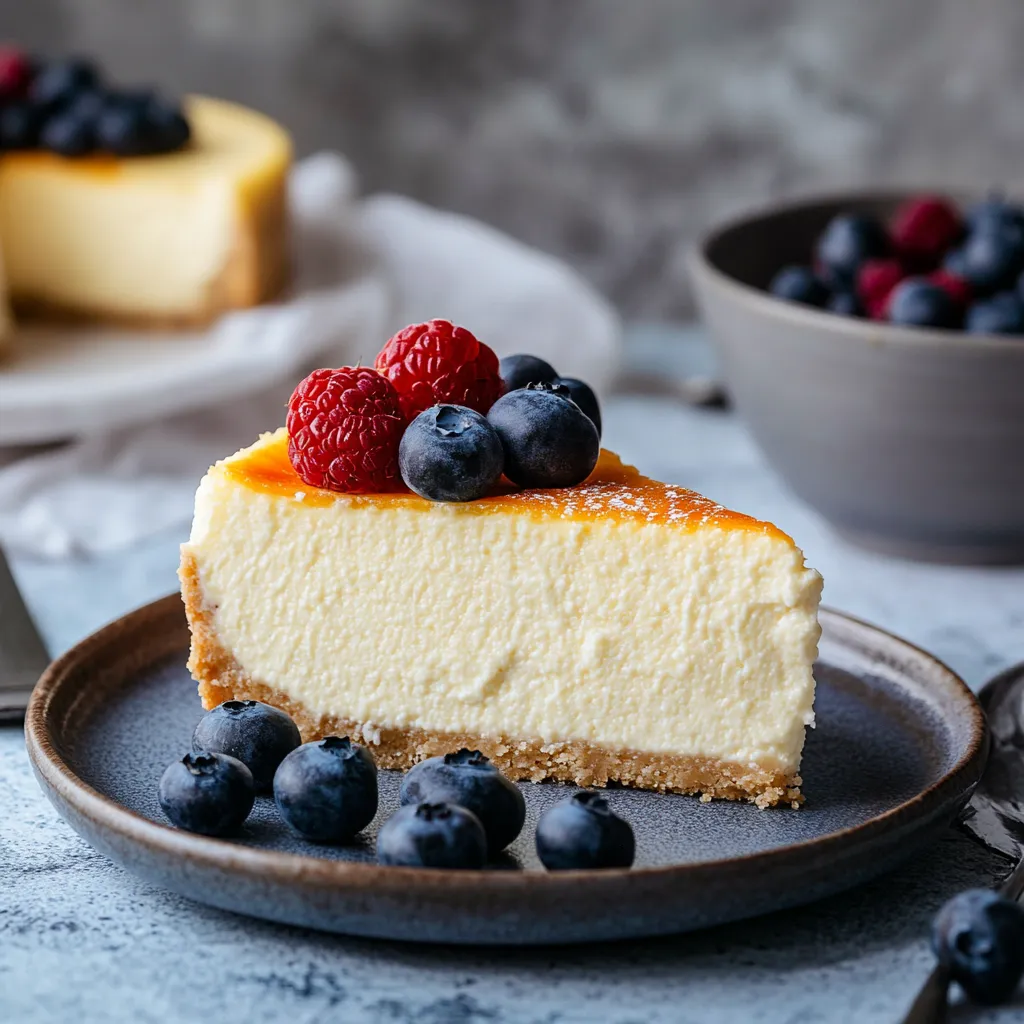
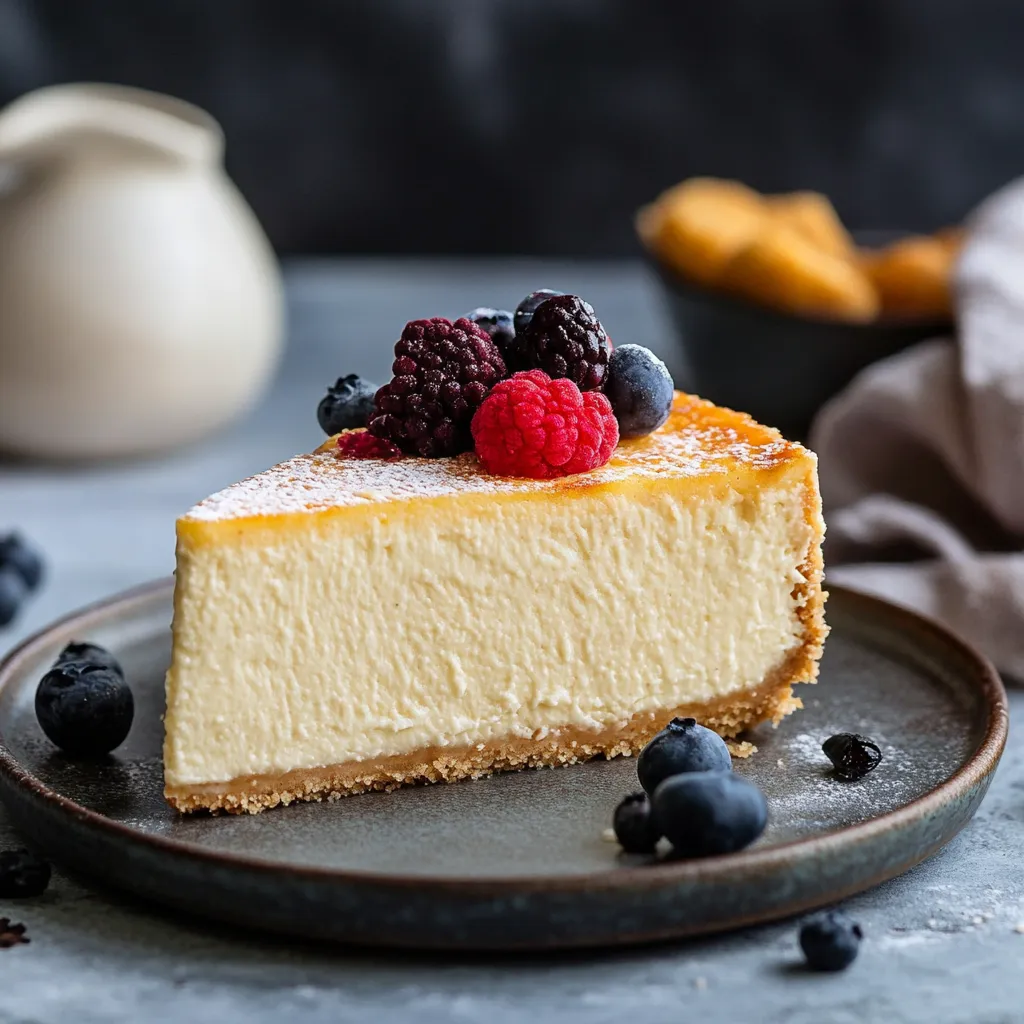
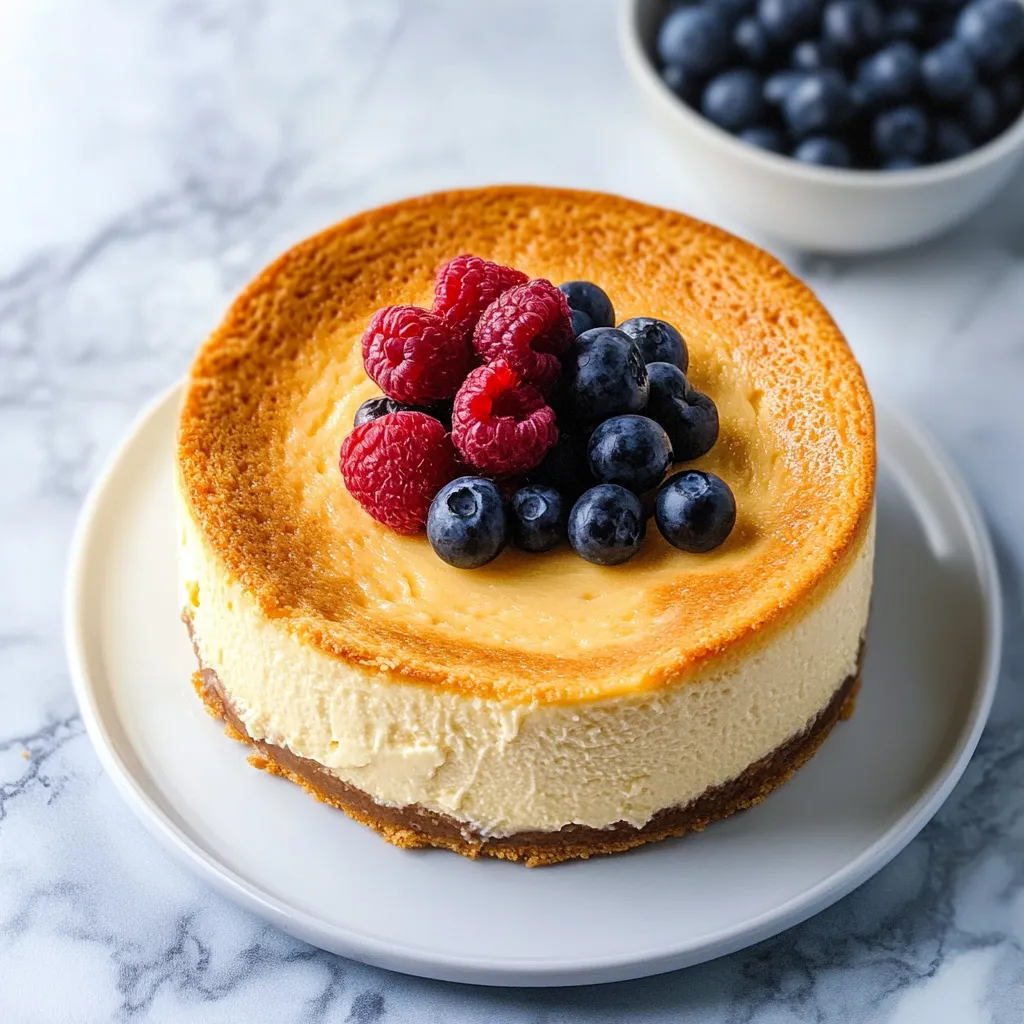
When I think back to my early recipe experiments, making a proper New York-style cheesecake stands out. This timeless treat turns basic ingredients into pure luxury with a texture so silky it just melts away as you eat it.
I've tweaked this in my kitchen countless times, and now it's what I always make for family get-togethers. Seeing everyone's face light up with that first taste makes all the careful prep totally worth it.
Key Ingredients Breakdown
- Philadelphia cream cheese (full-fat): The foundation of our dessert. Always use blocks at room temp, never the whipped stuff or low-fat versions
- Fresh eggs: These give both structure and richness. Eggs straight from a local farm really bump up the flavor
- Real vanilla extract: Don't bother with fake stuff - spend a little more on pure vanilla. You'll taste the difference
- Sour cream: Brings that lovely tang and helps create that super smooth feel
- Fresh lemon: We'll use both peel and juice to brighten everything without making it taste lemony
Step-By-Step Method
- Getting the Base Ready:
- Warm your oven to 375°F as you grab your stuff. Mix graham crumbs with melted butter until it looks like damp sand. Push the mix firmly into your pan, using a flat-bottomed cup for even pressure. Cook until it smells good and turns slightly darker, around 10-12 minutes.
- Making the Filling:
- Start by whipping just the cream cheese until totally smooth - this stops any lumps later. Slowly add sugar while mixing at medium speed. Add eggs one by one, scraping the bowl well between each. Gently fold in sour cream and flavorings with light movements to avoid beating in too much air.
- Setting Up the Water Bath:
- Wrap the springform pan twice with strong foil, making sure there aren't any gaps. Put it in a roasting pan and pour your mix over the pre-baked crust. Add hot water halfway up the sides of the springform. Carefully move to a preheated 325°F oven.
- Cooking Method:
- Bake for about 1 hour and 15 minutes, until the edges set but the middle still wobbles slightly. Switch off the oven, open the door a crack, and let it cool inside for an hour. Take it out of the water bath and cool fully on a rack. Keep in the fridge overnight for the best texture.
- Finishing Touches:
- Slide a knife around the edge before opening the springform. Wipe your knife between cuts for pretty slices. Let it sit out for 30 minutes before serving.
 Pin it
The Technical Magic Behind Smoothness
Using room temp ingredients helps everything mix smoothly and stops lumps. The water bath gives gentle, even heat. Cooling slowly prevents cracks on top.
My grandma always added a bit of lemon zest - it lifts the whole flavor without tasting like lemon. Whenever I make this, I can't help thinking about Sunday family meals at her place.
Taste Evolution
I've tried tons of cheesecakes while living in New York, but nothing beats homemade. Letting it rest overnight lets all the flavors blend perfectly, creating that ideal mix of sweet and tangy.
Keeping It Fresh
How you store it really matters for keeping that amazing texture. I've learned that wrapping each slice in parchment paper stops them from sticking together in storage.
 Pin it
After baking cheesecakes for years, this one's my biggest success. It's reliable but gives results as good as any bakery. The secret is being patient and paying attention to details - rush any part and you'll compromise what you end up with. Done properly, this cheesecake creates genuine moments of happiness around your table.
Frequently Asked Questions
- → Why cook cheesecake with water underneath?
- The water creates gentle heat and adds moisture, stopping cracks and making the texture super smooth.
- → How can you tell when your cheesecake is ready?
- It's ready when the middle jiggles slightly but isn't runny. It'll firm up more as it cools down.
- → Is this cheesecake okay to freeze?
- Absolutely! You can keep it frozen up to 3 months. Just wrap it well and let it thaw in the fridge overnight.
- → Why must this cheesecake cool for so long?
- The long 8-hour cooling time lets it set properly and gives it that amazing, smooth texture.
- → What's the trick to cutting cheesecake neatly?
- Use a sharp knife and wipe it clean after each slice. Dipping it in warm water makes cutting much smoother.