
 Pin it
Take your basic chocolate chip cookies to a whole new level with these Espresso Chocolate Chip Cookies. The game-changer is the combo of toasted butter and deep espresso that creates a grown-up cookie sitting right between your morning caffeine fix and sweet tooth satisfaction. You'll love the snap of the edges with that gooey middle, while the coffee brings out chocolate flavors you never knew were hiding in a regular cookie.
I made these for my kid's study buddies last week and they vanished quicker than anything I've ever baked. The smell of toasted butter mixed with espresso was so amazing that nobody could wait for them to cool down properly.
Key Ingredient Breakdown
- Unsalted butter: Go for the European kind with extra fat to get more rich toasted butter flavor
- Ground espresso: Grab a fresh dark roast powder for strong taste without any bitter kick
- Light brown sugar: Its sticky syrup part makes them perfectly chewy with hints of caramel
- Egg plus yolk: That bonus yolk boosts richness and nails the chewy texture
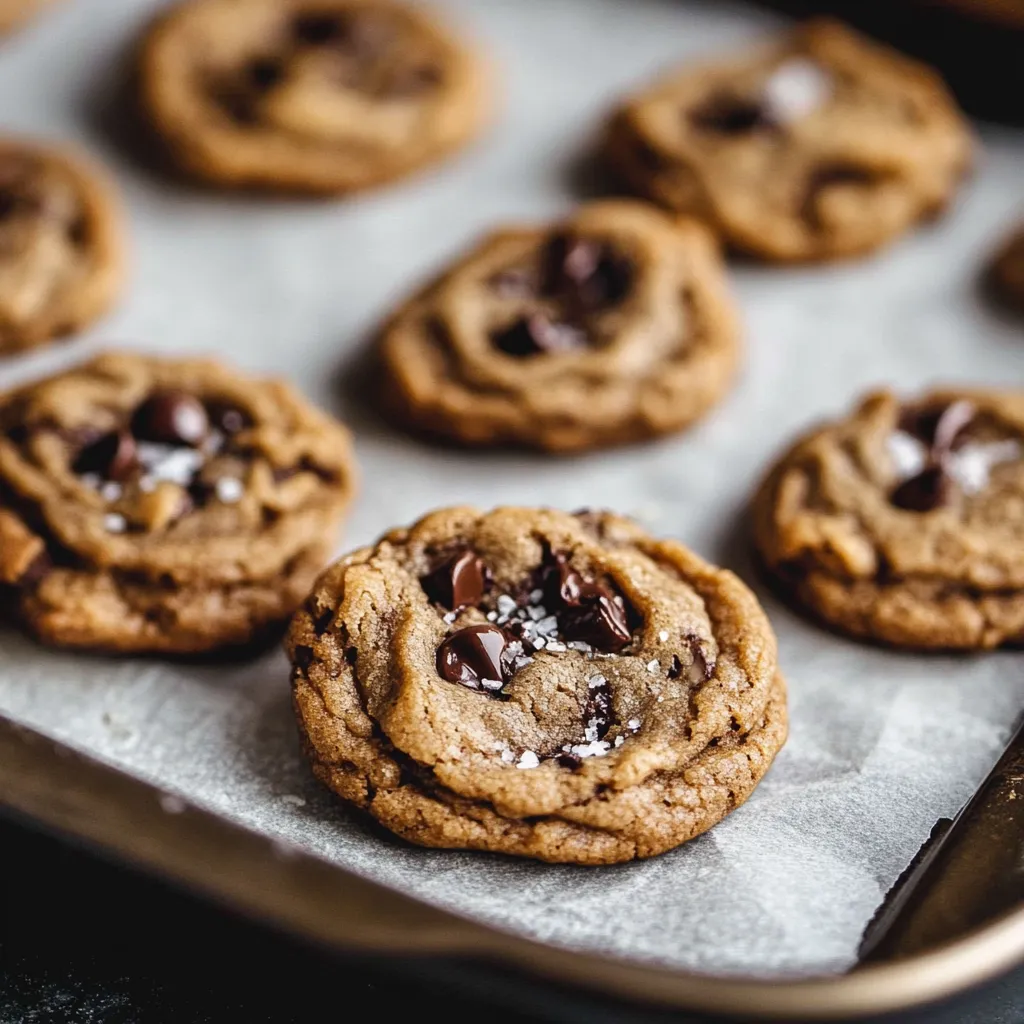
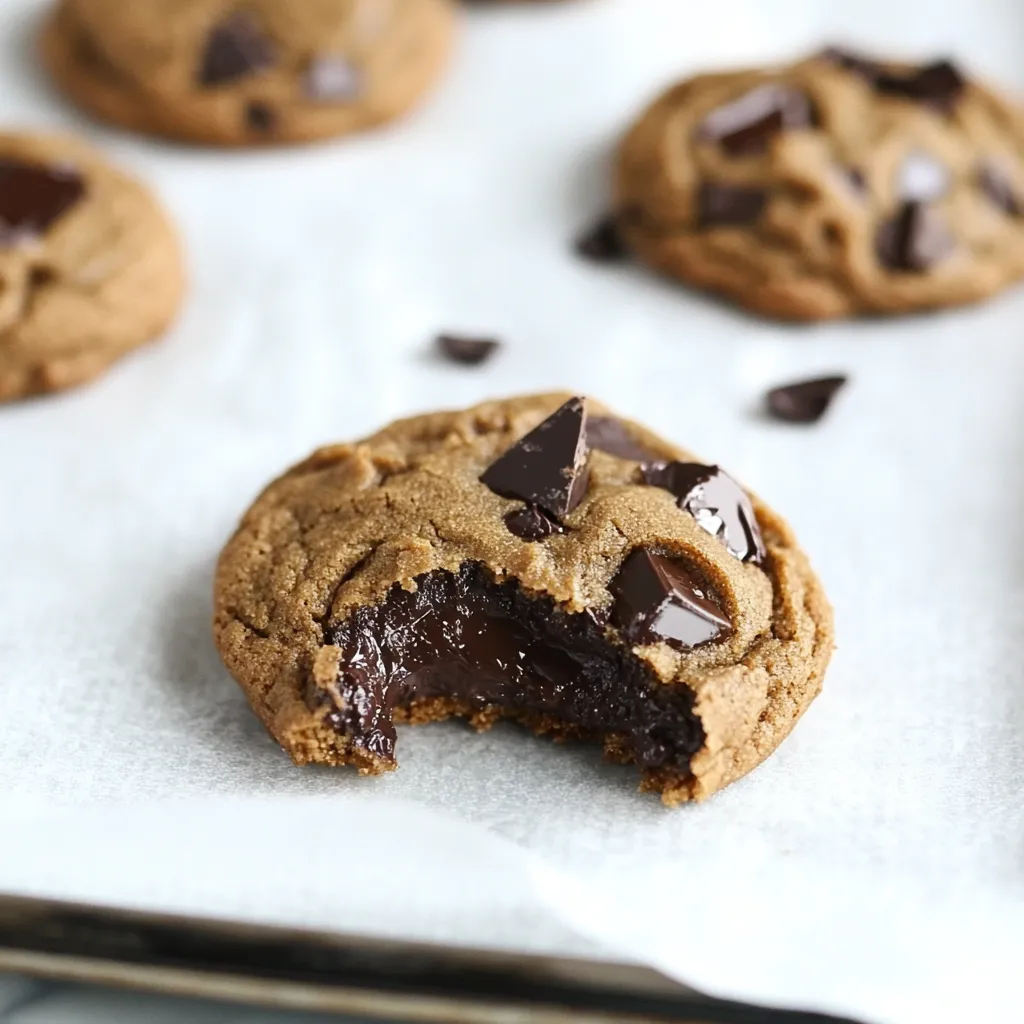
- Semi-sweet chocolate: Try finding bars around 60% cocoa and chop them yourself for better texture mix
- All-purpose flour: The unbleached type builds the best framework for even cooking
- Vanilla extract: The real stuff works best with both the coffee and chocolate notes
Complete Baking Walkthrough
- Getting That Toasted Butter:
- Drop your butter in a light pan over medium heat. Watch it melt and foam up. Gently move the pan as gold bits form at the bottom. Keep going until butter turns amber and smells nutty. Pull it off heat when you see tiny copper bits. Add espresso while it's still hot to grab maximum flavor. Cool until just warm when touched (15-20 minutes).
- Mixing Wet Stuff:
- Throw together cooled butter mix with both sugars. Stir until it looks like damp sand. Drop in room temp egg and yolk one after another. Stir until they're fully mixed in. Add vanilla and mix until the batter gets shiny.
- Adding Dry Ingredients:
- Put flour in three separate batches, lightly mixing between. Sprinkle baking soda and salt across the top. Fold until barely mixed with no dry spots left. Toss in chopped chocolate with minimal stirring. Stop once chocolate is spread out.
- Cooling The Dough:
- Use a 3-tablespoon scoop to keep sizes the same. Put dough balls on a lined baking sheet. Cover tight with plastic. Cool at least 3 hours or overnight. Keep unused dough cold between batches.
- Cooking Process:
- Lay cold dough on cool baking sheets. Put cookies 2 inches from each other. Bake in the middle rack spot. Look for gold edges and puffy middles. Pull them out while centers still look a bit undone.
 Pin it
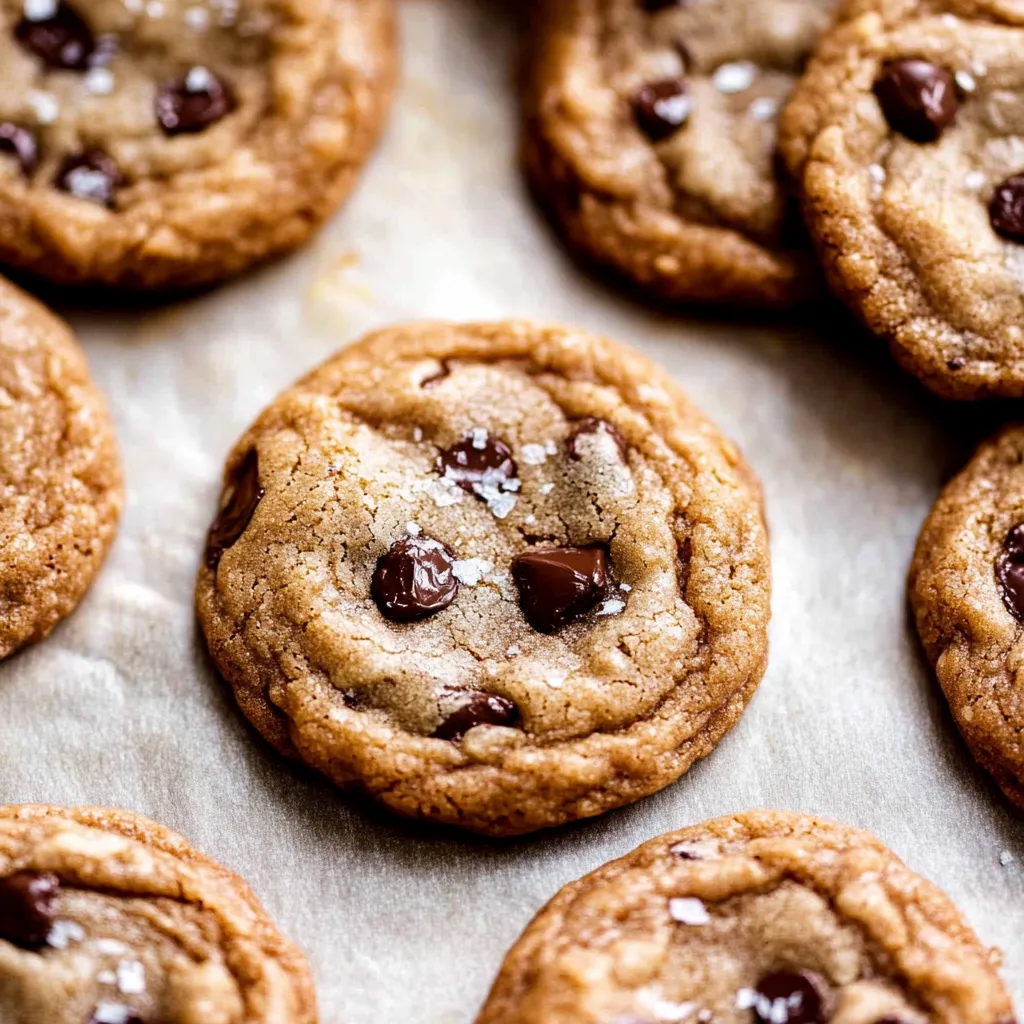
My family loves eating these cookies when they're still a bit warm and the chocolate's soft but the edges stay crispy. My husband usually passes on sweets, but he can't say no to these with his evening coffee.
Managing Your Dough Temp
Getting the dough temperature just right makes a huge difference in how they turn out. I've learned that letting the toasted butter cool until it's warm to the touch, but not totally hardened, gets the dough just right. When you mix in eggs, they shouldn't be cold or they'll make the butter clump up.
Keeping Cookies Fresh
After tons of batches, I've found that putting these in a sealed container with a bread slice keeps them chewy for days. Put parchment paper between layers so they don't stick together, and don't mix them with other cookie types since the coffee flavor can jump to other cookies.
Picking The Right Chocolate
After trying lots of options, I've found that cutting up chocolate bars yourself makes those awesome melty spots throughout that chips just can't do. I like using a mix of 60% and 70% dark chocolate for more depth, though my kids prefer them with only semi-sweet chocolate.
Prep-Ahead Tricks
These cookies actually get better when you plan ahead. You can keep the dough in your fridge up to 3 days, letting all the flavors really sink in. I often make twice as much and freeze some for surprise visitors or when I want cookies late at night.
Ways To Serve Them
While they're great on their own, try them slightly warm with a scoop of vanilla ice cream for dessert. They also work really well as ice cream sandwiches - just make sure the cookies are totally cool first. During holidays, I've noticed they're always the first to go from cookie trays.
Getting The Shape Right
How big and what shape your cookies are changes both looks and texture. I've found using a 3-tablespoon scoop gets the perfect thickness for that ideal mix of crunchy outside and chewy inside. Making the dough balls taller instead of wider stops them from spreading too much.
 Pin it
After so many batches over the years, these espresso chocolate chip cookies have become my go-to recipe. The mix of toasted butter, coffee, and chocolate makes something truly special that puts them way above regular chocolate chip cookies. Whether you have them with morning coffee or as a snack later in the day, they always make people smile and ask how to make them. What makes them work is all in the little things - properly toasted butter, good espresso powder, and waiting patiently while they chill. Every time I bake a batch, I remember why homemade cookies will always beat anything from a store.
Frequently Asked Questions
- → Why should I toast the butter?
- Toasting butter creates a nutty, deeper flavor that works really well with coffee and makes your cookies taste much better.
- → Can I skip the overnight fridge time?
- You can chill for just 3-4 hours if needed, but letting the dough rest overnight makes the cookies taste way better.
- → Why add both egg and egg yolk?
- The extra yolk makes cookies richer and helps them stay chewy in the middle.
- → Can I use normal coffee instead?
- You can try regular coffee grounds, but espresso gives you a stronger, more intense coffee taste.
- → How can I tell when the butter is done toasting?
- Look for golden-brown bits at the bottom of your pan - this usually takes around 10 minutes of cooking.