 Pin it
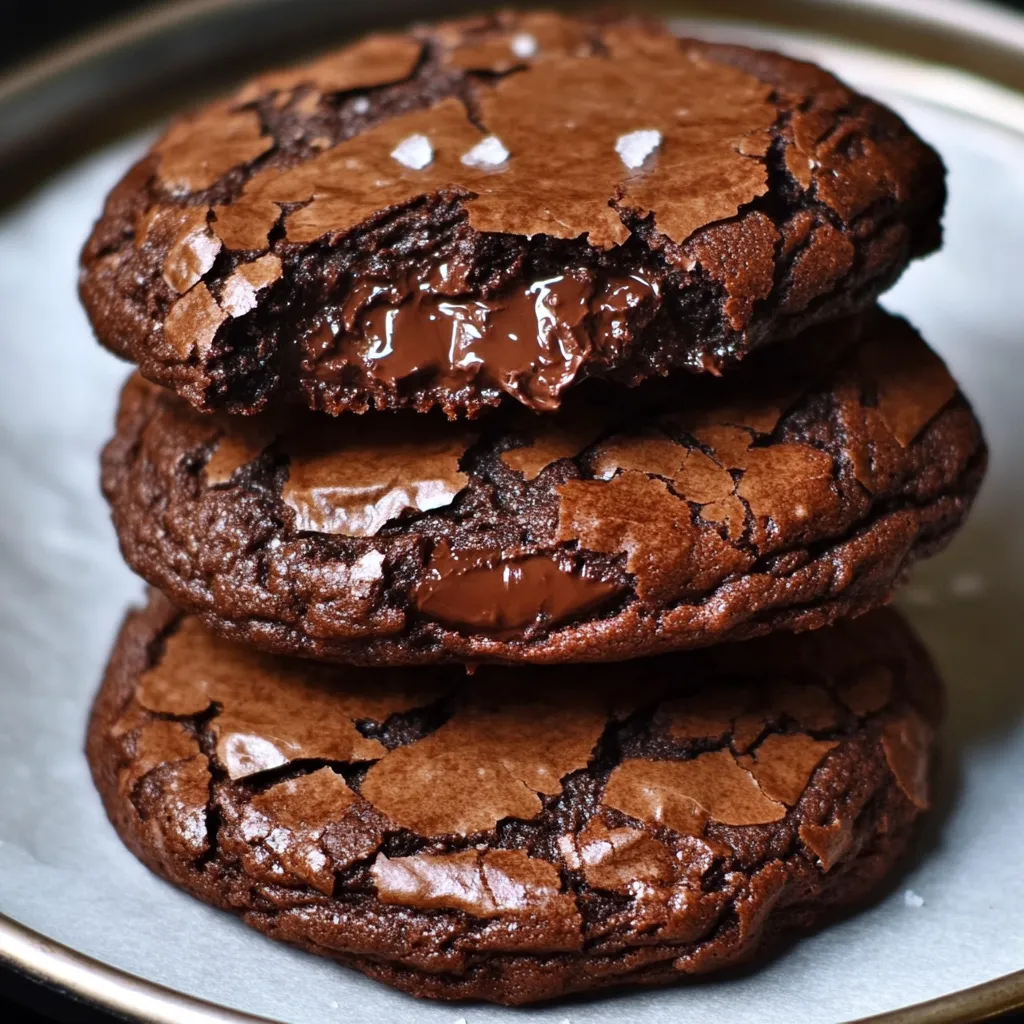
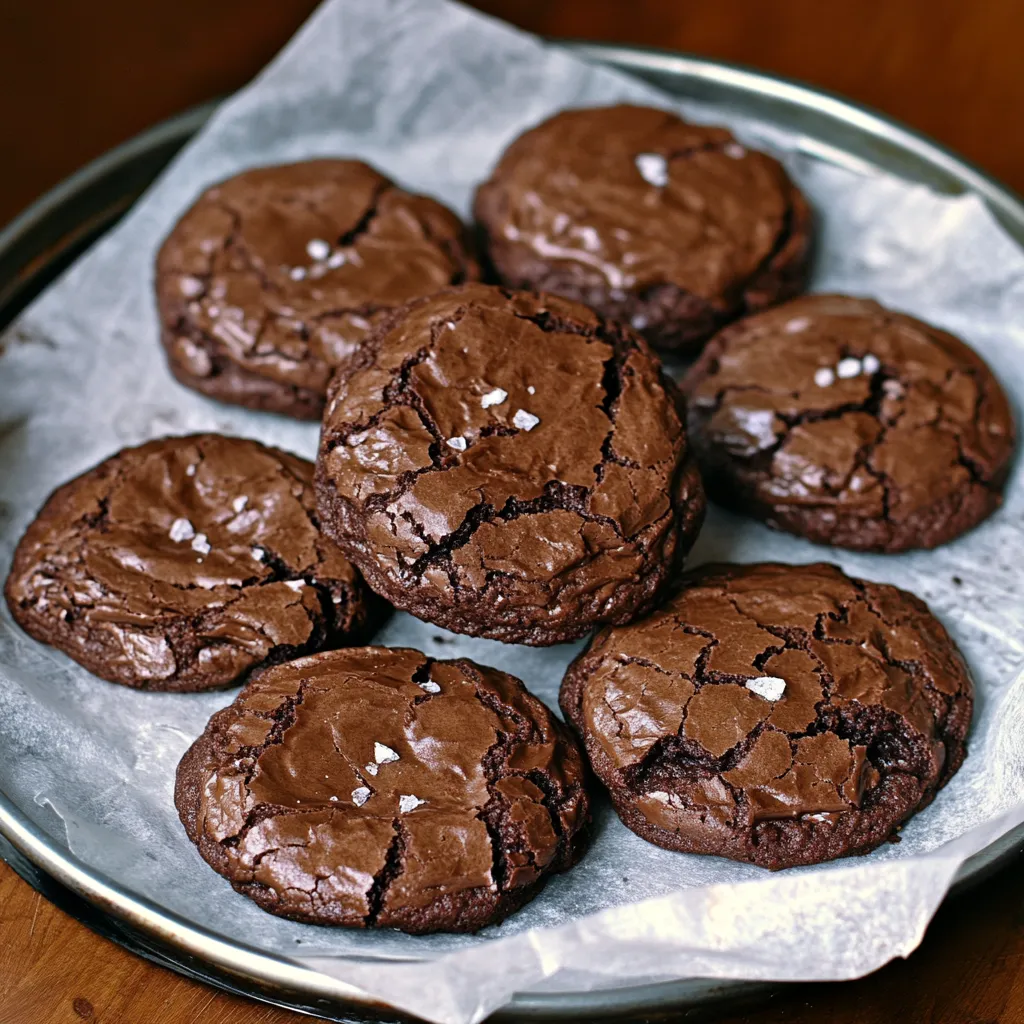
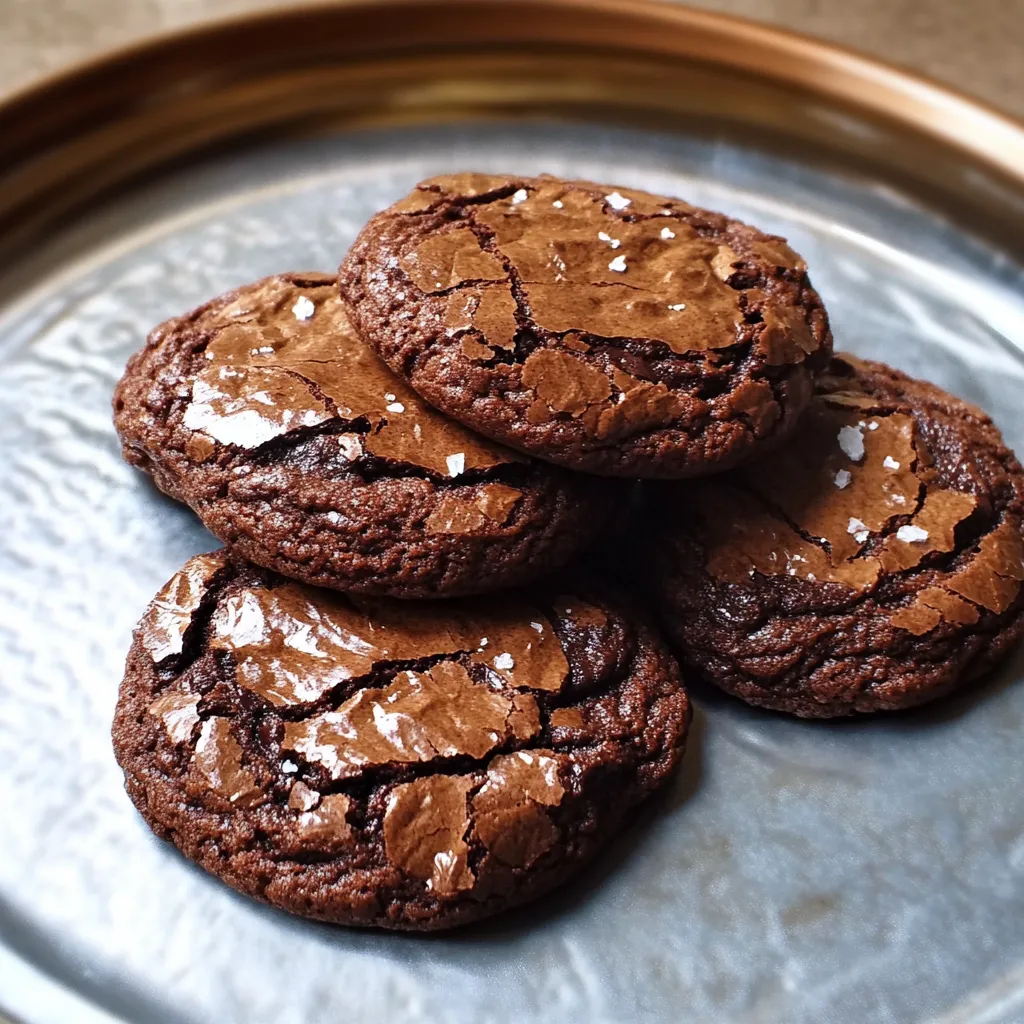
These addictive Fudgy Chocolate Brownie Cookies give you the best of both worlds—brownies' chewy center wrapped in cookies' crispy shell. Every bite delivers that wonderful crackling exterior with a soft, gooey middle. They're truly a mash-up that outshines the original treats they're based on.
I stumbled on this recipe during a stormy day baking spree, and now it's my number one chocolate treat. The way they stay fudgy inside while getting those crisp edges makes them totally irresistible. Even my husband, who isn't big on chocolate, always grabs more than one.
Key Ingredients Breakdown
- Dark chocolate: Go for 70% cocoa for rich, intense flavor. Good chocolate should break with a clean snap
- Unsalted butter: Try European brands for extra richness and better fat ratio
- Granulated sugar: Smaller crystals blend more smoothly than rough varieties
- Light brown sugar: Make sure it's soft and moist for proper texture and caramel flavor
- Eggs: They need to be at room temp for the right structure
- All-purpose flour: Unbleached works best for good texture while staying soft
- Cocoa powder: Dutch-processed gives deeper color and less bitter taste
- Sea salt: A sprinkle on top brings out the chocolate's full flavor
Simple Cooking Instructions
- Setup Phase:
- Make some space on your counter and get everything ready. Warm your eggs in a bowl of water for about 10 minutes. Cut chocolate into small, even pieces. Put parchment on your baking sheets, don't use wax paper. Place your oven rack right in the middle.
- Melting Your Chocolate:
- Make a simple double boiler with water on low heat. Put in your chocolate and butter together. Stir slowly with a flexible spatula. Take it off the heat when there are still tiny bits left. Keep stirring until completely melted. Let it cool until just warm.
- Working With Eggs:
- Whip your eggs until they're bubbly. Add sugars bit by bit. Keep mixing for the whole 5 minutes. Look for a thick, streaming texture. Don't go faster than medium speed to get enough air.
- Putting It All Together:
- Pour in chocolate mix slowly while stirring. Fold carefully to keep the air bubbles. Mix all dry stuff together first. Add dry mix in three batches. Stop mixing as soon as you can't see flour anymore.
- Forming and Baking:
- Use a cookie scoop for equal sizes. Leave 2 inches between each cookie. Add salt flakes before they go in. Watch for cracks forming on top. Pull them out when middles still look a bit soft.
 Pin it
My teen daughter calls these her "all-time favorites" after helping me try out different versions. She loves how they have both crispy edges and gooey centers, just like those corner brownie pieces she always grabs first.
Getting Those Gooey Middles
I've found timing is everything with these cookies. Don't give in to the urge to bake them until they look totally done. That extra minute can turn them from amazing fudgy treats into just regular chocolate cookies. Now I always take them out when the centers still seem a bit underdone, knowing they'll firm up just right as they cool down.
Keeping Them Fresh
After making countless batches, I've noticed these actually taste better the next day. They get even more brownie-like, and the chocolate flavor gets deeper and richer. Just pop them in an airtight container with some parchment between the layers, and they'll stay good for about five days—though at my house, they never stick around that long!
Watch Your Temperatures
Using room temp ingredients really helps get that awesome crackly top. I put my eggs in warm water for ten minutes before I start baking, and I make sure my butter isn't too hot when I mix it with the chocolate. These little tricks give you that fancy bakery look every time.
Getting The Right Look
Using the same size scoop for each cookie helps them all bake evenly. I like using a 1.5-tablespoon scoop—it makes cookies that aren't too big so you won't feel bad having a couple, but big enough to handle serious chocolate cravings. Your dough should look shiny and thick, kind of like brownie batter.
Choosing Your Chocolate
The type of chocolate you use really changes how these turn out. After trying lots of different kinds, I've found that mixing good quality dark chocolate with Dutch-processed cocoa gives the deepest flavor. I usually grab Ghirardelli for both—it never lets me down.
Seasonal Twists
Around Christmas, I sometimes add a little peppermint extract and sprinkle crushed candy canes on top. For Valentine's Day, a bit of pink sea salt makes them extra fancy. You can really change up this basic recipe for any special day.
 Pin it
These brownie cookies have turned into my go-to chocolate dessert that everyone asks for at family get-togethers and bake sales. They're so flexible—fancy enough for dinner parties but homey enough for everyday snacking. What started as just playing around in the kitchen has turned into a family favorite that brings together two classic treats. The secret is following the steps carefully—taking time with the egg beating, using good chocolate, and most importantly, not letting them bake too long. Each time I make them, I'm reminded that homemade goodies made with care and good ingredients create the best memories around the table.
Frequently Asked Questions
- → Why does timing matter for these cookies?
- The mix gets thick fast, so you'll need to scoop all cookies right after mixing to get the right look and feel.
- → Can I make these treats in advance?
- Sure thing, they stay fresh for days in a sealed container or up to a month when frozen.
- → Why must the cookies rest for 20 minutes?
- They come out super soft from the oven and will fall apart if you move them too early - letting them cool helps them firm up.
- → What makes the tops get all crackly?
- Beating the eggs and sugar for a full 5 minutes creates that cool shiny, cracked surface.
- → Can I swap in milk chocolate?
- Dark chocolate around 70% cocoa works best for that deep flavor and the right texture.
