
 Pin it
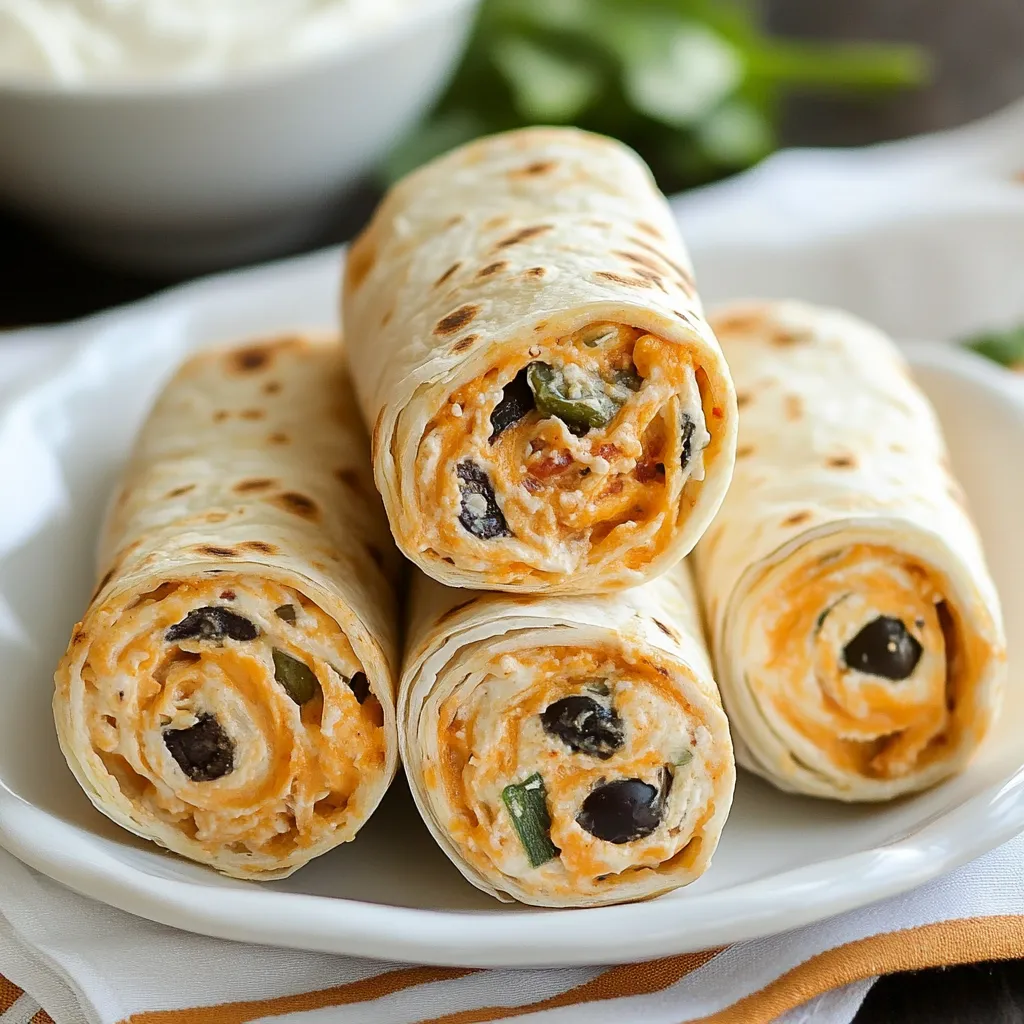
Southwest tortilla spirals pack a punch of border-town tastes all rolled up in soft wraps. These crowd-winning snacks mix up creamy cheese spreads with bold taco spices, making bite-sized treats that vanish quickly at any get-together.
I whipped up three batches of these for my sister's birthday bash last week. Even folks who usually turn their nose up at food came back wanting more, and I handed out the instructions to at least five people. The trick? Let them cool down properly before cutting - it totally changes how good they look.
Key Items You'll Need
- Cream cheese: Grab the regular Philadelphia-type stuff at room temp - it spreads way better and keeps everything together nicer than the light kind
- Sour cream: Gives that nice tang and extra creaminess. You can swap in Mexican crema if you've got some handy
- Taco seasoning: I like mixing my own, but the packets work fine too. Just try to pick ones without fake ingredients
- Large flour tortillas: Go for the softest ones you can get - they shouldn't have any crispy or dry spots
- Colby Jack cheese: Grate it yourself for better melting into the mix. The natural oils in fresh-grated cheese really help stick things together
- Black olives: They add this nice salty kick that cuts through the richness. Just make sure you dry them off good
- Diced green chiles: The mild ones in small cans do the job perfectly. Drain them super well
Step-By-Step Walkthrough
- Step 1:
- Set out your cream cheese for about 2 hours to get nice and soft. If it's too cold, you'll end up with bumps in your spread
- Step 2:
- Take a big mixing bowl and beat that cream cheese with your mixer until it's fluffy and smooth, around 2-3 minutes. Don't forget to scrape the bowl sides a few times
- Step 3:
- Mix in your sour cream and taco seasoning, beating till everything's mixed up evenly with no color streaks. Your mix should turn a light orange shade all the way through
- Step 4:
- Now fold in those well-drained green chiles, making sure they spread out evenly. Their wetness can mess up your filling, so draining them right matters a lot
- Step 5:
- Lightly mix in your shredded cheese and chopped olives just until they're combined. Too much mixing will make everything heavy
- Step 6:
- Lay your tortillas on a clean counter. Spread about 1/3 cup of your mix on each one, but leave about half an inch empty around the edges
- Step 7:
- Start from one side and roll each tortilla up snugly, pressing gently so you don't push out the filling. You want it tight but not squished
- Step 8:
- Wrap up each roll in plastic wrap and twist the ends closed. This helps them keep their nice round shape
- Step 9:
- Put them in the fridge for at least 4 hours or overnight - you can't skip this if you want clean slices
- Step 10:
- When you're ready to eat, unwrap and cut into 1-inch thick rounds using a sharp knife. Wipe the knife between cuts for the prettiest pieces
 Pin it
Picking The Perfect Wraps
The right tortillas really matter for these pinwheels. Look for ones that feel soft and bendy, without any stiff or dry edges that might break when you roll them. I've found that warming them between damp paper towels for about 15 seconds in the microwave makes them super easy to work with.
Prep Ahead Options
These rolls actually taste better when made a day before, as the flavors get time to mix together. Unlike some other stuffed wraps, the filling won't turn your tortillas mushy. Just keep them wrapped tight until you're ready to slice and put them out.
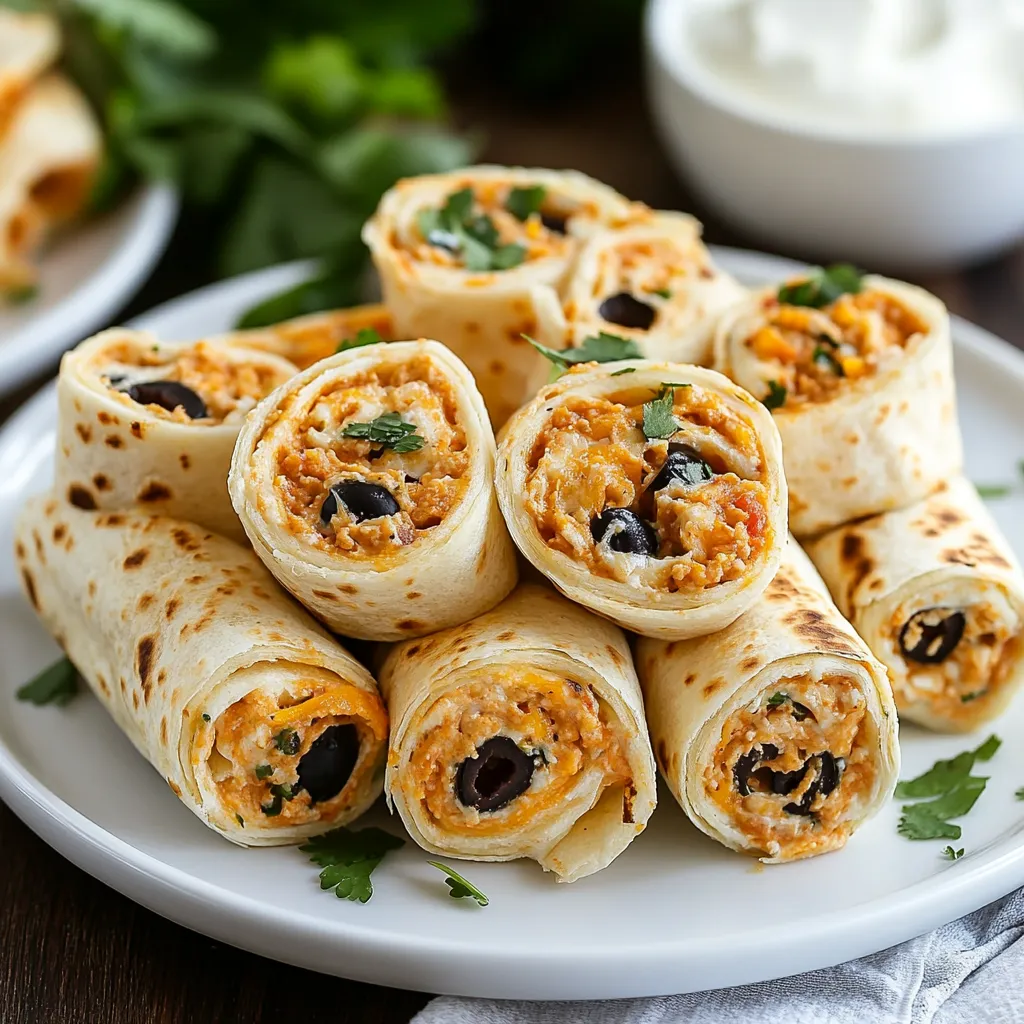
How To Present Them
Make them look fancy by setting the pinwheels in a circular pattern on a round plate. Tuck some fresh cilantro between the rows for a pop of color, and put small dishes of salsa, guacamole, and extra sour cream around the edge for dipping.
I grew up in a Mexican-American family where we often had similar roll-ups at our big gatherings. My grandma always threw in some finely chopped jalapeños in hers, which got me playing around with different spice levels in my own version.
 Pin it
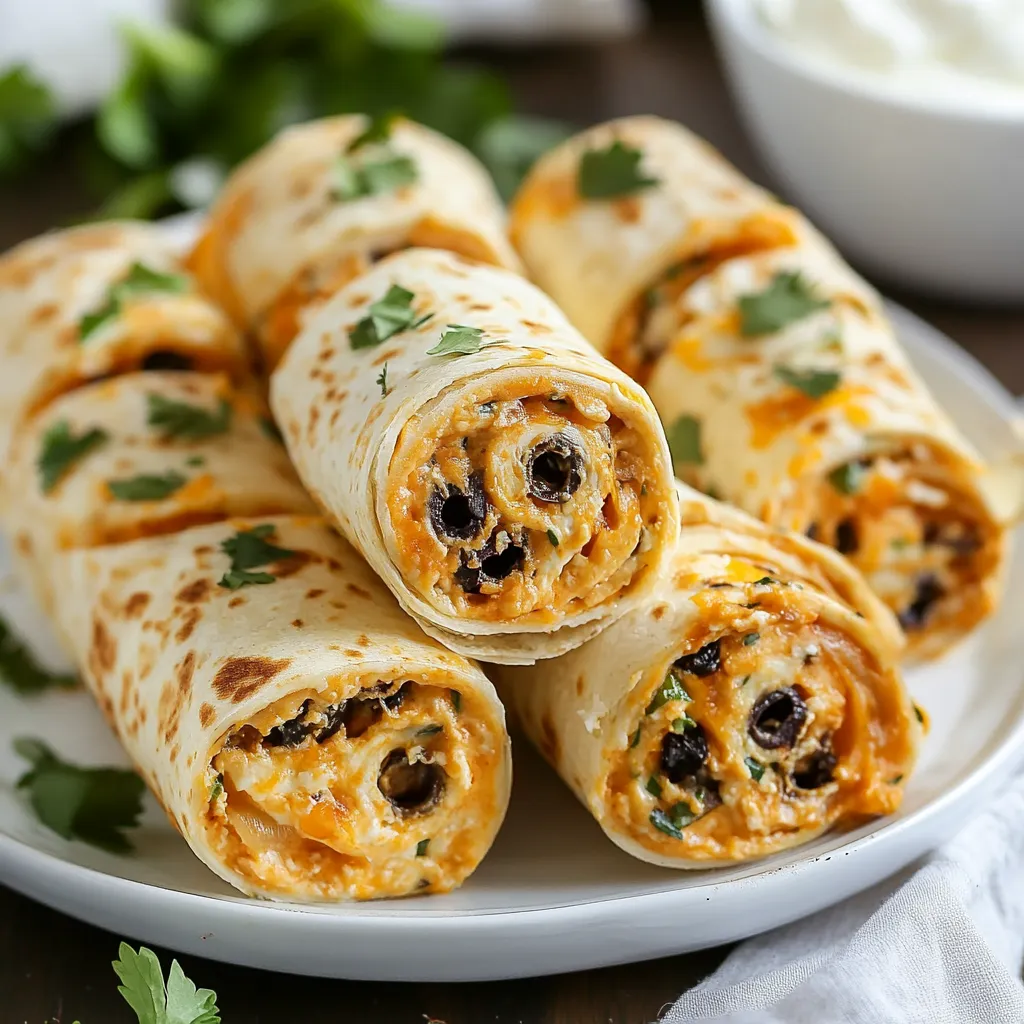
These swirls have become my number one party snack because they never fail, taste amazing, and always wow my guests. Something about that creamy filling mixed with those zippy taco flavors just works magic and keeps everyone reaching for another one.
Frequently Asked Questions
- → Can I make these pinwheels ahead of time?
- You bet! Put them together up to 24 hours before serving. Just keep them wrapped in plastic in your fridge until you're ready to put them out.
- → Why do the pinwheels need to be chilled?
- Cooling them makes the filling set up nicely, so they're easier to cut and they'll keep their round shape better.
- → What can I serve with these pinwheels?
- They go wonderfully with some sour cream, homemade guac, or any salsa you love for dipping.
- → Can I use different cheese?
- For sure! Try some pepper jack if you want more heat, or a Mexican cheese blend works great too.
- → How long do leftover pinwheels last?
- Keep them in a sealed container in your fridge for up to 3 days, but they'll taste best if you eat them within the first 2 days.