
 Pin it
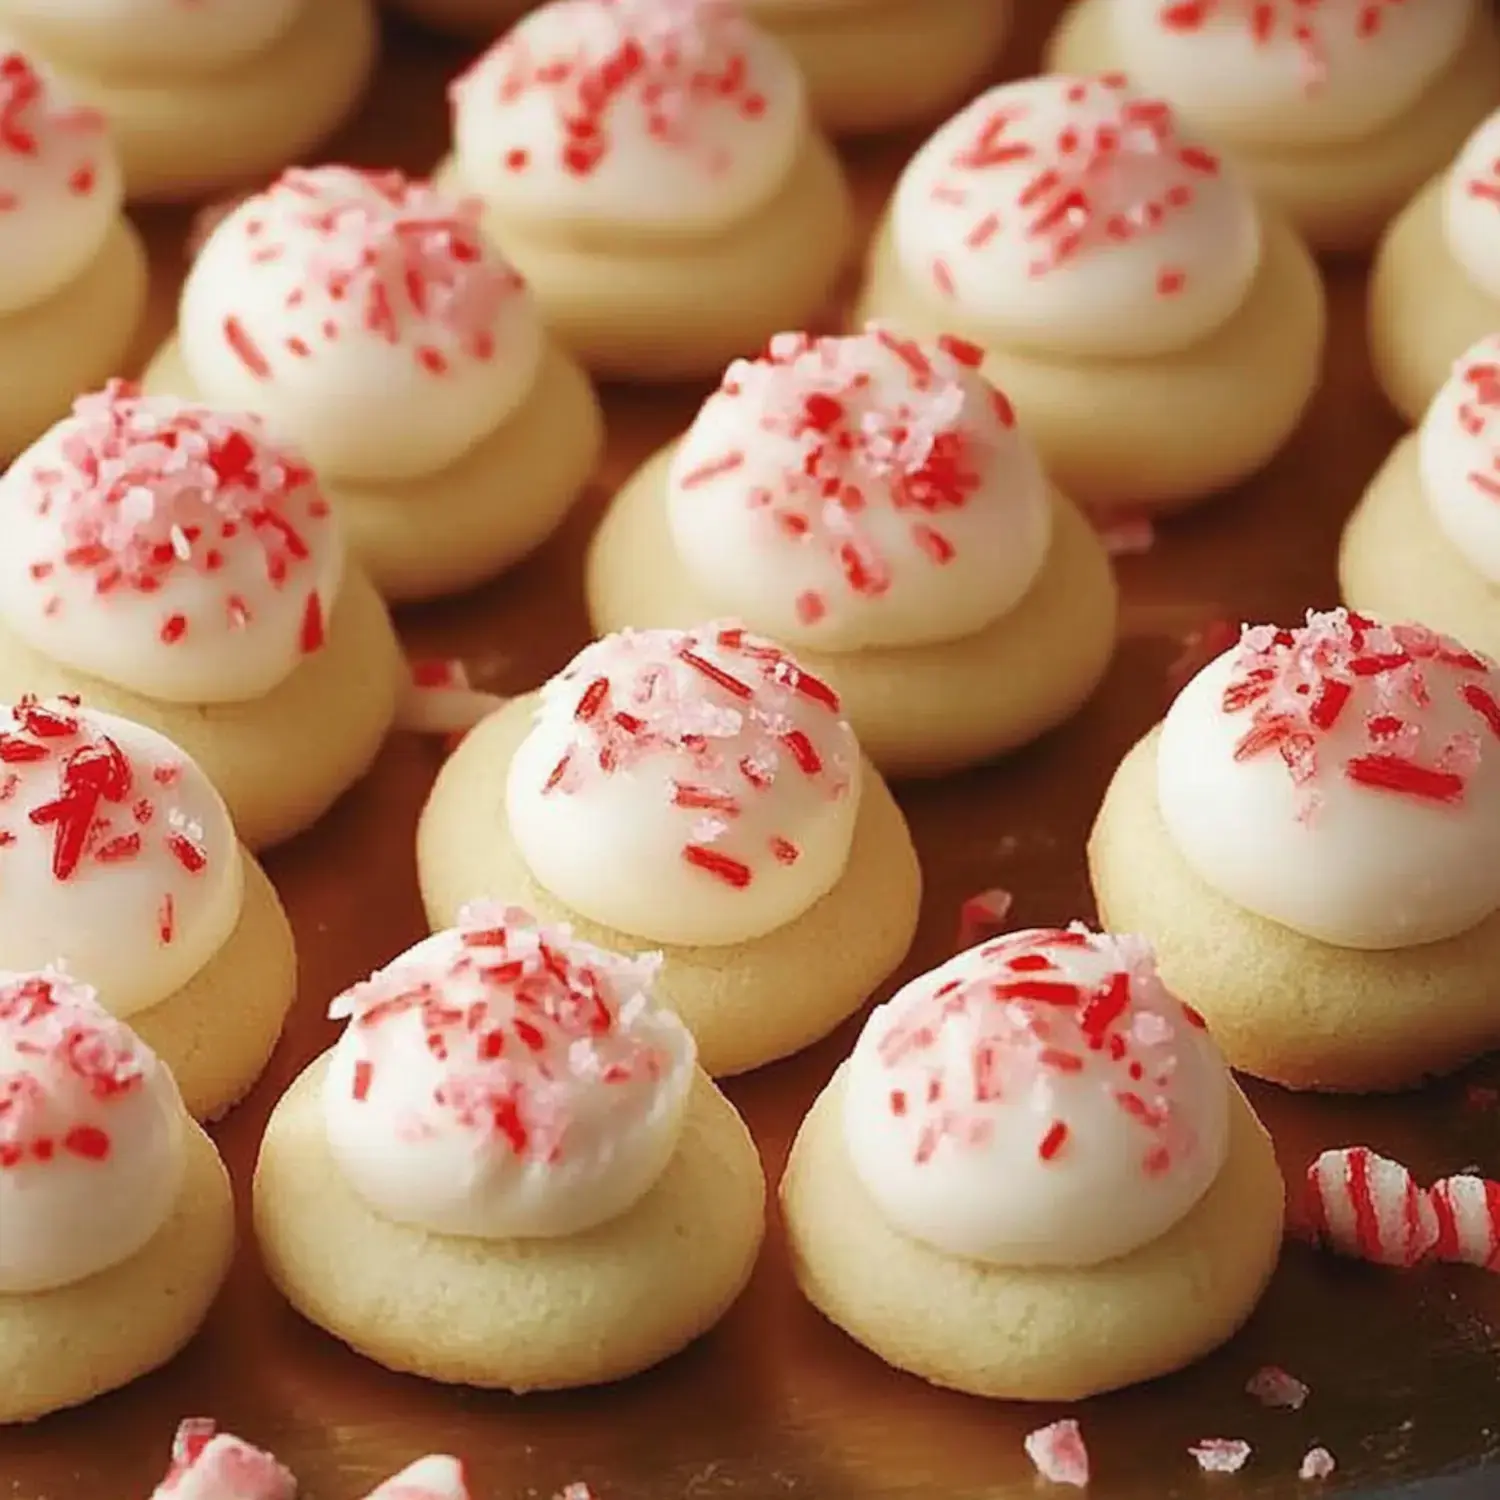
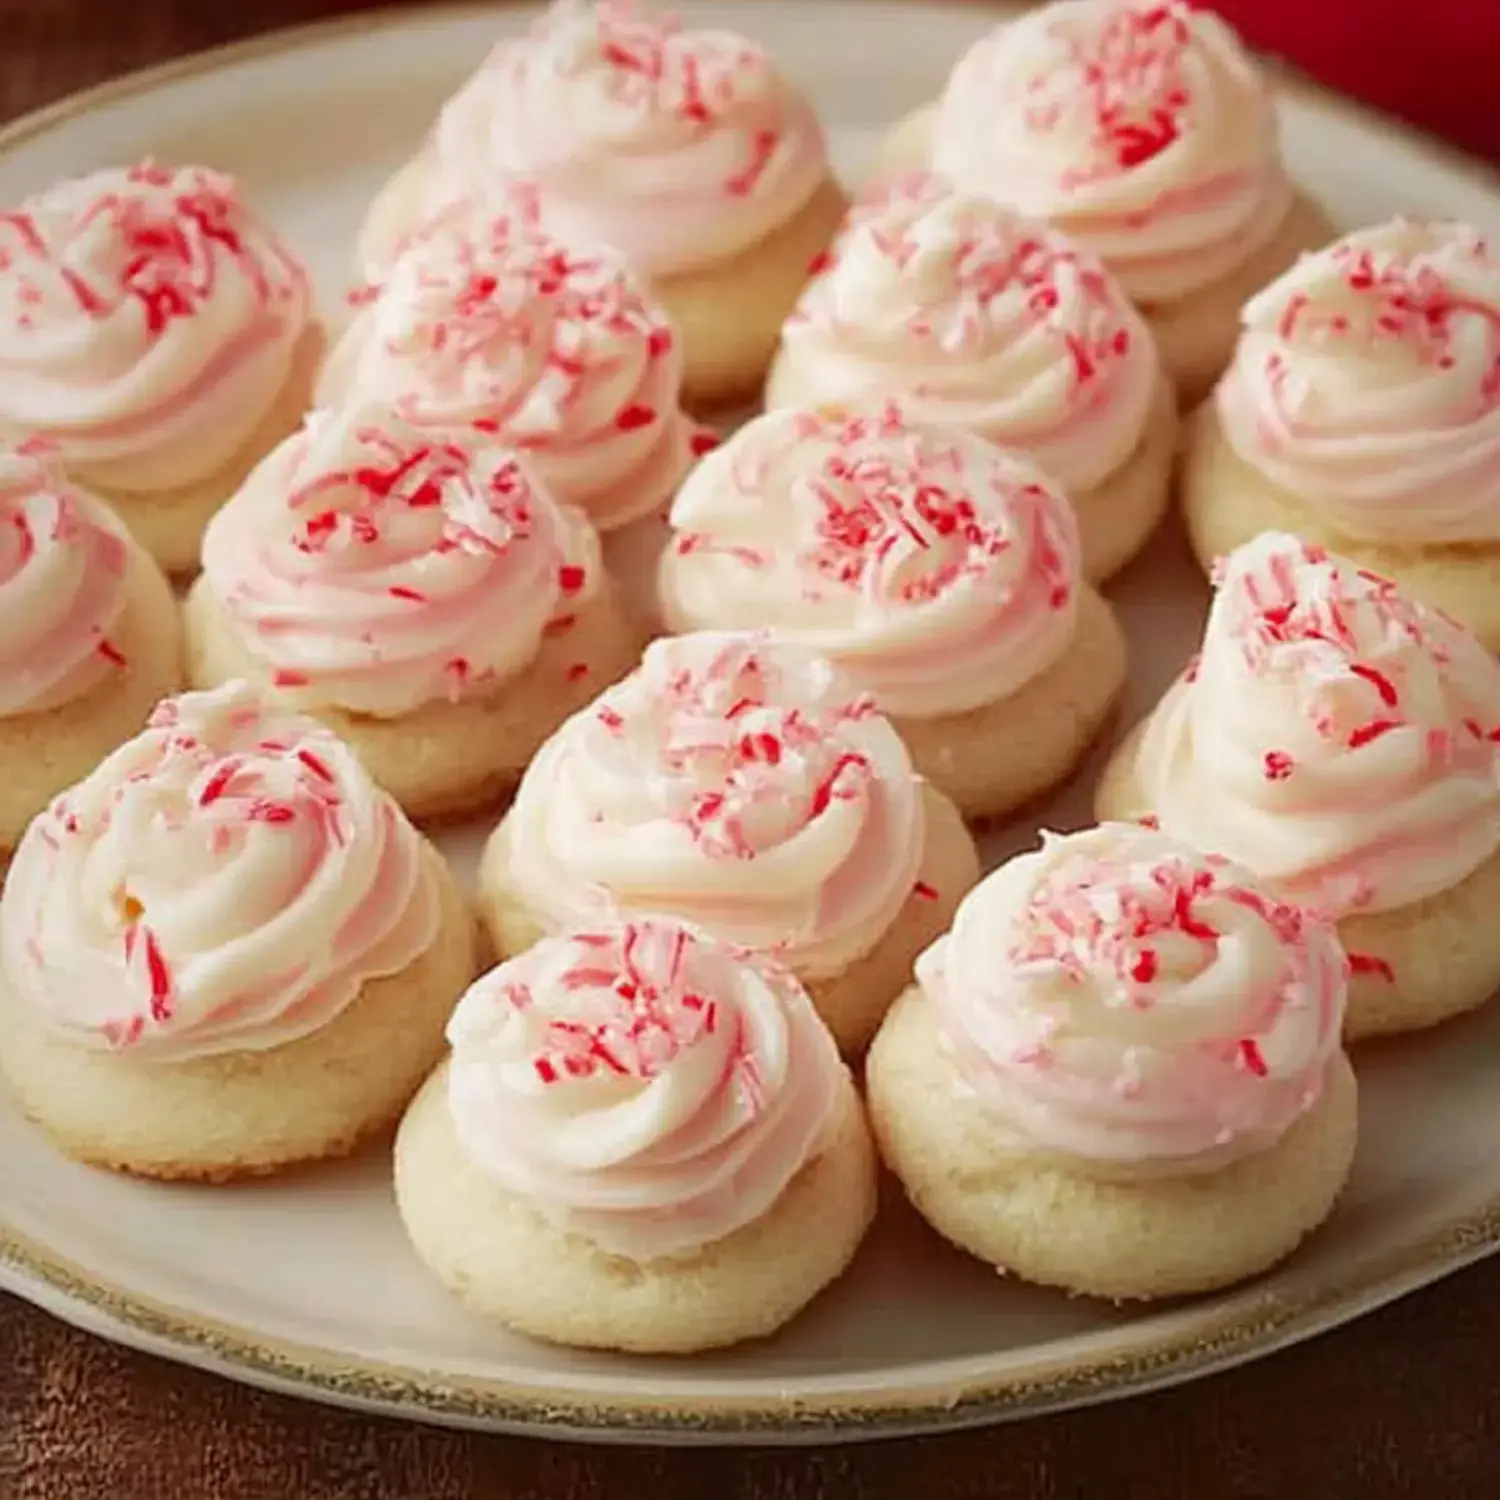
When winter holidays roll around, these Peppermint Meltaways fill my home with joy. They crumble softly in your mouth as the peppermint icing and crunchy candy bits on top create an amazing holiday treat. Making these fills every corner with mint scents that always take me back to childhood Christmas fun.
What You'll Need
- Butter: Grab unsalted so you can tweak the taste just right.
- Powdered Sugar: This gives the cookies their soft, delicate feel.
- Peppermint Extract: A small amount delivers that wonderful mint kick.
- Flour: Make sure to sift it for extra lightness.
- Cornstarch: This is why they dissolve so nicely when eaten.
- Extra Butter: The foundation for your dreamy topping.
- Milk: A tiny bit helps the frosting spread easily.
- More Peppermint: Brings that festive flavor to another level.
- Powdered Sugar: Creates that incredibly smooth frosting texture.
- Crushed Peppermints: For that pretty finish and extra bite.
First Baking Steps
- Put Together Your Dough
- Beat your butter with sugar until it's fluffy, taking around 3 to 4 minutes. Drop in some peppermint extract for that classic taste.
- Mix Your Dry Stuff
- Stir flour and cornstarch together, then slowly fold into your butter mixture until you've got soft, workable dough.
- Cool and Form
- Let the dough rest in your fridge, then roll it into small one-inch balls ready to cook.
Baking Time
- Cook Your Cookies
- Get your oven hot at 350°F and pop those chilled dough balls in for 9 to 11 minutes until they're slightly golden on the bottom.
- Let Them Rest
- Keep cookies on the hot pan briefly, then move them to a cooling rack until they're completely cool.
Finishing Touches
- Whip Up The Frosting
- Beat butter until it's light and airy, then mix in milk, peppermint extract, and powdered sugar until smooth. Add a tiny bit of pink coloring for holiday charm if you want.
- Top and Finish
- Slather frosting on each cooled cookie and sprinkle with crushed peppermint pieces for extra sparkle and flavor.
Custom Touches
I sometimes try a simple glaze instead of frosting or play with different flavor extracts. During Christmas I've tried cutting them into holiday shapes but the original round ones are still my favorite. The crushed candy on top isn't just for looks - it brings an amazing crunch and extra mintiness.
Storage Secrets
These treats stay tasty in a sealed container for many days. I often bake the cookies early and put frosting on them right before serving. For long-term plans, you can freeze plain cookies up to three months and add frosting after they've thawed out.
Helpful Hints
- Add sugar or milk bit by bit until your frosting feels right for spreading.
- Cool the dough in your fridge so cookies keep their shape better.
- Make them a day or two before you need them so the flavors can blend.
- Don't skimp on quantity - they'll vanish quickly!
 Pin it
Frequently Asked Questions
- → What makes them melt in your mouth?
The mix of lots of butter and cornstarch creates an incredibly soft texture that just melts away as you eat. Don't work the dough too much to keep this delicate feel.
- → Can I prepare them early?
You can bake and freeze the plain cookies up to 3 months. Add the icing and candy bits right before you plan to serve them for the best look and taste.
- → Why should I cool the dough?
Cooling lets the butter get firm, which makes the dough easier to work with and stops the cookies from getting too flat during baking.
- → Will other flavors work instead?
You can swap in vanilla or almond flavoring, but the peppermint really gives them their special holiday flavor.
- → What's the best way to keep them fresh?
Put them in a sealed container. They'll stay good for about 5 days at room temp, though the candy bits might get a bit soft over time.