
 Pin it
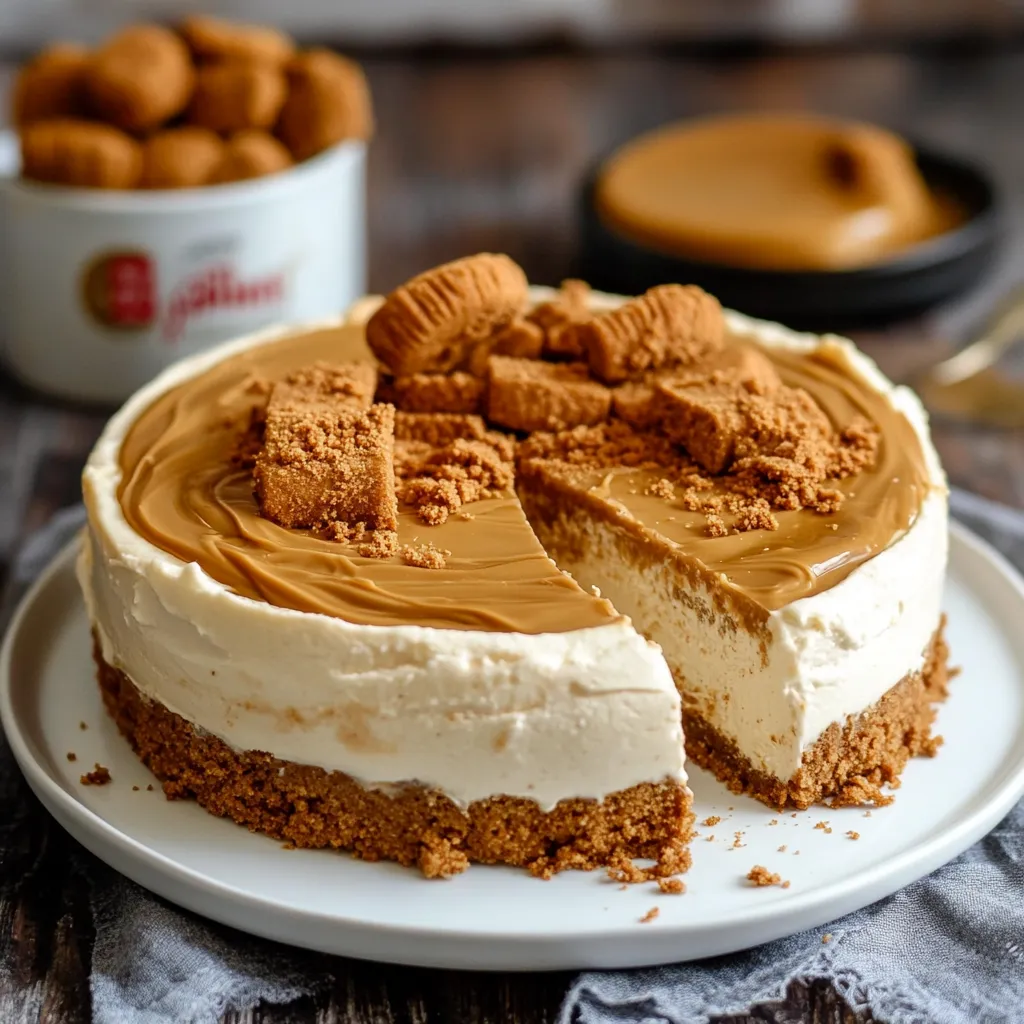
This smooth Biscoff cheesecake has been my go-to treat for countless family get-togethers and dinner gatherings. The creamy cheesecake mixed with the caramel-like taste of Biscoff cookies makes something truly wonderful. I've tweaked this dish many times to get just the right mix of smoothness and flavor.
I brought this to my neighbor's birthday party last weekend. Watching everyone's faces light up after their first taste reminded me why I love sharing this. Their plates were empty in minutes, and three people asked me for the recipe before I left.
Key Ingredients Breakdown
- Biscoff Cookies: These cookies are our main star. Go for packages that aren't broken - if they're crumbled in the pack, they might not be fresh
- Full-Fat Cream Cheese: My golden rule: always buy good cream cheese. It's what makes or breaks our cheesecake
- Double Cream: Must be fresh and kept cold. If you shake the carton gently, it shouldn't slosh around much
- Biscoff Spread: Our hidden trick that boosts the caramel flavor
- Unsalted Butter: This makes our base stick together just right
- Optional Toppings: Extra Biscoff cookies look pretty on top, and fresh berries add nice color
Easy Preparation Guide
- Getting Ready:
- Grab a deep 9-inch springform pan. Put parchment paper on the bottom, letting it come up the sides a bit. Rub some butter on the sides of the pan.
- Making Your Base:
- Crush Biscoff cookies into tiny bits using a food processor or rolling pin. Melt butter and stir with crumbs until they're all coated. Push the mix into the pan and chill it.
- Creating The Filling:
- Mix room temperature cream cheese until it's smooth. Slowly add room temperature Biscoff spread. Beat cold double cream until it forms soft peaks, then add to your cream cheese mix.
- Putting It All Together:
- Mix whipped cream into the cream cheese blend. Pour over your chilled base and smooth it flat. Tap the pan a few times to get rid of bubbles.
- Adding Finishing Touches:
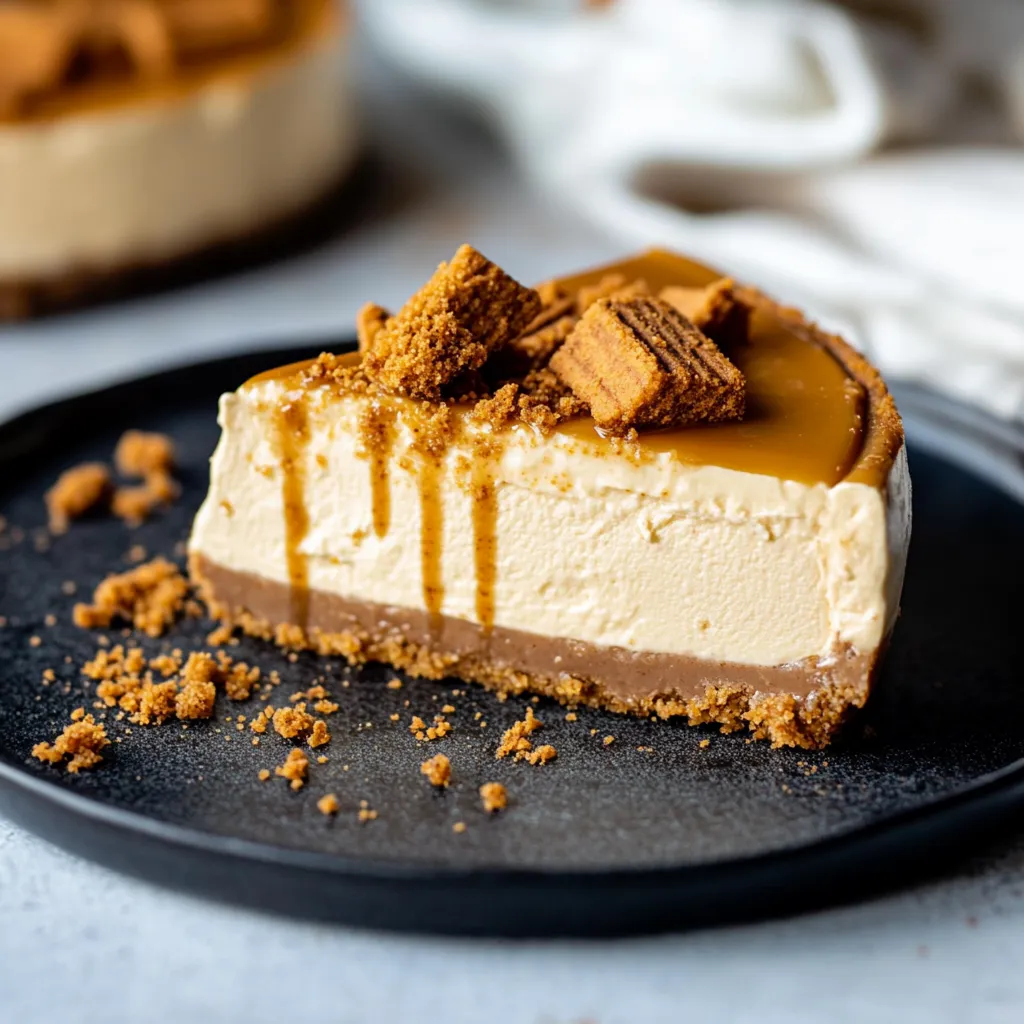
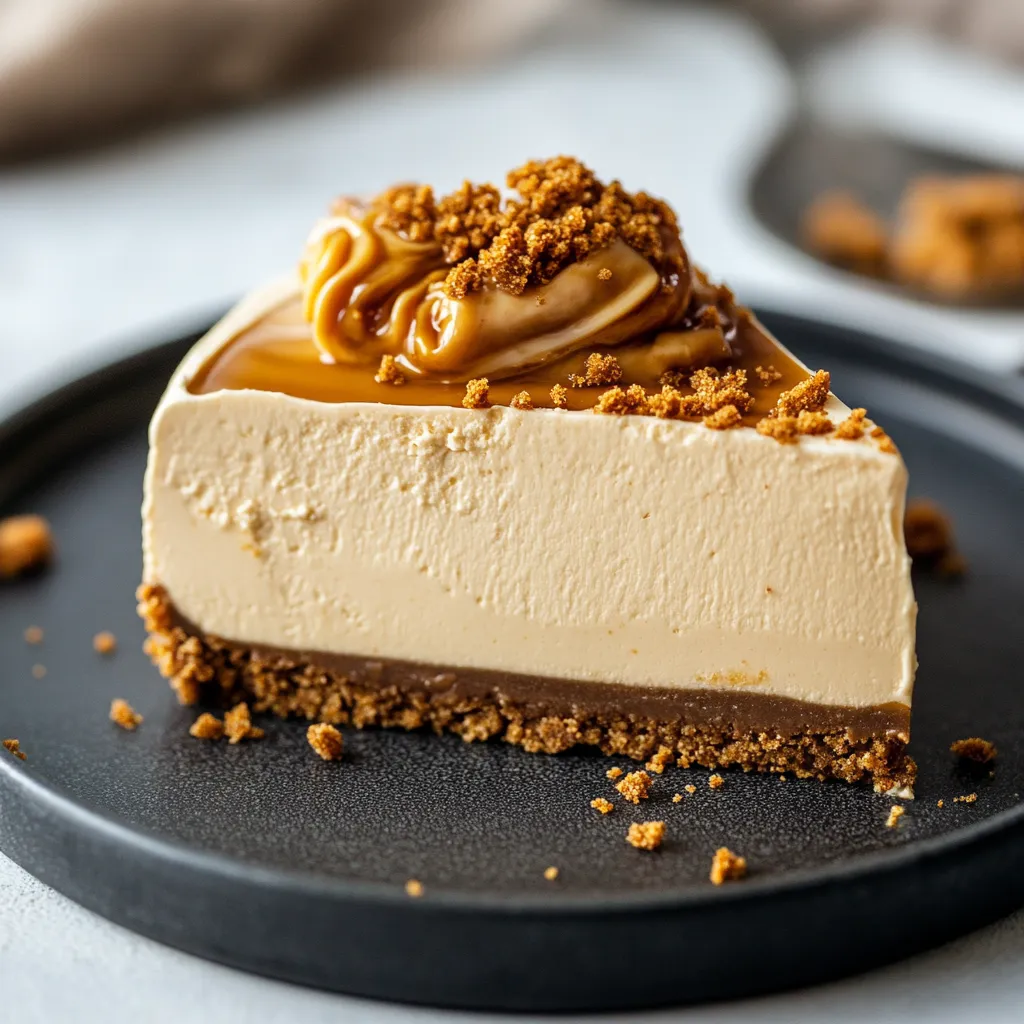
- Heat some extra Biscoff spread and drizzle it on top. Sprinkle crushed Biscoff cookies around the edge before the spread hardens.
 Pin it
My daughter can't get enough of Biscoff spread now. She always has jars ready just for making this cheesecake. That warm, spicy caramel flavor makes me think of relaxing afternoons with coffee.
Silky Smooth Results
Getting that velvety texture comes down to watching your temperatures. Each ingredient does its job to make the perfect slice. Let your cheesecake sit out for 15-20 minutes before serving to really bring out all the flavors.
Ways To Serve
This cheesecake tastes amazing by itself, but I like to add seasonal touches. Fresh raspberries give a nice tang in summer. A bit of cinnamon works great in fall. For fancy occasions, try a thin layer of dark chocolate on top.
Keeping It Fresh
Your cheesecake will stay good in the fridge for up to 5 days if you cover it well. Use a cake container or wrap it carefully with plastic, but don't touch the top. If you want to freeze it, cut it first and put baking paper between slices so you can thaw them one by one.
Quick Fixes
If your filling seems too runny, you probably didn't whip the cream enough. Stick it in the freezer for 30 minutes before you keep going. If your base falls apart, just chill it a bit longer.
 Pin it
I've made tons of cheesecakes over the years, but this Biscoff version still tops my list. There's something magical about turning basic ingredients into something that makes people smile. It's not just about how good it tastes - it's about the happy moments we share around the table.
Frequently Asked Questions
- → How long should I chill this cheesecake?
- You'll need at least 4 hours of chilling time for the cheesecake to set properly, but leaving it overnight in the fridge works even better.
- → Why do you need full-fat cream cheese?
- Full-fat cream cheese gives you the right consistency and helps your no-bake cheesecake firm up nicely without any baking needed.
- → Can I make this cheesecake ahead of time?
- Absolutely! This dessert is perfect for making in advance since it needs time to set and stays fresh in the fridge for days.
- → What's the best way to remove it from the tin?
- Just slide a warm knife around the edges of the tin and the cheesecake will come out smoothly.
- → Why should the Biscoff spread be melted gently?
- You need to warm the spread slowly so it doesn't get too hot and start melting your cheesecake layer underneath.