
 Pin it
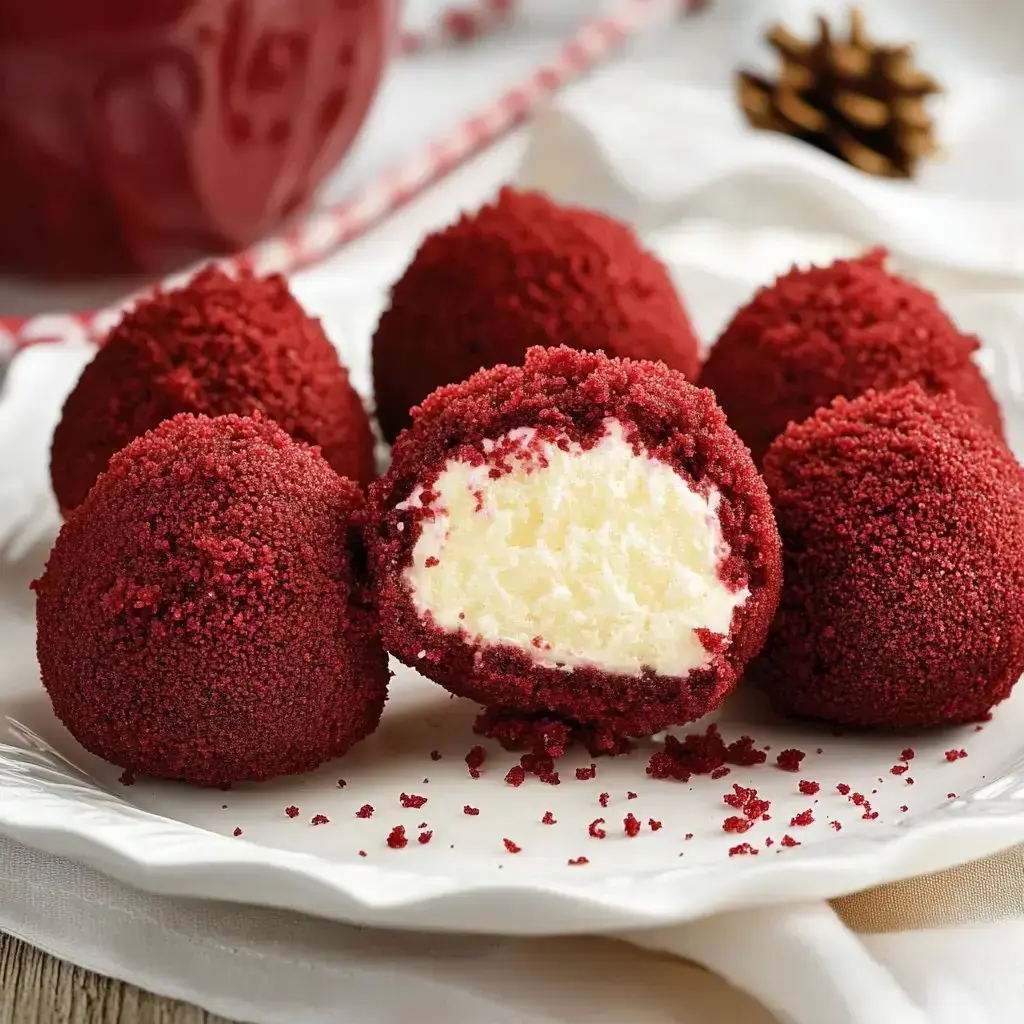
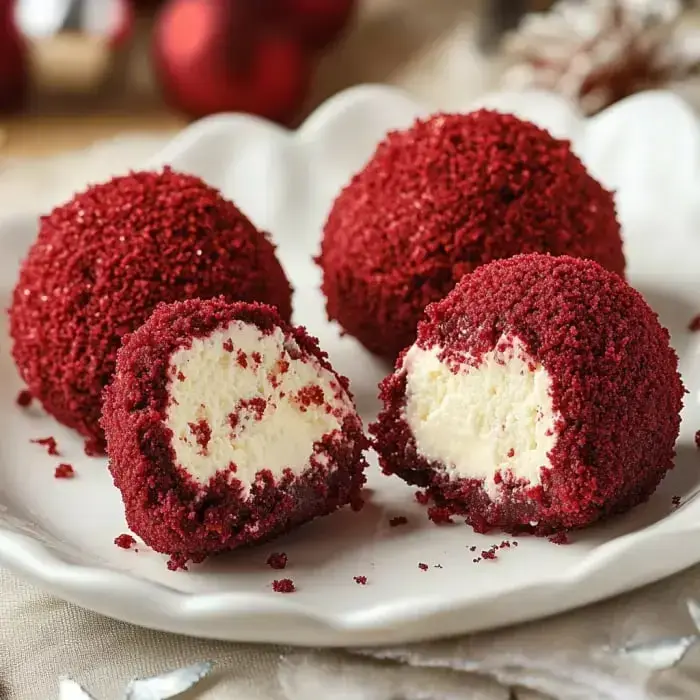
Dreamy No Bake Red Velvet Cheesecake Balls
Oh my gosh, you have to try these Red Velvet Cheesecake Balls. I've whipped them up for ages and folks always gobble them up at get-togethers. They’re dreamy, all creamy and packed with that classic red velvet taste, rolled into adorable bite-size goodies. The coolest thing? You don’t touch the oven. Seriously, these treats will be your new must-have whenever you want something snazzy and sweet without being stuck cooking for hours.
Why Folks Can't Get Enough
You know why these are awesome? They mash up everything delicious about cheesecake and red velvet cake into cute little bites. I always stash the main stuff in my pantry, since you never know when a dessert craving hits. They're perfect to pack up for a hangout or potluck, and since you can fix them ahead of time, they make life so much easier when you're busy prepping for a crowd.
What to Grab Before Starting
- Mix Essentials: Get your eggs, milk, and oil sorted for that cake mix.
- Vanilla Magic: A dash will make all the flavors pop.
- Cheese Power: Use creamy, full-fat cream cheese—make sure it's super soft.
- Cake Base: Any red velvet cake mix will do, but you can totally swap for chocolate or vanilla.
- Butter Block: Needs to be soft, doesn't matter if it's salted or not.
- Sweet Side: Pick up some powdered sugar, add more or less to hit your sweet spot.
- Graham Crunch: Smash those graham crackers to bits for the best texture in your mix.
 Pin it
Here's How To Whip Them Up
- Finishing Touch
- Roll every cheesecake ball in a layer of yummy red velvet crumbs, then chill them again till you’re ready to serve.
- Roll Out Time
- Shape the cheesecake mixture into round balls and chill them to let them set up.
- Mash Up the Cake
- Bake your red velvet cake following the package instructions, let it cool all the way, then crumble into small bits.
- Mixing Magic
- Beat together the super soft cream cheese, powdered sugar, vanilla, graham bits, and butter until everything looks totally smooth.
Switch Things Up If You Want
Feeling playful? Sometimes I use crushed red velvet Oreos instead of the usual crumbs. Toss in some chopped nuts, sprinkles, or chocolate curls if you're in the mood. I've added lemon zest or a few berries to the filling and wow. For a surprise, press a bit of chocolate in the center of each ball. Or, go wild and drizzle melted chocolate over everything when you’re showing off.
How To Make Them Last
Keep your cheesecake balls in something airtight and they’re good in the fridge for 4 or 5 days. Need them to stick around longer? Wrap and freeze for up to three–even four–months. Let them thaw out in the fridge before serving so they stay looking cute.
 Pin it
Frequently Asked Questions
- → How long can I keep these bites in the fridge?
Stash them airtight in the fridge and they're good for up to five days. Honestly, they taste even better after chilling a bit longer because all the flavors blend together.
- → Is it OK to freeze them?
Totally! Pop them in the freezer for up to three months. When you're ready, let them thaw in the fridge overnight so they're ready to eat.
- → What's the deal with drying the cake if it's super moist?
Letting the cake dry a bit keeps the texture firm, so it won't get all mushy when you mix everything up. You want the outside to stay nice and crisp, too.
- → Can I swap out the cake mix flavor?
Go for it! Use any cake flavor you like. Chocolate, vanilla, or even a funfetti mix work awesome with this method.
- → Do these have to stay cold before serving?
Yep, because of the cream cheese in there, keep them chilled till it's time to eat. They're fine out for about two hours on the table.