
 Pin it
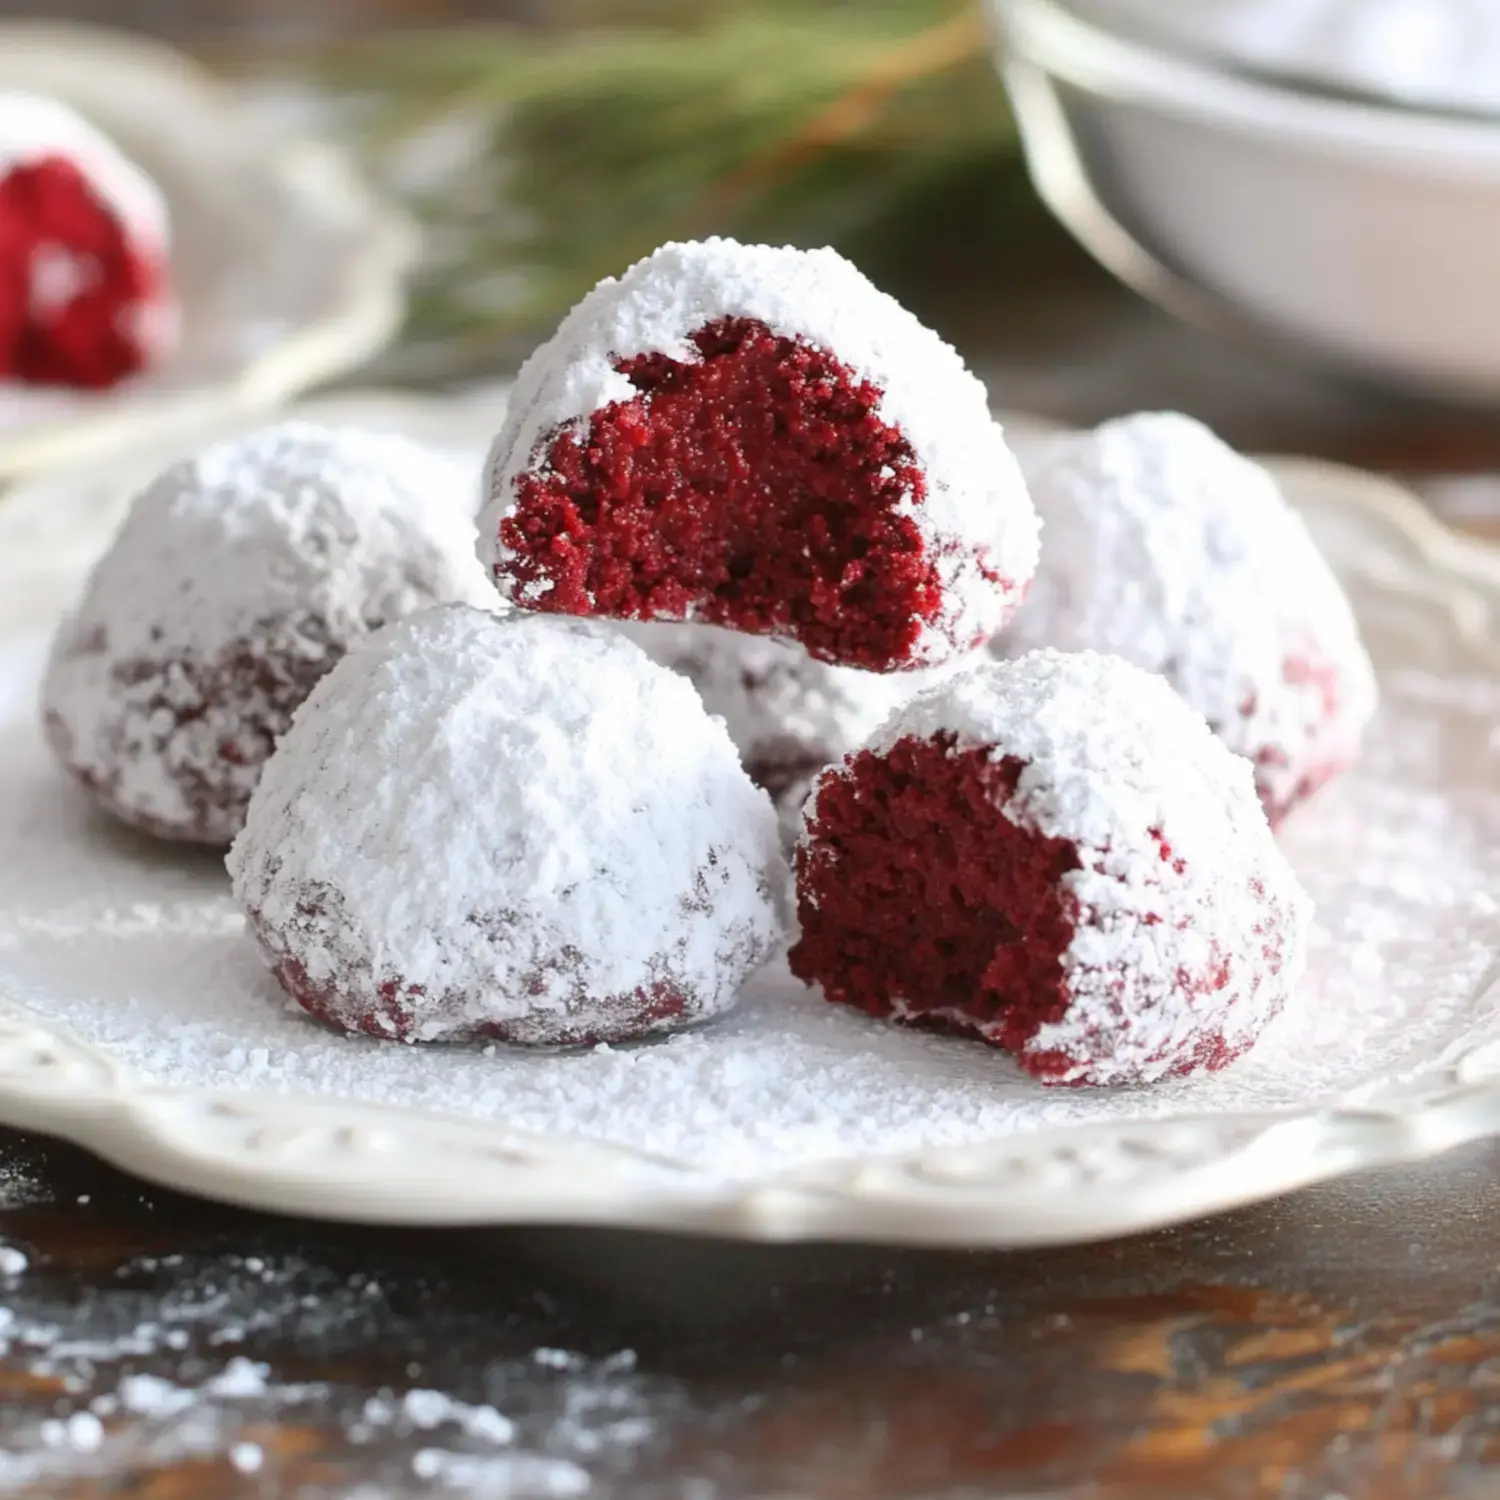
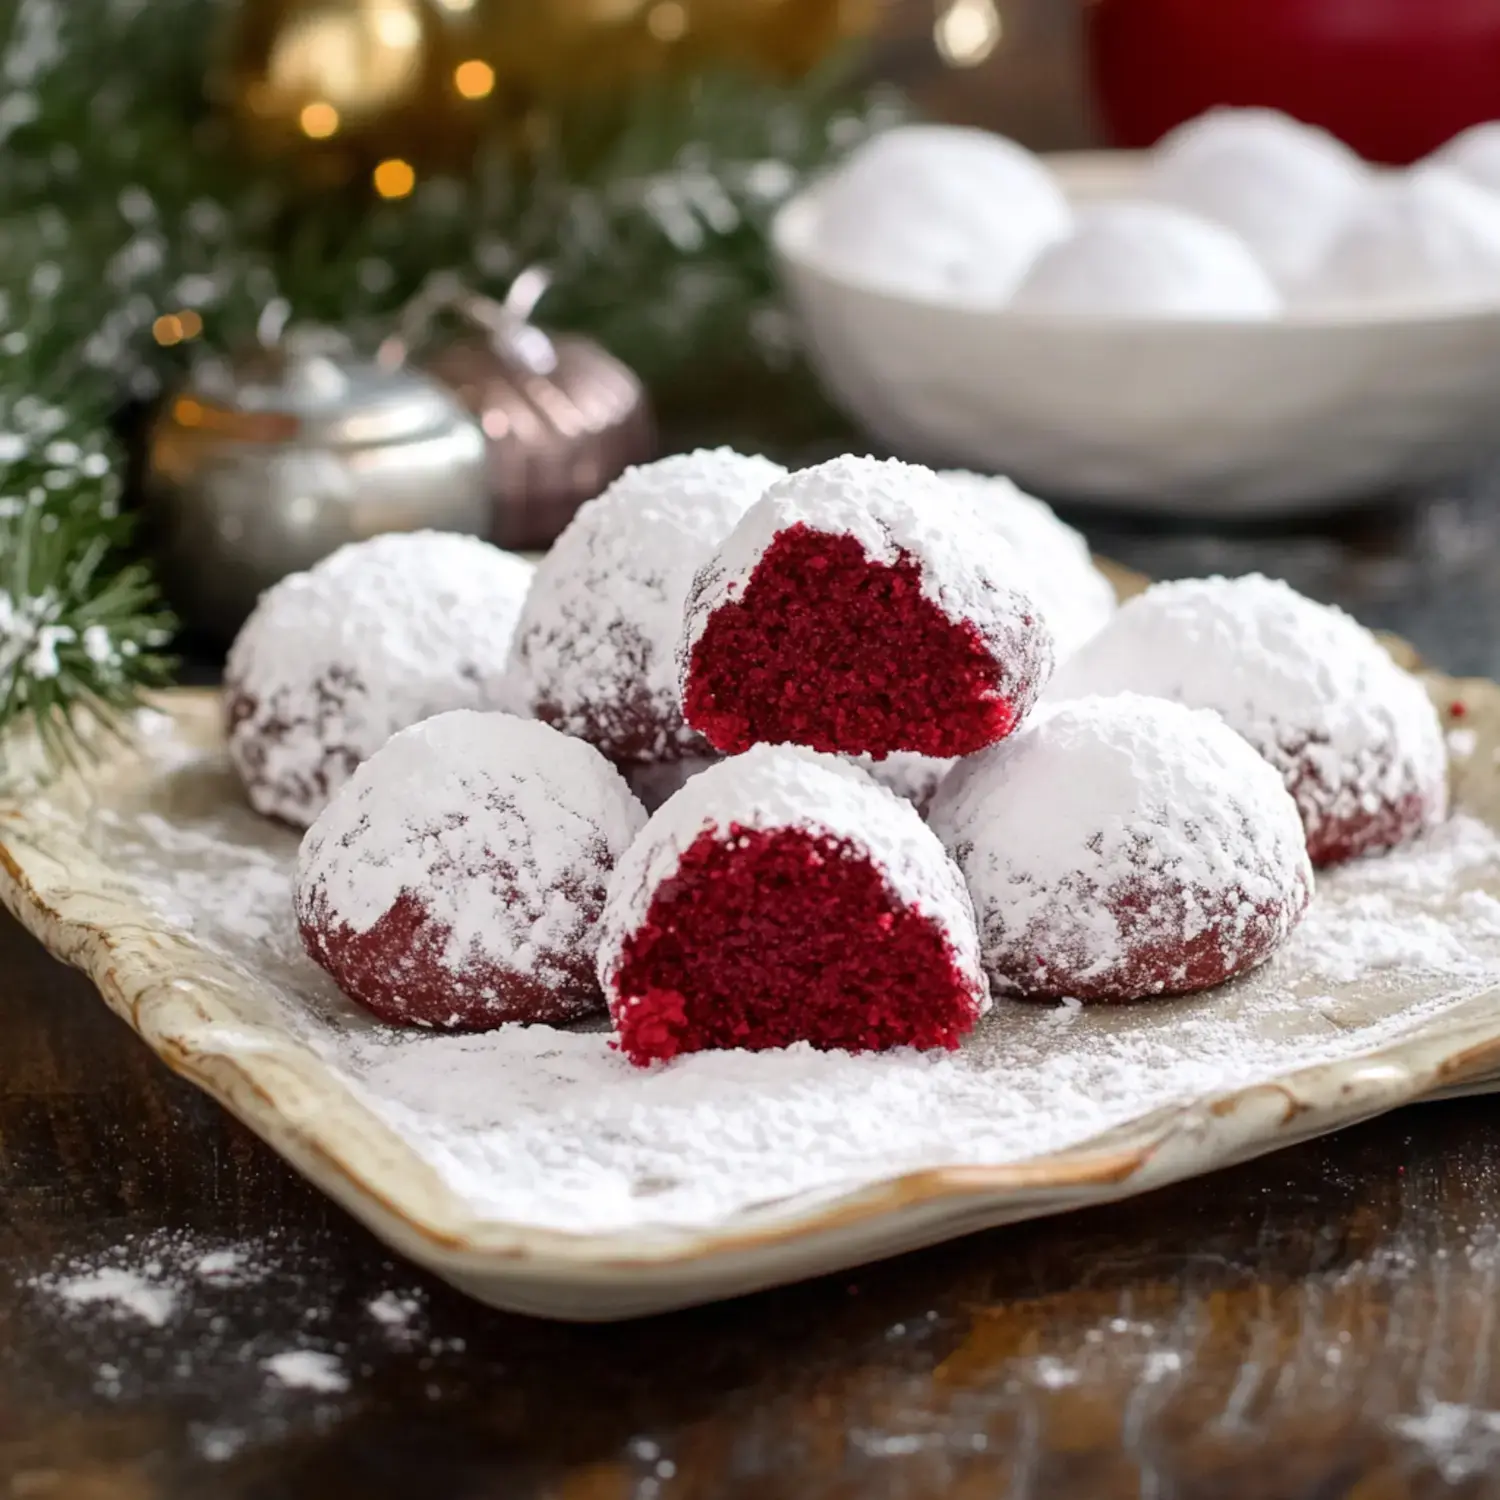
OMG friends, I've come up with the most fantastic holiday treat I just gotta share. These Red Velvet Snowball Cookies have totally stolen my heart as my number one Christmas goodie. I got this idea when I was trying to update my grandma's old snowball cookie recipe last season. What came out? Stunning red treats covered in powdered sugar that taste like buttery little clouds with a touch of chocolate flavor. When I bake these, my kitchen turns into a total winter fantasy!
The Reason They've Become My Holiday Cookie Favorite
During last year's festivities, these cookies vanished quicker than anything else on my holiday tray. Folks kept wondering what made them so darn good. What's the magic? They actually dissolve on your tongue thanks to the awesome combo of butter and shortening, and they've got that gentle cocoa taste that makes red velvet so addictive. I adore bringing them to coffee gatherings with my friends or wrapping them up in cute containers as presents.
Kitchen Basics You'll Want
- Unsalted Butter: Get it out ahead of time for proper softening you'll thank me later!
- Butter-Flavored Shortening: This is my hidden trick for getting that incredible feel.
- Egg: Only need one, cold from the refrigerator works fine.
- Buttermilk: Just a bit adds that red velvet zing I can't get enough of.
- White Vinegar: Seems odd but it really brings out all the flavors.
- Vanilla: Spring for quality because it really counts here.
- Red Food Coloring: Try to find the gel type if possible.
- Flour: Standard all-purpose does the job perfectly.
- Cocoa Powder: A small amount for that chocolate hint.
- Salt: Just a dash makes everything tastier.
- Nuts: I typically use pecans but pick whatever you enjoy.
- Powdered Sugar: Creates that beautiful snowy finish.
Let's Start Baking
- Getting Started
- Mix your butter and shortening till they're completely combined. Toss in your egg and watch it come together. Now add your buttermilk, vinegar, vanilla, and enough red coloring to make it bright and festive. In a separate bowl, mix your dry stuff, then slowly blend everything together. If you want nuts (I usually do), throw them in too. Stick the mixture in the fridge for an hour don't rush this step!
- Making The Cookies
- When your oven reaches 350°F, put parchment on your baking sheet. Roll little balls of dough about a tablespoon each. Put them on the sheet with plenty of room they need space between them.
- Creating The Snow Effect
- Right after they come out hot, dip them in butter then coat them with powdered sugar. Let them cool slightly, then roll them again. This two-layer approach makes them look like they're covered in fresh snowfall!
My Personal Baking Secrets
I found out the hard way that you must cool that dough. If it's too warm, you'll get pancake cookies and nobody's into that! Buy nice cocoa powder it definitely changes the final flavor. I sometimes add tiny chocolate chips because can you ever have too much chocolate? And don't go light on that powdered sugar dusting it's what gives them their enchanting look.
Storage Suggestions
You can enjoy these cookies for up to a week if stored correctly. Put them in layers with parchment in a sealed container my old-school cookie box works wonders. If you want to make them way ahead, freeze them and they'll last for ages. Just add a new coating of powdered sugar after thawing and they'll be perfect again.
Try New Versions
I love playing around with different takes on these treats. Last year I tried some with pistachios and they looked amazing. Adding some white chocolate on top makes them extra fancy too. My little ones wanted me to try green ones for St. Patrick's Day just change the color and you're all set!
Fixing Common Problems
Cookie issues? If they're flattening out too much, your dough needs more time in the fridge. Want to make larger cookies? Go ahead just cook them a bit longer. For nuts, I love pecans best but my sister thinks walnuts are the way to go. You'll be happy with any choice really.
Why You Can't Miss These
Trust me, these cookies are truly special. Maybe it's how they look like tiny snow-topped treasures, or the way they just vanish in your mouth. Whenever I take them to gatherings, everyone goes wild for them. They're also super fun to make get the children involved with the sugar coating part but be prepared for some cleanup!
 Pin it
Frequently Asked Questions
- → Why should I cool the mix before baking?
Cooling stops the treats from flattening while they bake and helps them keep their round ball shape. Cold dough won't stick to your hands when you're making the balls, so they'll all turn out the same size.
- → What's the point of two sugar dustings?
The first layer goes on while they're warm so it sticks better to the cookie. Adding the second coat after they've cooled gives them that pretty snowy finish and makes them extra sweet.
- → Can I skip the red coloring?
Sure, you can leave out the red dye and make chocolate snowballs instead. They'll taste exactly the same but won't have that bright red look inside.
- → What's the best way to keep them fresh?
Put them in a sealed container with paper between each row so they don't stick together. They'll stay good on your counter for about 5 days. All that sugar coating actually helps them stay moist longer.
- → Why use two different fats?
Using both fats makes these cookies just right - butter adds taste while shortening helps them hold their shape and makes them super soft. Together they create that melt-in-your-mouth feel everyone loves.
Conclusion
These treats blend the familiar powdery texture with rich red cocoa flavor, showing off a soft ruby center surrounded by two coats of fine white sugar.