
 Pin it
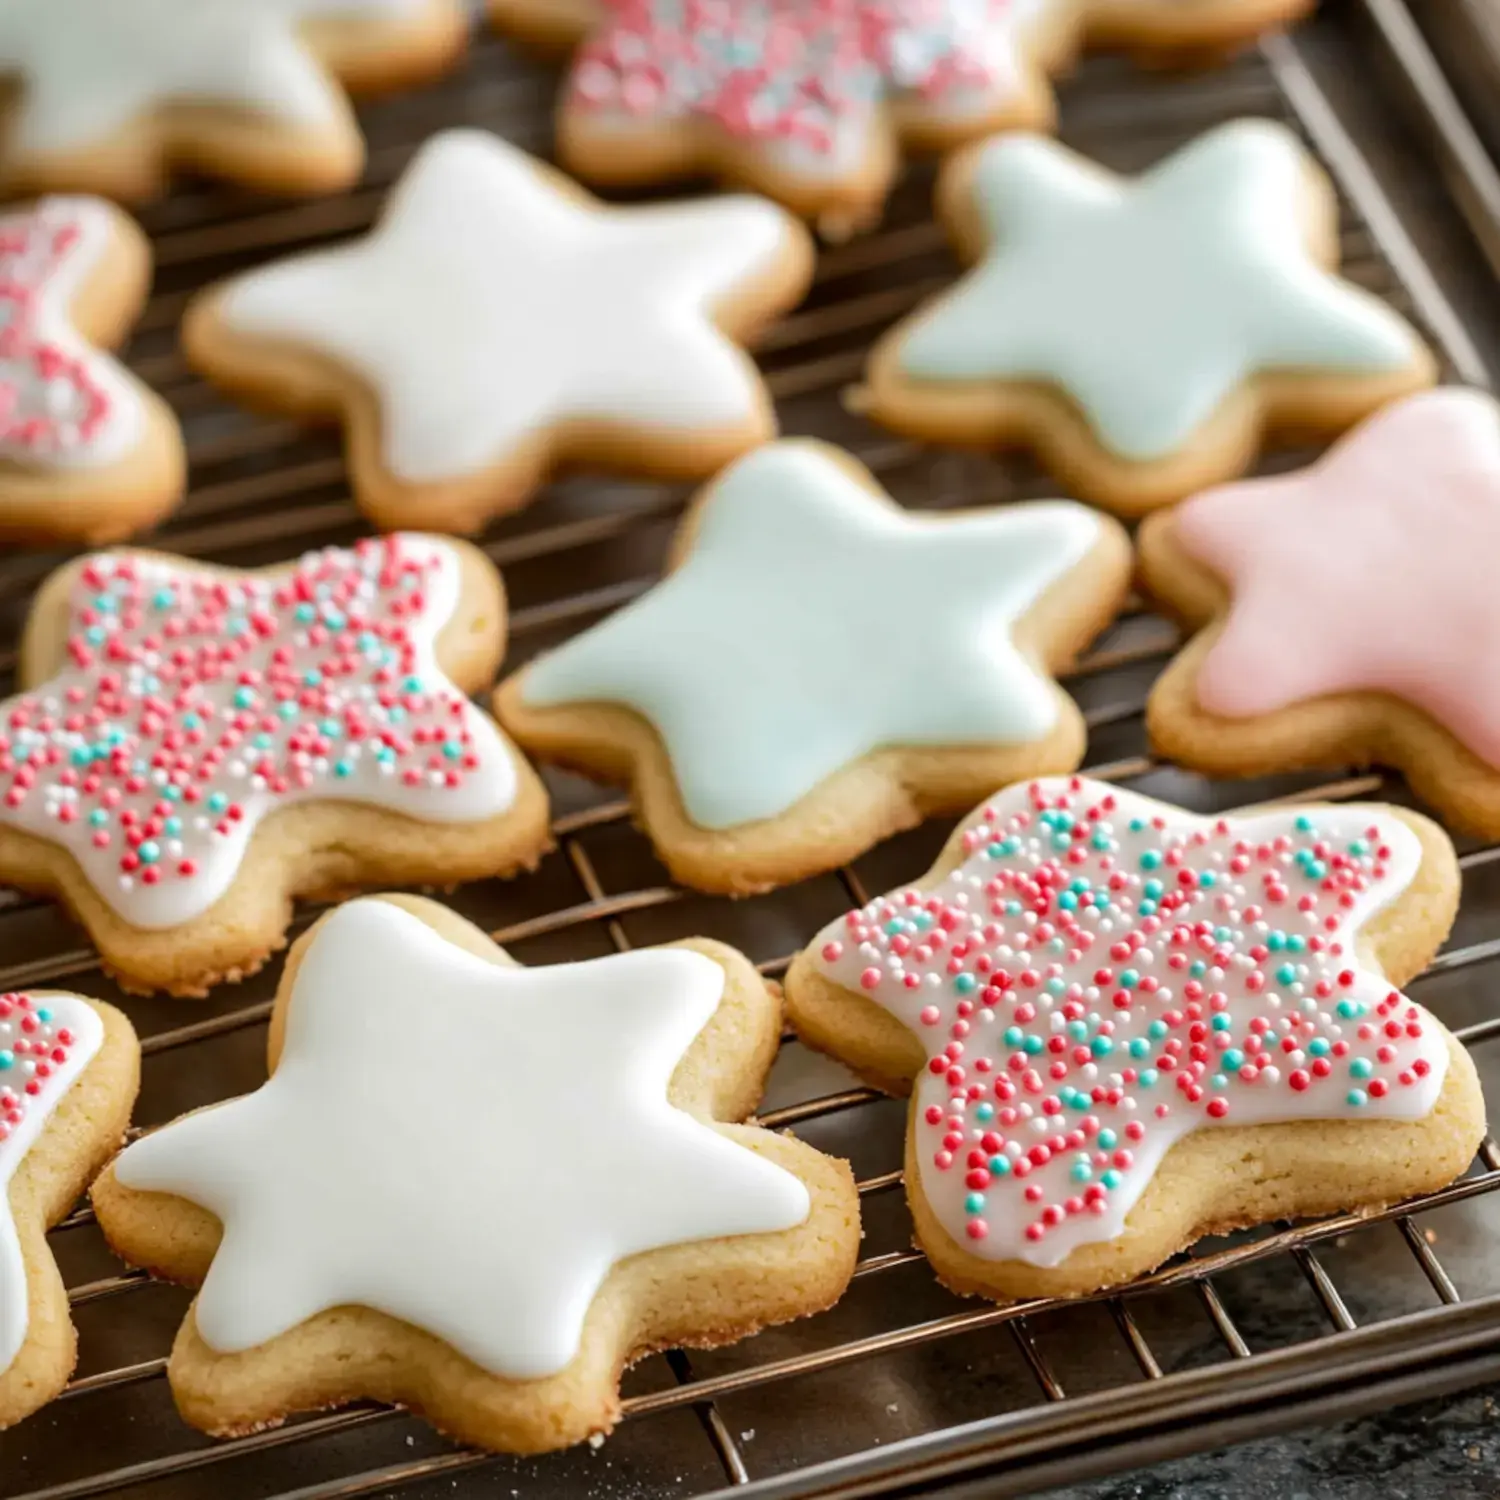
I've brought this sugar cookie formula with me through birthday parties, festive gatherings, and school fundraisers for years. With plenty of tasty experiments under my belt, I've finally nailed these treats - they're tender inside, slightly crunchy on the edges, and tough enough to handle whatever decoration style you fancy. My family nicknamed them our 'weekend treats' since that's when we break out all the colorful toppings and enjoy a full-blown decorating session!
The Secret Behind Their Charm
Ever had those fancy-looking sugar cookies that taste like nothing? These aren't those! I tweaked this formula for ages until it was perfect. They've got an amazing soft-but-not-crumbly feel, and they actually taste fantastic! The dough won't give you trouble either - it works great even when my little assistants get too excited with the rolling pin.
Round Up Your Supplies
- Butter: Get it out ahead of time! You can't skip room temperature butter for successful cookies.
- Sugar: Standard granulated sugar does wonders when mixed with butter.
- Egg: A single large egg, also brought to room temperature.
- Vanilla Extract: Real vanilla truly elevates these! I sometimes add a dash of almond extract when I'm feeling creative.
- Flour: Basic all-purpose flour measured with care - this really matters!
- Baking Powder: Just a bit to help them rise slightly.
- Salt: Don't leave it out! It brightens all the flavors.
Creating The Delightful Batch
- The Basic Mix
- Begin by blending your butter and sugar until it becomes airy and light. I now set a 3-minute alarm because I always used to hurry through this part. Mix in your egg and vanilla, and watch as it transforms into a beautiful, smooth mixture.
- Smart Rolling Trick
- Here's my breakthrough tip: roll your dough BEFORE cooling! Cut it in half, roll between parchment sheets (avoiding flour mess!), then stick these prepared layers in the fridge.
- Cooling Period
- I know you might want to skip the cooling step, but please don't. Watch a show or clean up your kitchen while waiting - the results are worth it!
- Baking Stage
- When your dough has properly cooled, have fun with your cookie shapes! I keep unused portions cool between batches for the best outcome.
Frosting Possibilities
- Royal Icing Technique
- This is what I use for fancy designs. It takes some practice, but once you get it right, you'll feel like a cookie decorating pro! I prefer meringue powder since it's simpler than working with raw eggs.
- Simple Glaze Option
- When baking with children, we make this basic version. Just mix powdered sugar, milk, and vanilla for pure decorating fun without complications!
- Creamy Buttercream
- There are times when you just need that thick, smooth frosting. It's ideal when you want delicious cookies rather than picture-perfect ones.
My Top Cookie Advice
After baking countless batches, I've picked up a few tricks! Using parchment paper for rolling changed everything - no more flour scattered everywhere! I also bought a rolling pin with thickness guides - totally worth it for uniform cookies. And never skip cooling that dough. I found that out the hard way when all my snowmen turned into puddles!
Storage Solutions
These treats stay good for around 5 days in a sealed container - if they stick around that long! In my home, they usually vanish within two days. The baked cookies freeze wonderfully if you're planning ahead. I often prepare double batches and save some for cookie emergencies - yes, that's definitely a real thing!
Tasty Variations
I enjoy getting inventive with these treats. A hint of maple extract in autumn works wonderfully! Last winter, I created chocolate versions by replacing some flour with cocoa powder - they didn't last an hour. My little girl loves tossing extra sprinkles into the mix because more glitter makes everything better, doesn't it?
What Makes Them Unbeatable
The best thing about these cookies is how dependable they are. Whether you're new to baking or an expert, they'll come out great every time. They're my go-to for school sales, special occasions, or just because it's Tuesday and we're craving something sweet. Seeing everyone smile when they take a bite makes all the effort worthwhile!
Essential Baking Gear
- My Reliable Mixer: Either my countertop model or handheld one works great for perfectly fluffy butter-sugar mixture.
- Quality Rolling Pin: I invested in one with adjustable bands and never regretted it!
- Baking Mats: They cut down on wasted parchment and make moving cookies so much easier.
- Shape Cutter Stash: I might have gone a bit overboard collecting these...
- Decorating Tips: That number 4 Wilton tip is my favorite for cookie designs.
- Concentrated Colors: They cost more than liquid droppers but deliver much brighter results.
Frequently Asked Questions
People ask me these things all the time! Can you skip the cooling step? Nope, unless you want flat blobs! How thick should you make them? About pencil-thickness works best. And yes, they can be made gluten-free! Just swap in a good measure-for-measure flour alternative - my friend next door does this regularly with great success.
Decorating Adventures
This is when things get really fun! These cookies work like tiny blank slates waiting for your artistic touch. Whether you're creating detailed patterns or just spreading buttercream with kids, they hold up great. Some of our most treasured family moments involve scattered toppings and slightly misshapen decorated cookies that taste absolutely wonderful!
 Pin it
Frequently Asked Questions
- → Why do we need to chill the dough?
Chilling stops the cookies from spreading while they bake and helps them keep their cut shapes. Plus, cool dough is way easier to work with and won't stick to your cutters.
- → Can I make the dough ahead of time?
Absolutely, you can keep the dough in your fridge for up to 2 days or pop it in the freezer for 3 months. When frozen, let it thaw in your fridge and then sit out for an hour before you roll it.
- → What makes these cookies stay soft?
The mix of butter, the right amount of flour, and careful baking time keeps these cookies soft. The biggest trick is not leaving them in too long - they should only get slightly brown around the edges.
- → Why use almond extract?
It's not required, but almond extract gives sugar cookies an amazing extra flavor. You can use more or less (1/4 to 1/2 teaspoon) depending on what you like, or try different extracts instead.
- → How thick should I roll the dough?
Go for exactly 1/4-inch thickness for the best outcome. This makes sure they cook evenly and gives you that perfect mix of soft centers with slightly crisp edges.
Conclusion
Tender sugar cookie cutouts are a timeless sweet treat that's fun to decorate. With crispy edges and soft middles, they're just right for parties and holiday gatherings.