
 Pin it
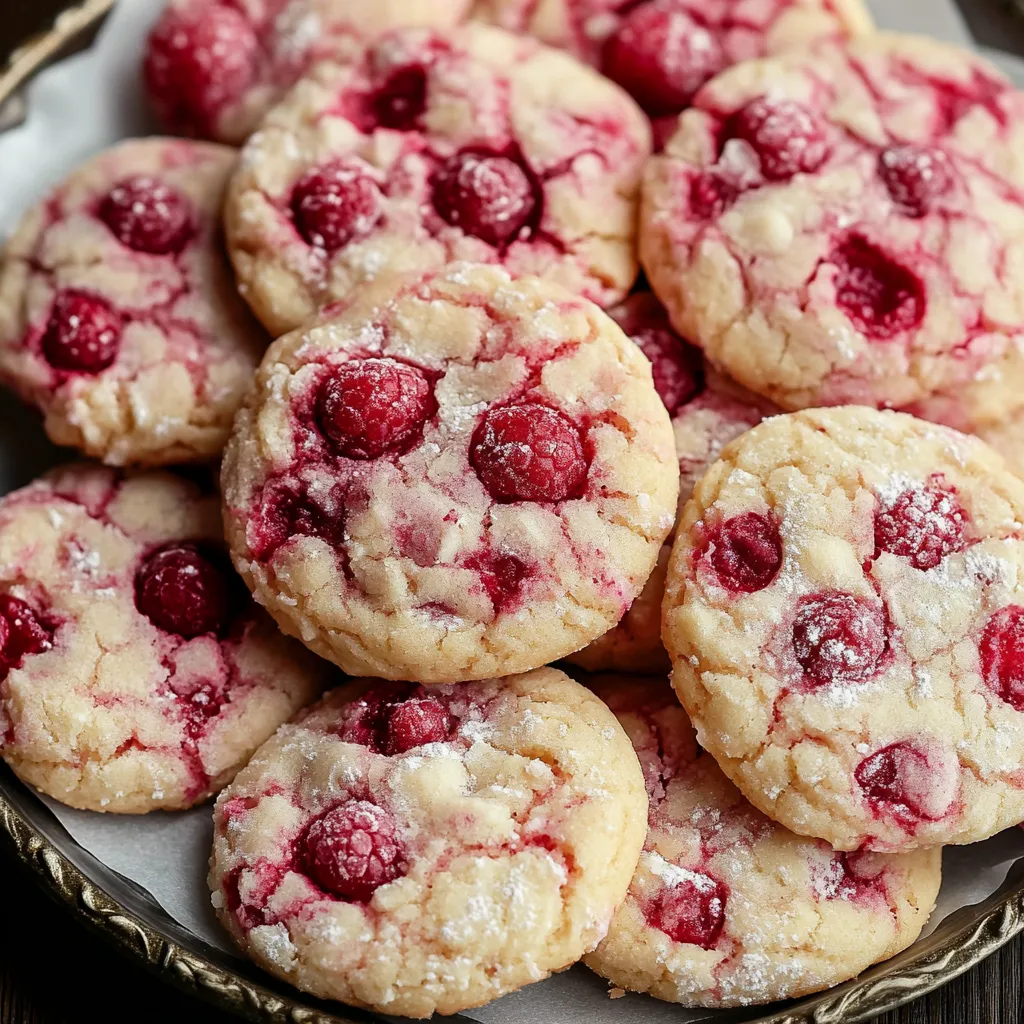
These berry-infused Raspberry Cookies put a fun spin on your everyday sugar cookie. They've got super soft middles with crunchy edges for that just-right bite, and we've thrown in actual raspberries for little pops of flavor in every mouthful. They're made with allergy concerns in mind but don't worry – they still taste amazing!
I first whipped these up when I needed treats for my niece's party where kids had all sorts of food allergies. Watching every single child happily munching away, no matter their dietary needs, turned these cookies into a must-have at our family gatherings.
Key Ingredients Breakdown
- High-quality gluten-free flour: Don't skimp on this base ingredient
- Deep red frozen raspberries: Pick fully ripened ones
- Firm butter: Store in fridge until you're ready to start
- Cornstarch: The secret to getting that perfect cookie feel
- Milk of choice: Dairy or plant-based both work fine
- Real vanilla: Brings out the berry taste even more
- Small-grain sugar: For rolling and adding sweetness
Easy-to-Follow Preparation Guide
- Getting Berries Ready:
- Let berries warm up a bit. Cut them up small. Heat with sugar until mushy. Drain with care. Keep both liquid and fruit. Pop chopped berries back in freezer. Let the juice cool all the way.
- Mixing Your Dough:
- Stir dry stuff together well. Whip butter till puffy. Slowly add in sugar. Keep mixing until it looks pale. Blend cornstarch with water. Pour in milk and juice bit by bit. Gently add frozen berry bits. Be careful not to overwork.
- Time to Chill:
- Wrap dough fully. Stick in freezer for at least an hour. Test if it's hard enough. Don't let it warm up between batches. Put it back if it gets too soft. This step can't be rushed. Take your time here.
- Shaping Your Cookies:
- Use same-size scoops. Coat with sugar all around. Lay on paper-lined trays. Leave room between each. Push down slightly if needed. Keep unused dough cold. Move fast when working.
- Baking Your Batch:
- Get oven hot first. Use the middle shelf. Keep an eye on the sides. Test at shortest time listed. They should feel just a bit firm. Let sit on tray briefly. Move to cooling rack after.
 Pin it
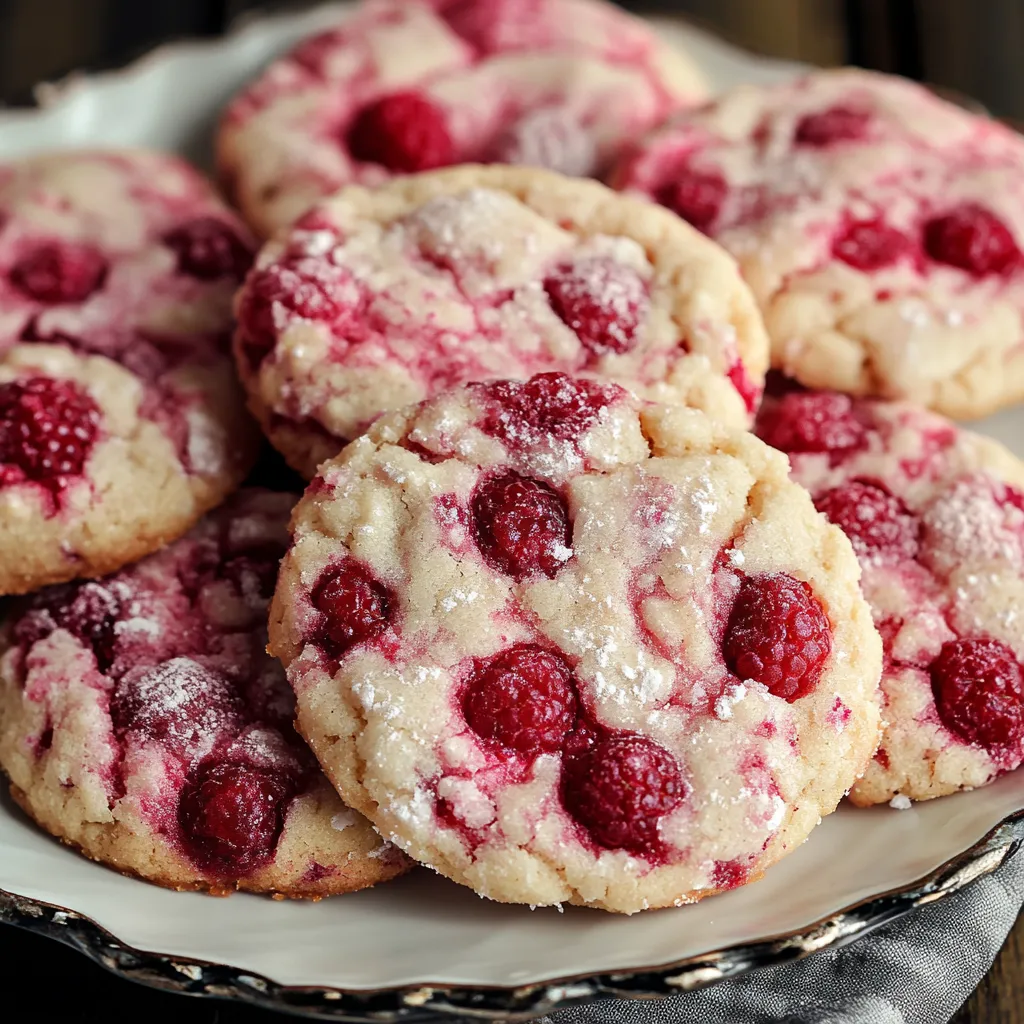
I always bring these treats to classroom parties and kid birthdays now. The kids love the natural pink look, and parents are so glad to find cookies that won't trigger allergies.
Keeping Them Fresh
You can store these goodies in a sealed container for about five days. Just put some baking paper between layers so they don't stick together or lose their nice texture.
Plan Ahead Options
You can freeze the cookie dough for up to three months if needed. I usually make twice as much, then roll half into balls and freeze them so I can bake fresh cookies whenever I want.
 Pin it
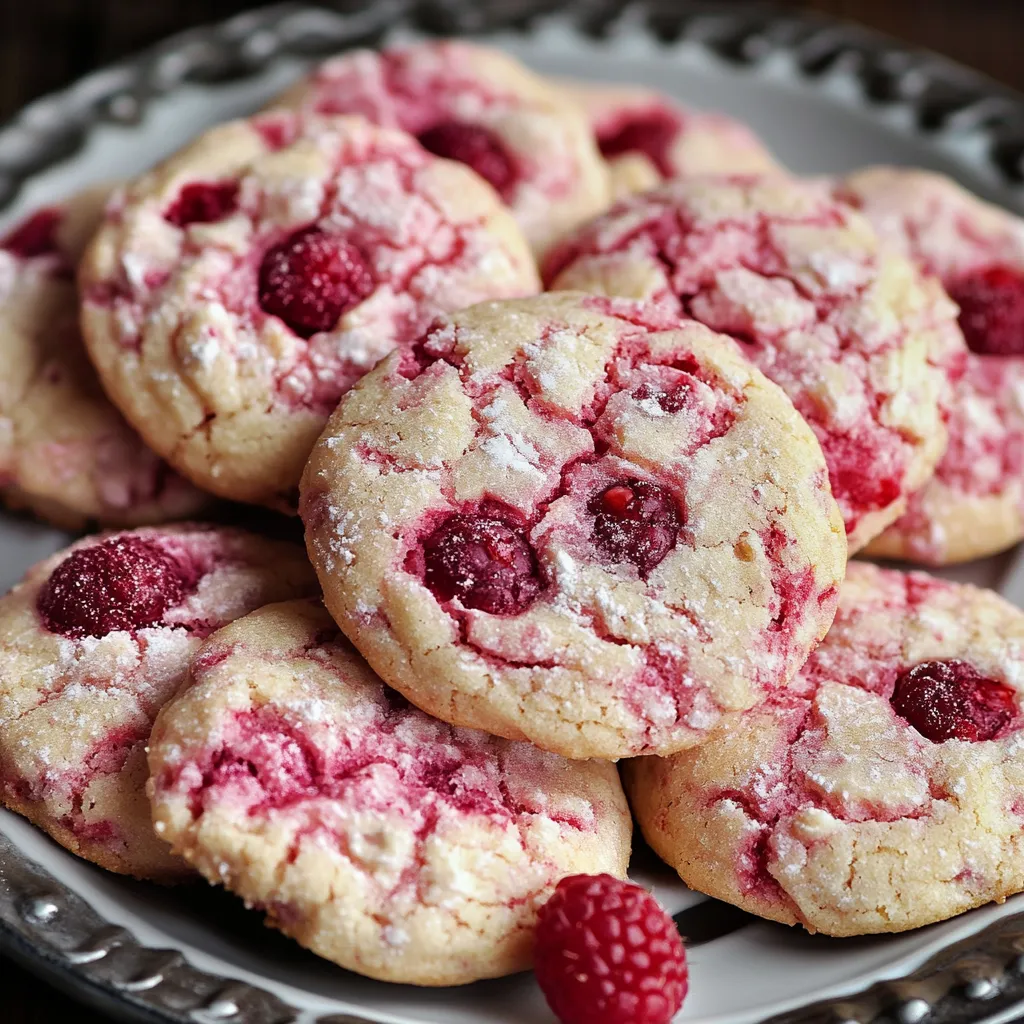
Since creating these Raspberry Cookies, I've completely changed my mind about allergy-friendly baking. By combining real ingredients with the right techniques, you can make treats everyone at the table can munch on, no matter what foods they can't eat.
Frequently Asked Questions
- → Why must the dough be frozen?
- You need to freeze it to keep the cookies from spreading out too much when they bake so they hold their shape.
- → Can I use fresh raspberries instead of frozen?
- Stick with frozen ones as they don't fall apart easily and won't make your dough too moist.
- → Why reshape immediately after baking?
- Working with them while hot lets you make perfectly round cookies that won't break when handled.
- → What makes these cookies stay soft?
- They stay tender for days thanks to the mix of cornstarch, raspberry syrup, and just the right amount of moisture.
- → Can I skip the food coloring?
- Sure thing, the raspberry syrup gives a natural light pink color on its own.