
 Pin it
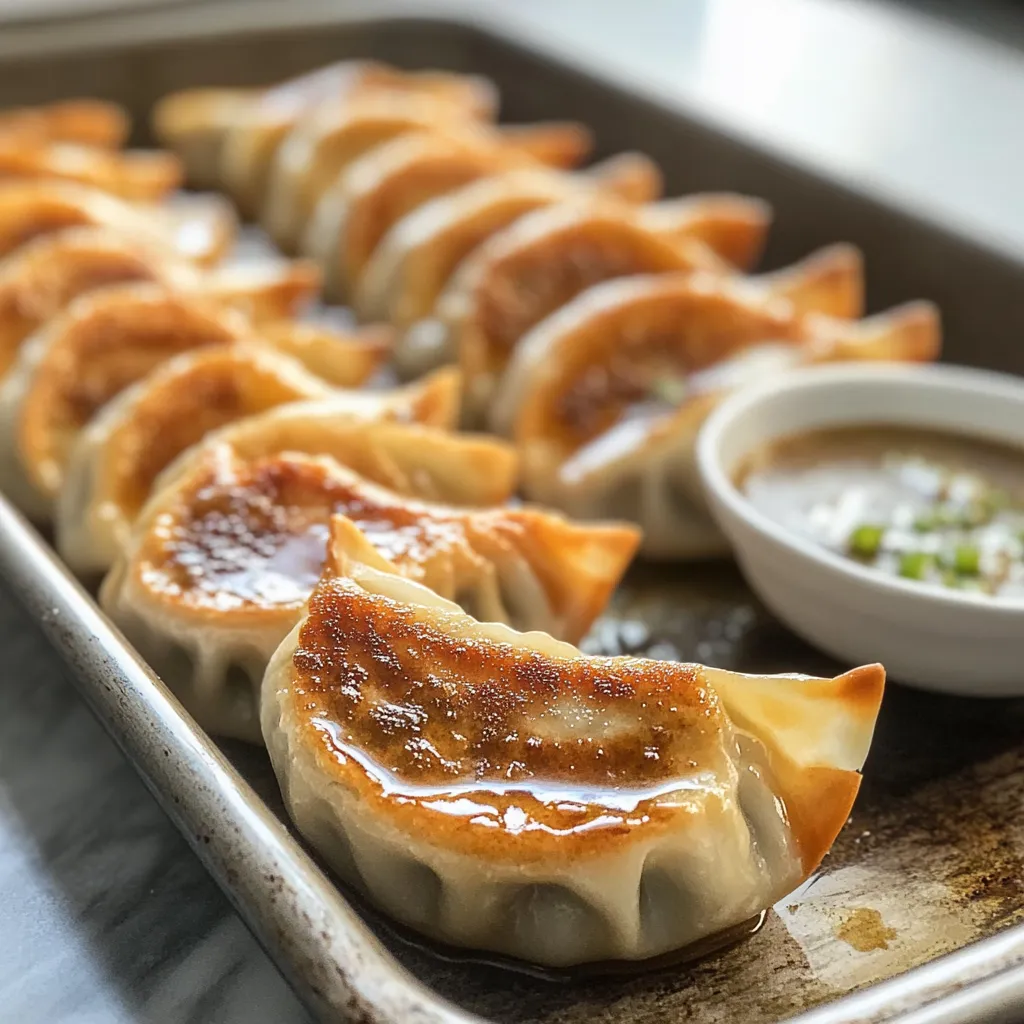
My oven-baked chicken potstickers have totally changed my family get-togethers. This no-fuss version takes the old stovetop dumplings and turns them into something equally tasty but way healthier. What makes these so good? It's all about that mix of tender chicken, crunchy veggies, and zingy ginger – they're always the first thing gone when I put them out!
I stumbled on this baking trick during a crazy-busy Christmas season when I needed to feed a bunch of people but couldn't babysit a frying pan all night. They turned out so amazing that I've completely ditched the traditional frying method.
Key Ingredients and Smart Shopping Advice
- Ground Chicken: Go for meat with roughly 7% fat for the tastiest results. I've noticed completely lean chicken ends up too dry inside
- Fresh Ginger: Pick pieces that feel hard and smell punchy. Skip any that seem mushy or shriveled
- Dumpling Wrappers: These are in the cold section at Asian grocery stores. Grab the circular ones since they fold better than square types
- Napa Cabbage: Look for bunches with fresh, light green, crunchy leaves. They add a nice subtle sweetness to your filling
- Fresh Chili: Get ones that look vibrant and feel firm. Take out the seeds if you want them milder
Step-By-Step Cooking Guide
- Step 1: Set Up Your Work Area (15 minutes):
- Make space on your counter and put down some parchment. Create three spots: one for your filling bowl, one with a water dish for sealing edges, and one for your finished dumplings. Get your baking sheet good and greased so nothing sticks.
- Step 2: Mix Your Tasty Filling (20 minutes):
- First, chop that cabbage super fine and let it sit in a strainer to get rid of extra water. Mix your chicken and all veggies until everything's evenly spread out. Add your spices bit by bit, sampling as you go (if you're okay with raw meat, fry a tiny bit to taste-test). Let everything hang out for 10 minutes so the flavors can mingle.
- Step 3: Get Your Fold Down Pat (30 minutes):
- Hold each wrapper in your hand like a little cup. Put exactly one tablespoon of filling in – don't overdo it! Wet the edges with your finger. Make 4-5 little folds on one side while pressing it closed. Stand each one up straight, fixing any that look wobbly.
- Step 4: Nail the Baking Technique (25 minutes):
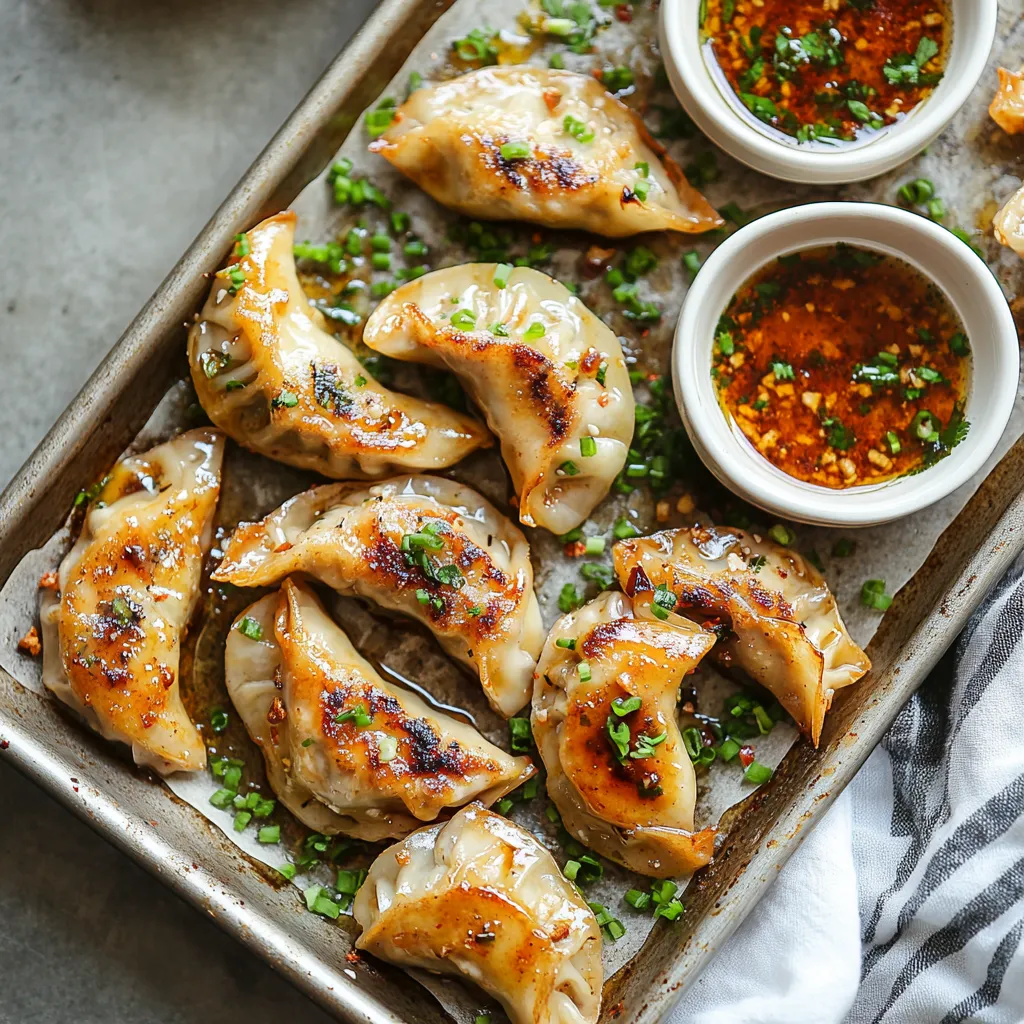
- Put your dumplings on the tray with breathing room between them so they get nice and crispy. Brush oil over every part, getting into all those little folds. Halfway through cooking, flip each one carefully with tongs. They're done when the edges turn a nice golden-brown.
- Step 5: Whip Up Your Dipping Sauce (10 minutes):
- Cook your ginger in sesame oil until it smells amazing. Mix everything while the oil's still hot for better flavor blending. Let it sit while your dumplings bake so it gets even tastier.
 Pin it
When I was little, my grandma always threw extra ginger in her potstickers. She swore it helped with digestion, and now science backs her up about its anti-inflammatory benefits. I've kept up her tradition, especially in those cold winter months.
Picking The Right Wrappers
These thin sheets are what makes or breaks your potstickers. The store-bought kind work great, but watch out for dry edges. Keep them under a damp towel while you're working so they stay soft and bendable.
Do-Ahead Tricks
I usually whip up twice the filling on Sundays. It actually tastes even better after sitting in the fridge overnight, which makes putting dinner together on Monday super quick and rewarding.
What To Serve With Them
Turn this into a full meal by adding a simple cucumber salad with just rice vinegar and sesame oil. Those cool, crunchy veggies work perfectly with the hot dumplings.
Taking A Little Break
 Pin it
Don't rush to eat these right away. Let your potstickers cool down for 3-5 minutes after baking. This gives all those tasty juices time to spread back through the filling, making every bite way more flavorful.
After making countless batches of these potstickers, I've found this baked version gives you all the yummy goodness of the old-school way with way less work. The trick is taking your time when folding and trusting your gut about how much filling to use. Each batch gets better than the last, and there's something so satisfying about making these little pockets of goodness that bring everyone to the table.
Frequently Asked Questions
- → Can I prep these dumplings beforehand?
- Absolutely, you can make them and keep them uncooked in the fridge up to a day or pop them in the freezer for up to a month.
- → How can I tell when the dumplings are ready?
- They'll turn a nice golden brown color and should hit 165°F when you stick a meat thermometer in the middle.
- → Will ground pork work in this recipe?
- For sure, ground pork makes a great swap for chicken in these dumplings.
- → Why go with baking over frying?
- Baking needs less watching, cuts down on oil, and makes cleaning up a breeze compared to the usual pan-frying.
- → How hot are these dumplings?
- They pack a mild to medium kick from the chile pepper, but you can make them milder or spicier by tweaking the red pepper flakes.