
 Pin it
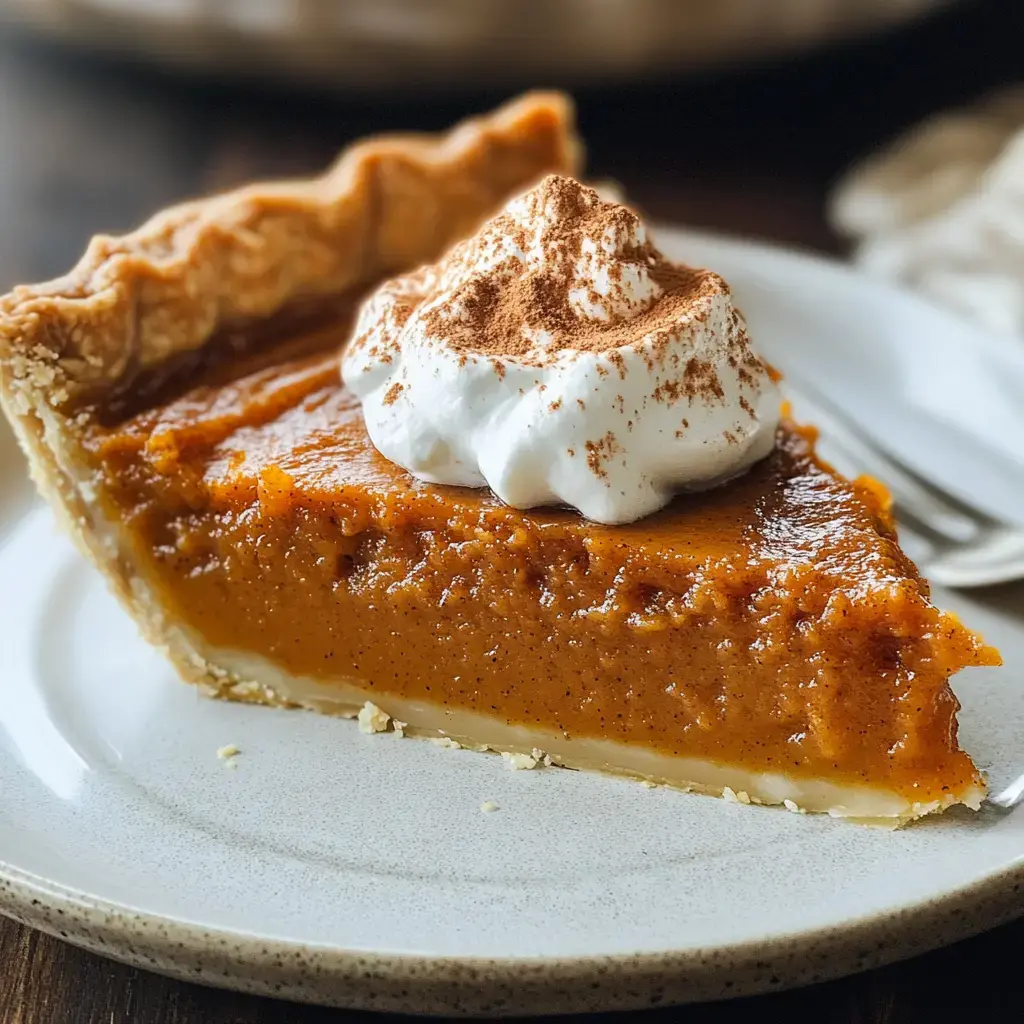
You'll love how easy it is to get this pumpkin pie just right. The crust bakes up crunchy and tasty, while the creamy filling sets perfectly and doesn't crack. There are no confusing steps—just easy directions and simple measuring. Celebrate the holidays or any special day with this foolproof, cozy dessert made with real pumpkin, loads of spices, and a silky custard.
Why You'll Love This Method
If you always run into pumpkin pie disasters, this method's got your back thanks to its spot-on temps and amounts. The crust stays crisp since it's baked ahead of time, and the filling cooks up smooth without a single crack. Grabbing Libby's for the pumpkin and measuring your spices carefully makes sure it always comes out the same. Every part is set up to stop problems before they happen, so it's a solid pick for both brand-new bakers and old pros alike.
Must-Have Ingredients
- Evaporated Milk: 1¼ cups, be sure it's at room temperature
- Pie Crust: 9-inch deep-dish, you can use homemade or grab a frozen one—just make sure it's chilled through
- Sugars: ½ cup of both regular white and packed light brown types
- Eggs: One large whole and three large yolks, all at room temp
- Pumpkin Puree: 15 oz (about 1¾ cups) of pure pumpkin, avoid pie filling—Libby's is a good go-to
- Salt: Use ½ teaspoon of regular table salt
- Flour: Two tablespoons of plain all-purpose flour, leveled off
- Spices: Use a teaspoon each of cinnamon and ginger, add half a teaspoon of nutmeg, and just a pinch (⅛ teaspoon) of both cloves and ground black pepper
 Pin it
Effortless Steps for Success
- Cooling and Setting
- Let your pie hang out on a rack for about 3 hours so it cools all the way. Then put it in the fridge and wait at least 4 hours before you slice in.
- Final Baking
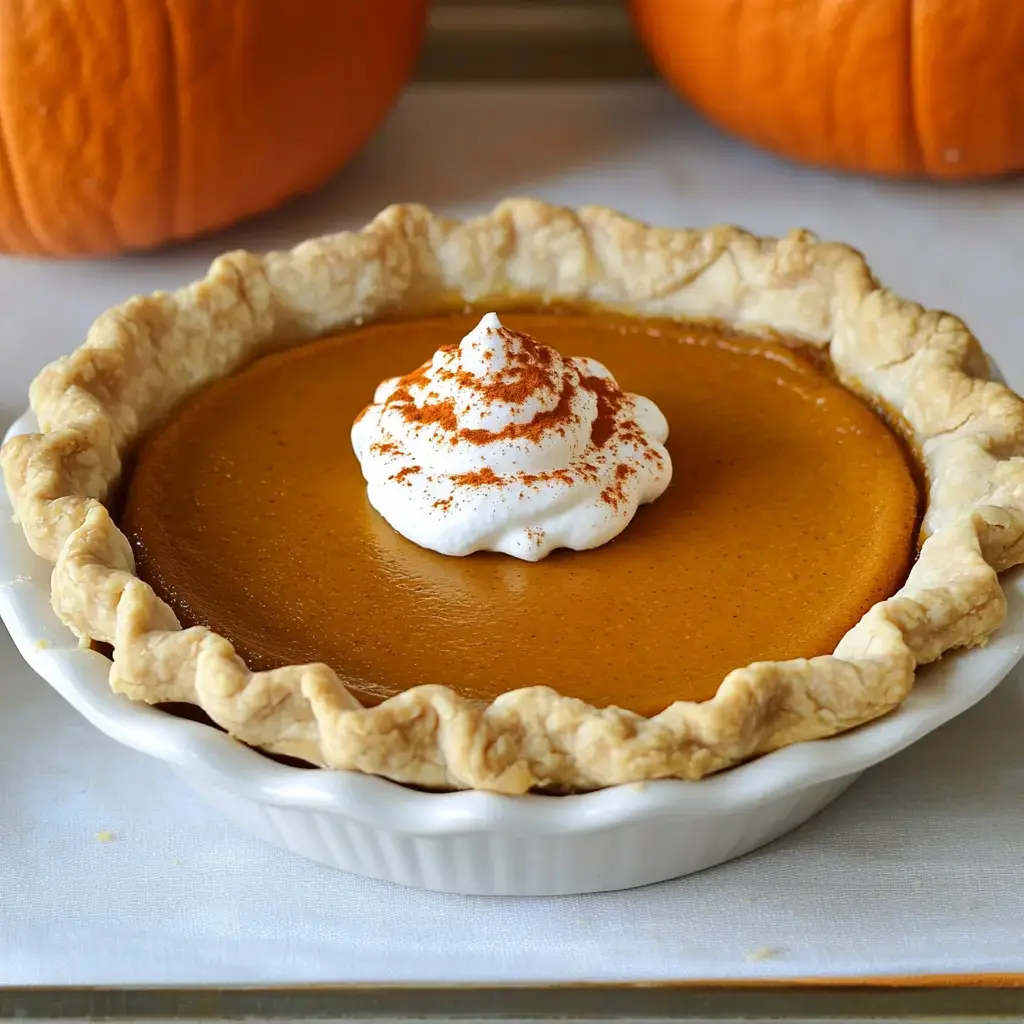
- Pour your filling into the hot crust. Bake at 325°F (165°C) for 50-60 minutes. The middle should jiggle just a little if you nudge the pan. Check that the inside hits 175°F (79°C).
- Filling Prep
- Toss pumpkin, eggs, both sugars, flour, salt, all those spices, and milk into a big bowl. Start whisking until it looks totally smooth; this usually takes 2 minutes. No lumps, please!
- Pre-Bake Time
- Take the cold crust, lay parchment on top, and fill it with pie weights. Bake for 20 minutes until the sides are set. Remove the paper and weights. Wrap foil around the edges. Bake 15–20 minutes more, watching for a light golden look. Crank the oven down to 325°F (165°C).
- Crust Prep
- Get your crust into a 9-inch deep pie pan. Chill for 30 minutes at 40°F (4°C). Set your oven so the rack's in the middle, and heat up to 375°F (190°C).
Tricky Parts and Simple Fixes
Most problems pop up with either the crust, runny filling, or baking it too hot. Your pan matters—ceramic ones take longer to bake than metal, so plan for extra minutes. Look for a gentle wiggle in the middle (not soup!) and lightly tanned edges, not super dark. Sticking to a lower heat keeps cracks away, and pre-baking means you won't get a soggy crust.
How Each Ingredient Works
There's a reason for every item you put in this pie. The pumpkin keeps it firm, evaporated milk makes it creamy but not watery. Using both a whole egg and extra yolks gives you that super smooth custard vibe. Brown sugar deepens the flavor, while regular sugar makes it just sweet enough. The special mix of spices, with a little black pepper, brings warm flavors and tiny bit of heat that just works.
Pre-Baking Made Easy
Baking that crust before filling it keeps it from turning soggy. Letting the dough chill for half an hour helps it not shrink up. Make sure your pie weights reach up the sides to hold things in place. You’ll bake it twice—first with parchment and weights, then without—to make sure the whole thing cooks evenly. Stop when it's a pale golden color; don't wait for it to go brown since that means it's overdone.
Smooth Filling Tricks
Getting that dreamy filling means watching your temps and your method. Ingredients work best when they're not cold. Whisk it together until the eggs are totally combined and you don't see any clear bits. If you want it extra smooth, run the mix through a mesh strainer. Pour it in while the crust’s still warm for the best bake. Fill it only halfway up the sides so the filling doesn't overflow.
 Pin it
Storing and Planning Ahead
Put your finished pie in the fridge, covered with foil—it's good for four days. To freeze, wrap the cooled pie first in plastic wrap, then foil, and stash up to a month. When you're ready, let it thaw in the fridge overnight. Give it an hour at room temp before serving. Don't ever freeze raw pie or uncooked filling. You can bake the crust edges and freeze just those, up to two weeks before you fill and finish the pie.
Frequently Asked Questions
- → No evaporated milk. What should I use?
Go for heavy cream for a super rich pie. Split whole milk and cream if you want it lighter. Coconut milk gives it a twist, but the taste changes a bit. Warm up whatever milk you use before mixing in. Just match the same amount. Got sweetened condensed milk? Use it too, but cut back some sugar.
- → Can I prepare this in advance?
This is the best make-ahead dessert! Put it together the night before and pop it in the fridge. Let it sit out for half an hour before you dig in. Some people bake the crust two days before, then fill and finish later. It keeps four days cold if covered. Keep it wrapped up so it stays moist.
- → Any tips for a crisp crust?
Bake the plain crust first—line it with paper, fill with beans or baking weights. Bake covered for 15 minutes, then 10 without. Brush a bit of egg white over when it’s hot if you like. Wait for it to cool before filling. Sprinkling some crushed cookies on the bottom helps too!
- → How many days will it last?
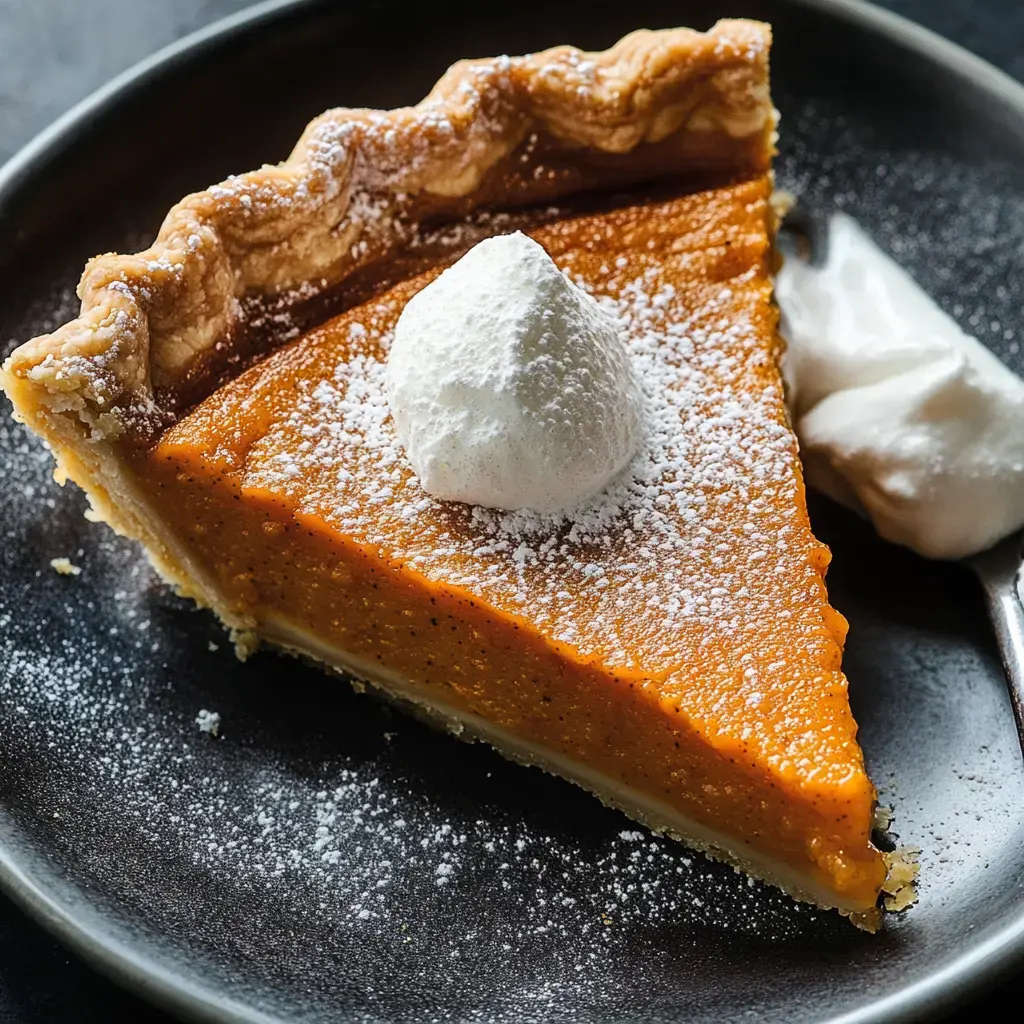
Wrap it tight and you’ll have good pie for four days in the fridge. Check for any odd smell or watery spots so you know if it’s gone off. Sometimes cut slices last longer than an untouched pie. Let it come up to room temp for serving. Whipped cream holds up for just a day or two on top.
- → Is it okay to freeze?
Sure, just wrap it well and pop in the freezer for up to a month. Whole pies freeze better than slices. Move it to the fridge the night before you want it. The texture is a tiny bit different but still tasty. A lot of folks freeze the filling and bake fresh crust later. Never freeze with the whipped cream already on.
Conclusion
Obsessed with pumpkin? Whip up some pumpkin muffins for a snack. Or try making a rich pumpkin cheesecake. Pumpkin bread is also great for breakfast—those autumn flavors can be in everything!