
 Pin it
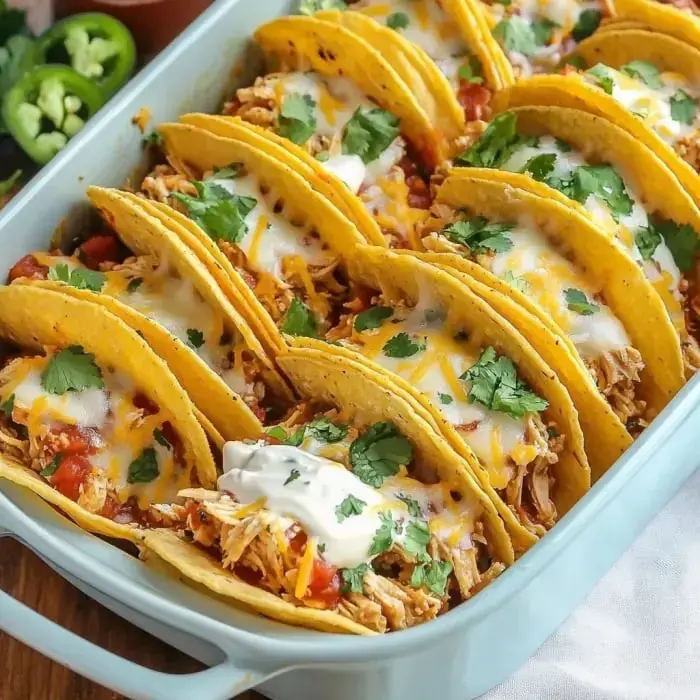
Crispy Oven Tacos with chicken make the perfect dinner when you're short on time but want something tasty. This crowd-pleaser combines zesty shredded chicken, crunchy taco shells, and gooey layers of beans and melted cheese. Ready in under 30 minutes, these baked treats will quickly become a regular request in your family meals.
Beloved Mealtime Hit
I stumbled upon this idea during a hectic evening when I needed a fast dish everyone would enjoy. It's now our must-have for taco nights. There's something wonderful about the shells getting super crunchy while baking as the cheese turns into that dreamy melted goodness. What I love most is how everyone gets to pick their own toppings, making dinner both fun and personal.
Your Shopping List
- Shredded Chicken: Already cooked and pulled apart - grab a rotisserie chicken to save time.
- Taco Seasoning: Mix of chili, paprika, garlic, onion, cumin powders and red pepper flakes.
- Taco Shells: Hard ones that get extra crunchy when baked.
- Cheese: Mexican blend shreds or any cheese that melts nicely.
- Green Chiles: For a touch of spice - use canned ones, well drained.
- Refried Beans: Makes a smooth foundation layer.
- Diced Tomatoes: Adds chunks of flavor - drain completely to keep things crisp.
- Onion: Pick white, red, or sweet types for extra punch.
Step By Step Creation
- Get Your Shells Ready
- Warm the taco shells in a 350°F oven for 5 minutes so they stay crunchy.
- Create Your Mixture
- Stir together the chicken, taco spices, tomatoes, green chiles, and chopped onions.
- Build Your Base
- Smear some refried beans on the bottom of each shell, then pile on the chicken mix.
- Sprinkle The Topping
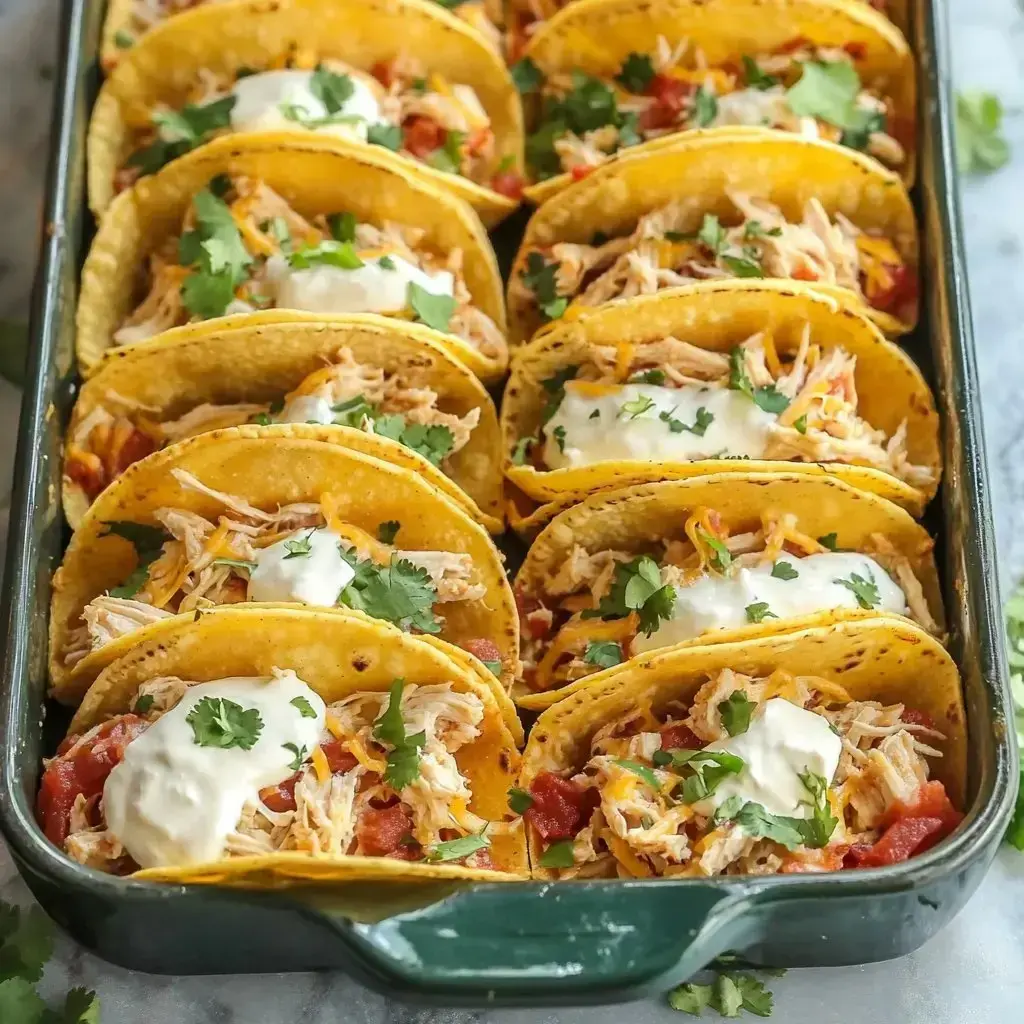
- Cover each taco with plenty of shredded cheese and line them up in a baking dish.
- Into The Oven
- Cook at 350°F for 15-20 minutes until the cheese bubbles and gets all melty.
Tips For Success
After many taco evenings I've picked up some handy secrets. Always get rid of extra liquid from your canned stuff - nobody wants a floppy taco! That little warm-up in the oven before filling really keeps the shells nice and crunchy. And putting beans down first works like glue that helps everything stay inside when you take a bite.
Eating And Leftovers
We like to create a topping station with fresh guac salsa and sour cream so everyone can dress up their own tacos. If we don't finish them all I keep the parts separate and put together fresh ones the next day. When we have friends over I'll keep a bunch warm under foil in a low-temp oven and it's great for feeding a crowd.
 Pin it
Frequently Asked Questions
- → Are these tacos very spicy?
- They’re mildly spicy thanks to taco seasoning and green chiles. Leave out jalapeños and chiles to tone it down.
- → What’s the point of pre-baking the shells?
- It crisps the shells and keeps them from going soggy after adding fillings.
- → How long can I store leftovers?
- Keep them in the fridge inside a sealed container for up to 3 days. Shells might soften a bit, though.
- → Why do I have to drain the chiles and tomatoes?
- To avoid extra liquid, which can make the taco shells too soft. Draining helps keep shells crispy.
- → Can I fit more shells in the dish?
- You can fit 10 shells in a 9x13 dish by placing extras along the sides. Overcrowding can make filling them tougher.